Imagine a factory humming with activity, churning out thousands of plastic bats and balls every single day – 9600 bats and a staggering 57,000 balls to be exact. This isn't some magical toy-making workshop; it's the power of blow molding in action. This process, seemingly simple yet remarkably efficient, underpins the mass production of countless everyday items, and in this case, the crucial components of countless games of baseball, softball, and more. We're talking about the creation of plastic sporting goods on an industrial scale, a feat achieved through the precise and repeatable nature of blow molding.
This article will delve into the step-by-step process of how this impressive output is achieved, exploring the intricacies of blow molding from the initial heating and shaping of the plastic to the final cooling and ejection of the finished products. We'll uncover the technology and techniques that allow for the seamless production of thousands of bats and balls daily, showcasing the remarkable efficiency and scalability of this manufacturing method.
Preparation and Safety Guidelines
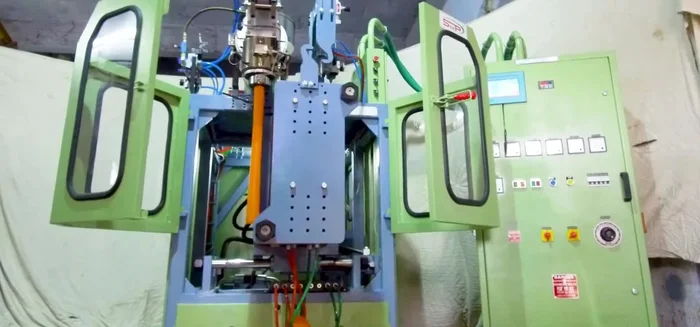
- Blow Molding Machine
- Hopper
- Screw Barrel
- Heaters
- Parasan
- Mold
- Hot Blade
- Air Compressor
- Water Chillers
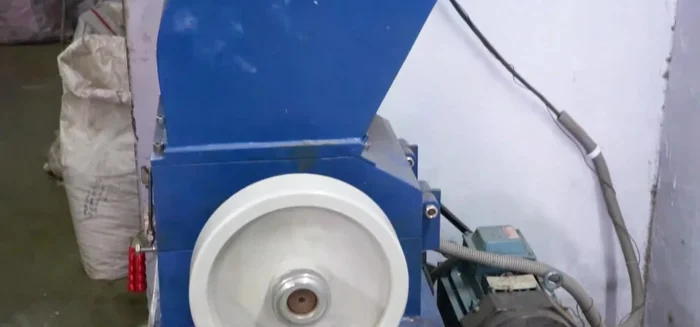
- Grinder
- High-pressure machinery: Blow molding involves extremely high pressures and temperatures. Never operate equipment without proper training and safety precautions. Always follow established lockout/tagout procedures before maintenance or repair.
- Molten plastic hazards: Molten plastic is extremely hot and can cause severe burns. Maintain a safe distance from the machinery during operation and wear appropriate personal protective equipment (PPE), including heat-resistant gloves, sleeves, and eye protection.
- Compressed air safety: Blow molding relies on compressed air. Ensure all air lines and equipment are properly maintained and inspected regularly to prevent leaks or ruptures that could cause injury or equipment damage.
Step-by-Step Instructions
Material Preparation
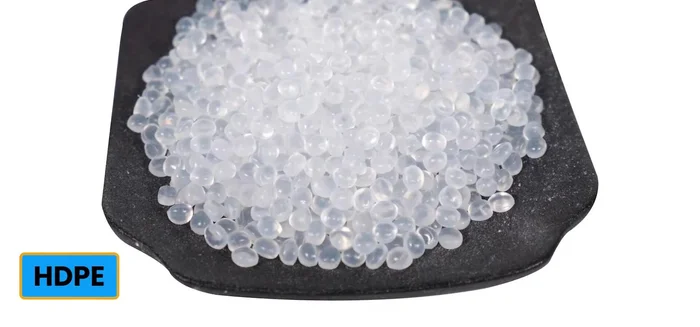
- Load raw materials (HDPE, PP, and masterbatch for color) into a hopper.

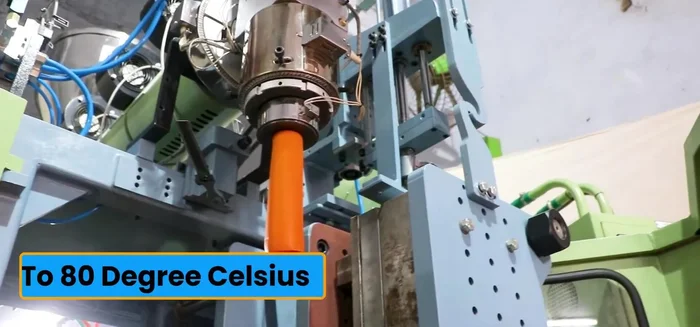
Material Preparation Heating and Mixing
- Heat raw materials in the screw barrel to 70-80°C, converting them into a paste.
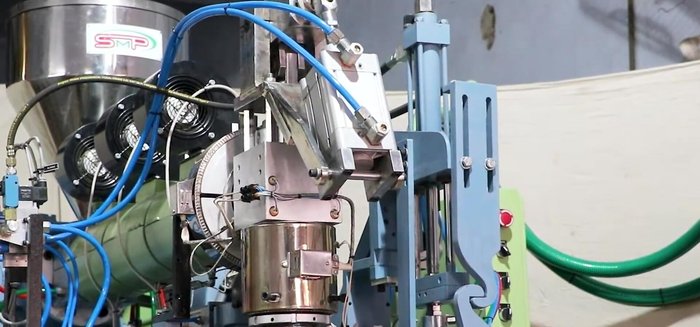
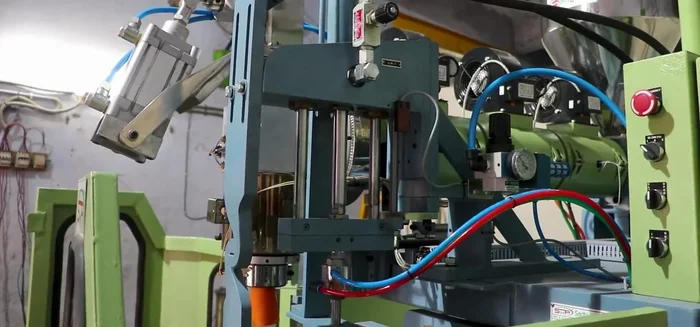
Heating and Mixing Molding Process
- The parasan electronically controls the paste flow into the mold.
- Cut the paste with a hot blade in the mold.
- Inflate the paste using high-pressure air (100-150 psi) to the shape of the mold.
Molding Process Cooling and Ejection
- Cool the mold with water chillers to solidify the product.
- Eject the product from the mold after cooling.
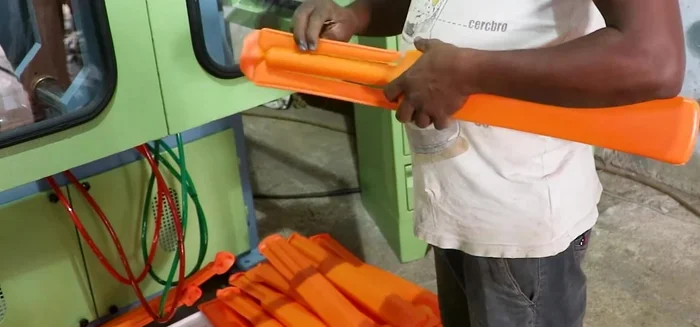
Cooling and Ejection Finishing and Recycling
- Remove extra material to finish the product.
- Grind scrap material and reuse it to make more products.
Finishing and Recycling


Read more: DIY Dollar Store Ghost Candy Holder: Spooky Cute Halloween Decor!
Tips
- Masterbatch is used to create colorful toys.
- This blow molding process can be used to create various plastic toys by simply changing the mold.