Dusty, forgotten in the corner of the shed, sat Grandpa's old toy tractor. More than just a childhood plaything, it represented countless hours of imaginative play, a tangible link to cherished memories. Now, years later, the rusty metal and faded paint tell a story of time's passage, but the spirit of adventure remains. This isn't just a restoration project; it's a journey back in time, a tribute to a beloved grandfather, and a chance to breathe new life into a piece of family history. The worn-out wheels and chipped paint hold the promise of a rewarding undertaking, a labor of love that will preserve a legacy.
This article will guide you through the complete restoration process, from initial assessment and parts sourcing to the final gleaming coat of paint. We’ll tackle rust removal, mechanical repairs, and cosmetic enhancements, turning this dilapidated toy into a cherished heirloom once more. Get ready to roll up your sleeves and discover the joy of bringing Grandpa's legacy back to life, one step at a time.
Preparation and Safety Guidelines
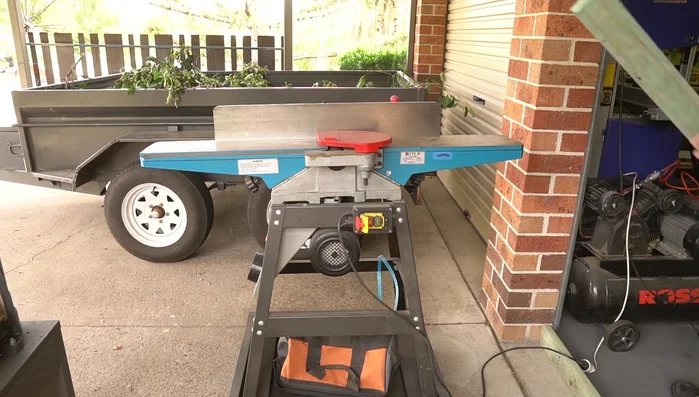
- Planer
- Thicknesser
- Drill Press
- Hand Drill
- Clamps
- Wood Glue
- Coat Screws
- Sandpaper
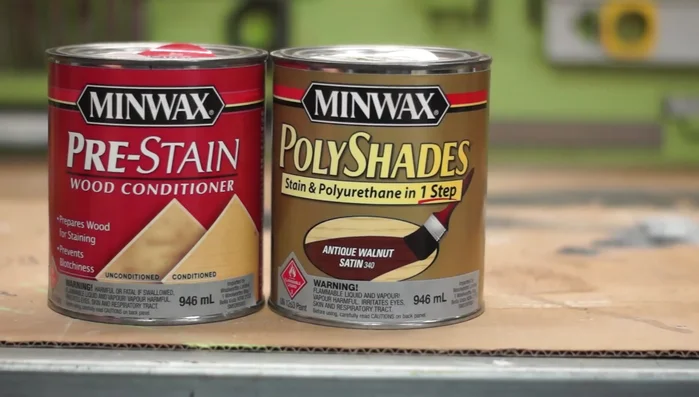
- Pre-stain conditioner
- Walnut Stain
- Clear Coat (Gloss)
- Beeswax
- Water Spray Bottle
- Clean Rag
- Always wear appropriate safety gear, including eye protection, gloves, and a dust mask when working with old paint, metal, and potentially hazardous materials.
- Disconnect the battery and any fuel sources before starting any disassembly or repair work to prevent accidental injury or fire.
- If you are unsure about any repair or procedure, consult a qualified mechanic or seek professional assistance. Improper repairs can lead to malfunction or injury.
Step-by-Step Instructions
Assessment and Planning
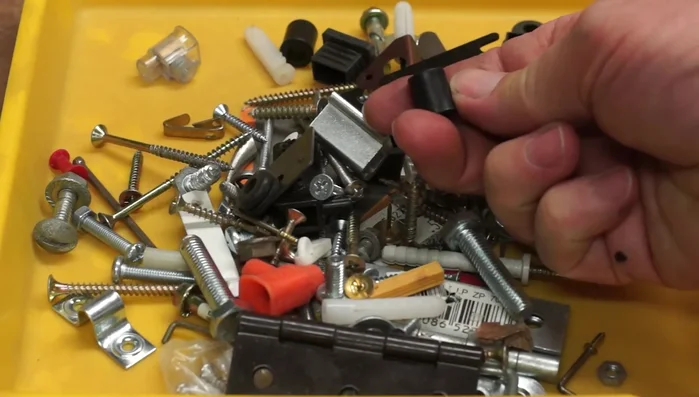
- Dismantle the original tractor to assess the usable parts.
- Create a 3D model to design the replacement seat and other missing parts.

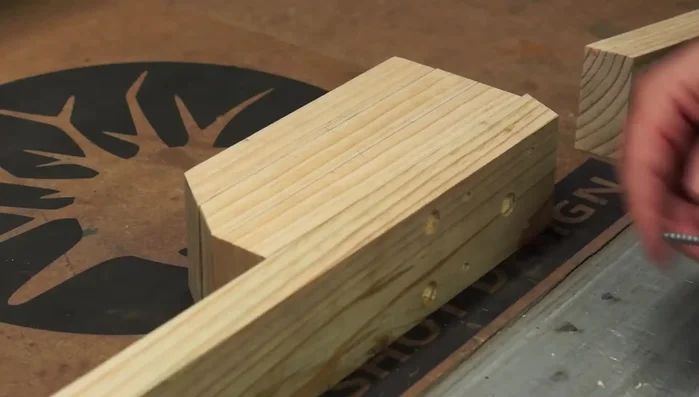
Assessment and Planning Material Preparation
- Prepare new structural timber (planing and thicknessing to match original dimensions).
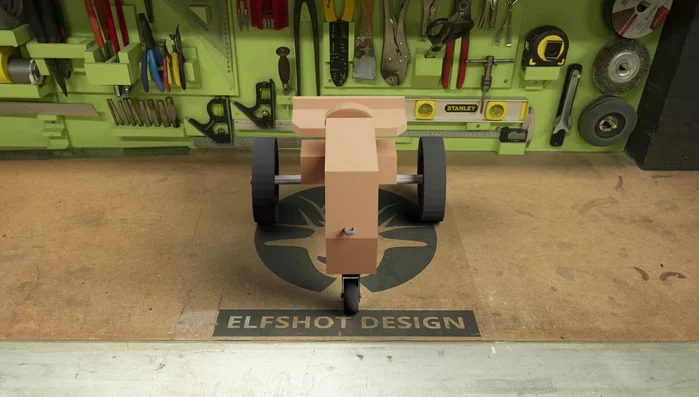
Material Preparation Body Construction
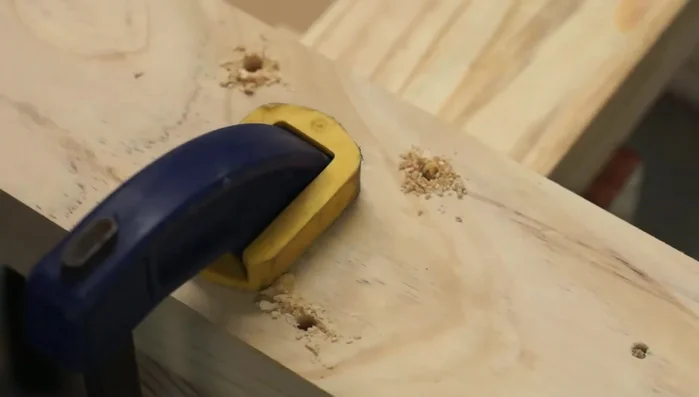
- Assemble the new tractor body using wood glue and coat screws to ensure strength and prevent sliding.
Body Construction Axle and Hole Preparation
- Drill holes for the axle, ensuring they are perfectly vertical.
Axle and Hole Preparation Sanding and Finishing
- Sand the assembled components for a smooth surface.
- Apply pre-stain conditioner and multiple coats of walnut stain, followed by gloss clear coat.
Sanding and Finishing Wheel Treatment
- Heat the wheels and apply beeswax to prevent rusting and blacken the iron.
Final Assembly and Details
- Install the steering wheel using a plastic spacer for smooth rotation.
Final Assembly and Details Road Test!
- Final assembly and road test!


Read more: Crafting a Biodegradable Woodsman's Whistle: A Step-by-Step Guide
Tips
- Use coat screws and glue to maximize strength and prevent slippage during assembly.
- Strategically assemble the project to minimize sanding around awkward angles and hard-to-reach places.
- Use a water spray bottle and clean rag to wipe away excess glue.
- Use a scrap wood with a pre-drilled hole to guide the hand drill for perpendicular holes.