Do you love quirky, handmade jewelry but find the idea of intricate crafting daunting? Then this DIY spotty heart necklace tutorial is perfect for you! We're going to create a charming, unique piece that’s both stylish and surprisingly easy to make, proving that beautiful accessories don't require hours of painstaking work. Forget expensive boutique finds – with just a few simple materials and a little bit of creativity, you can craft a necklace that perfectly reflects your personality and adds a touch of whimsical charm to any outfit. The best part? It’s completely customizable, so feel free to experiment with colors and embellishments to create a truly one-of-a-kind piece.
This simple project is ideal for beginners and experienced crafters alike, offering a satisfying and quick craft for a relaxing evening. Ready to get started on your adorable spotty heart necklace? Let's dive into the step-by-step guide below and unleash your inner artisan!
Preparation and Safety Guidelines
- Wooden heart necklace kit (Baker Ross)
- Scissors
- Adult supervision is required, especially when using sharp tools like scissors or wire cutters. Keep these tools out of reach of children.
- Be mindful of potential choking hazards, particularly with small beads or components. Avoid using materials that could easily detach and be swallowed.
- If using any crafting glue, ensure adequate ventilation and follow the manufacturer's instructions carefully. Avoid contact with skin and eyes.
Step-by-Step Instructions
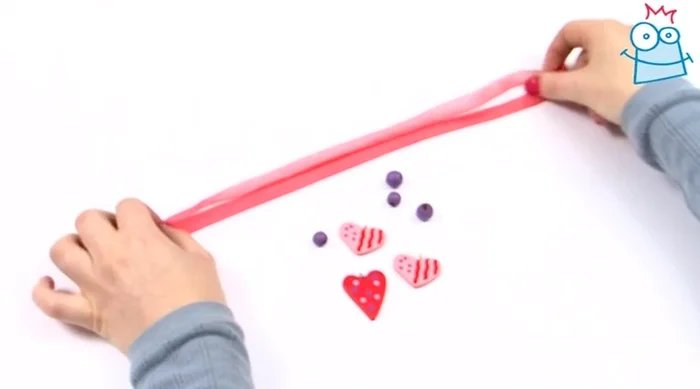
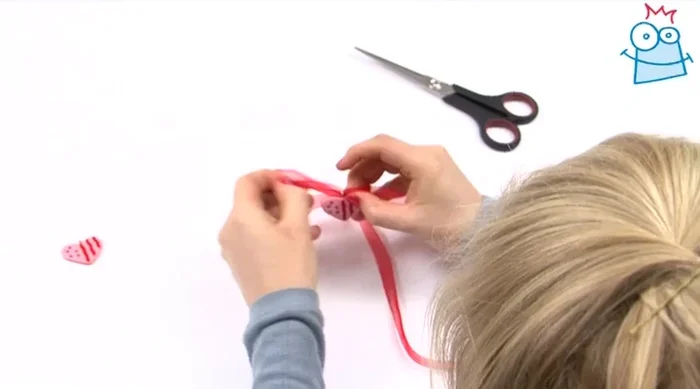
Prepare the Largest Heart
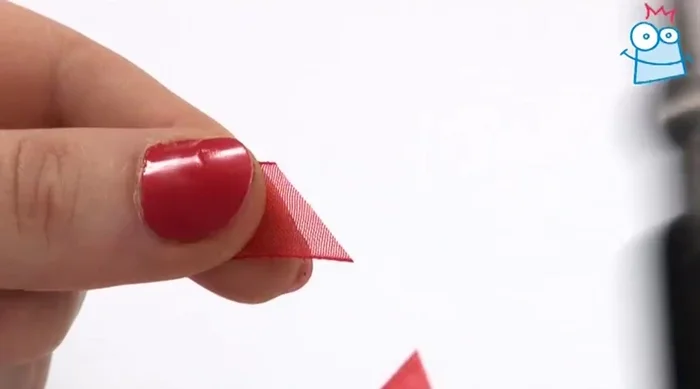
- Trim the ribbon to get a straight edge.
- Feed the ribbon through the metal loop at the top of the biggest wooden heart.
- Match up the ends of the ribbon so the heart falls in the middle.

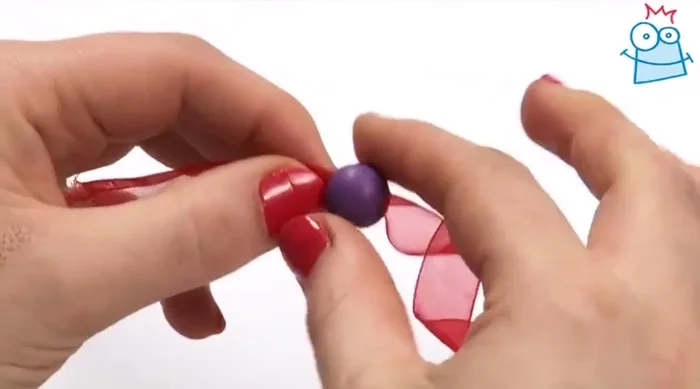
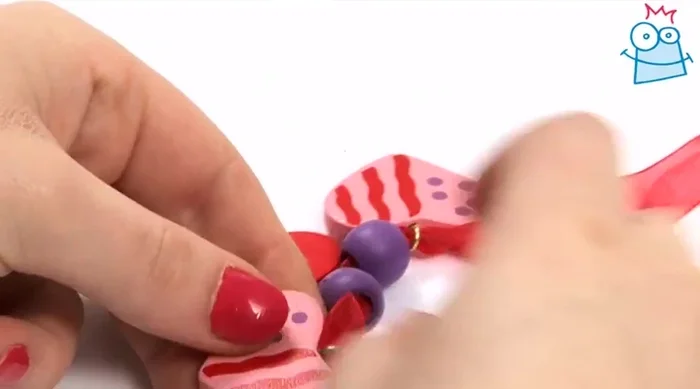
Prepare the Largest Heart Add the First Beads
- Thread a round purple bead onto each side of the ribbon.
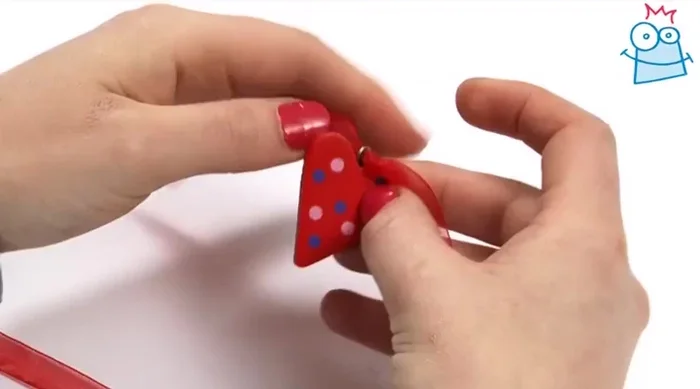
Add the First Beads Attach Smaller Hearts
- Thread one of the smaller hearts onto one end of the ribbon.
- Thread the last heart onto the other end of the ribbon.
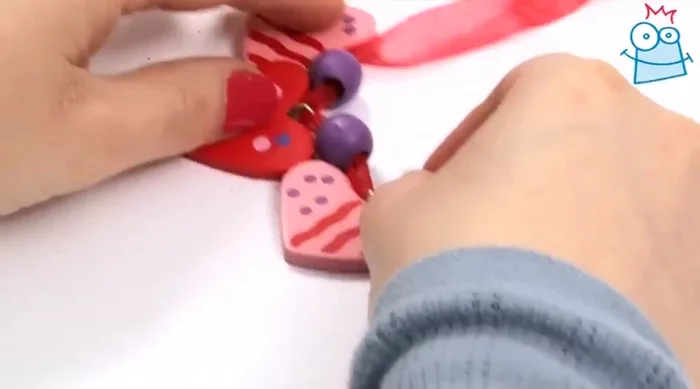
Attach Smaller Hearts Add the Final Beads
- Thread a round purple bead onto each side of the ribbon (near the smaller hearts).
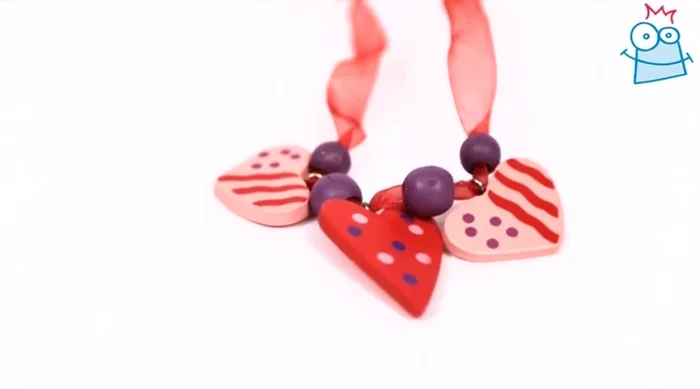
Add the Final Beads Complete the Necklace
- Knot the ends of the ribbon together to complete the necklace.
Complete the Necklace
Read more: Crafting a Biodegradable Woodsman's Whistle: A Step-by-Step Guide
Tips
- N/A