Discover the enchanting world of wood carving with this delightful DIY project: a charming owl bookmark! Perfect for beginners, this quick and easy tutorial guides you through creating your own unique, personalized reading companion. Imagine the satisfaction of crafting a beautiful, functional piece of art from a simple block of wood, adding a touch of whimsical charm to your favorite book. No prior carving experience is needed, and the materials are readily accessible, making this a perfect weekend craft for all skill levels. This project offers a relaxing and rewarding escape, combining the tactile joy of woodworking with the creative expression of bringing a cute owl to life.
Ready to transform a piece of wood into a captivating owl bookmark? Let's dive into the step-by-step instructions and bring your woodland creature to life, one carefully carved detail at a time. Follow along as we guide you through each stage, from sketching your design to adding those final, finishing touches.
Preparation and Safety Guidelines
- Stick (approx. 2cm diameter)
- Knife
- Another stick (for splitting)
- Always use sharp, well-maintained carving tools. Dull tools require more force, increasing the risk of slips and injury.
- Wear safety glasses to protect your eyes from wood chips and flying debris.
- Carve in a well-lit area with a stable work surface to avoid accidents.
Step-by-Step Instructions
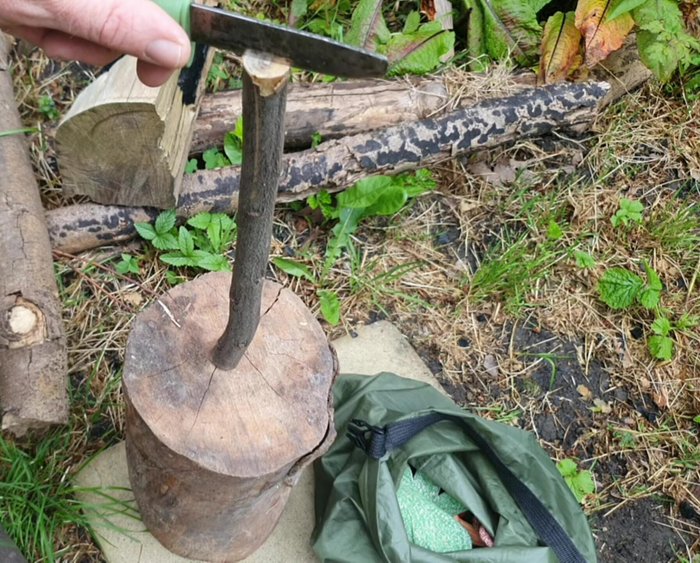
Prepare the Wood
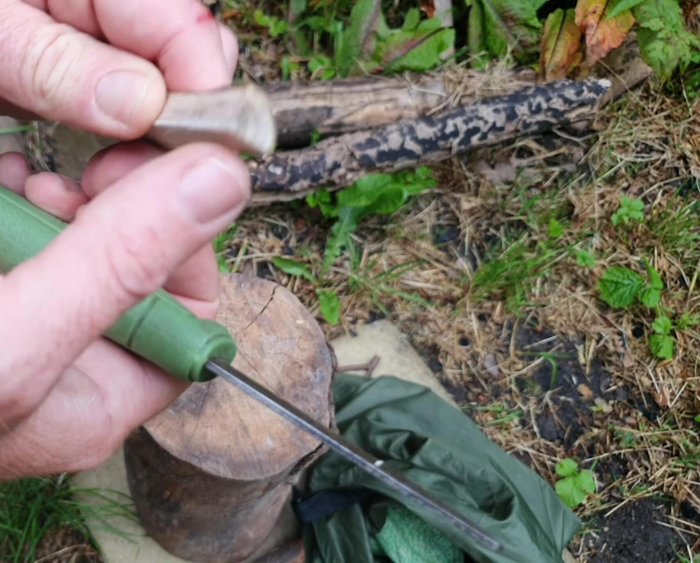
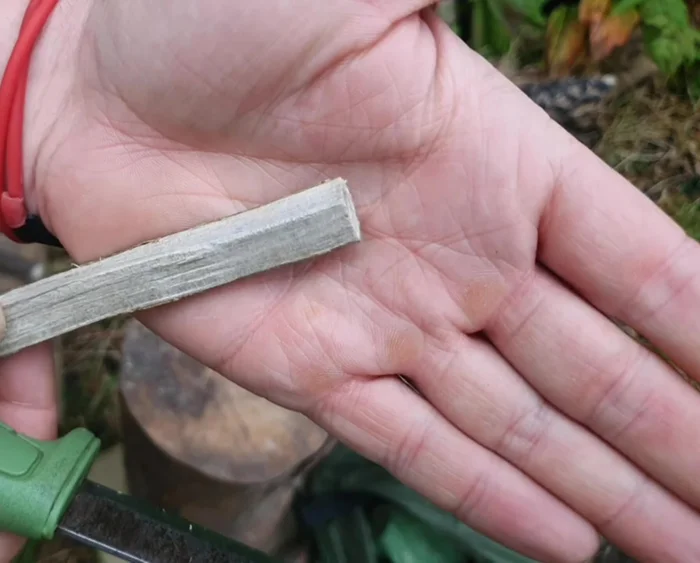
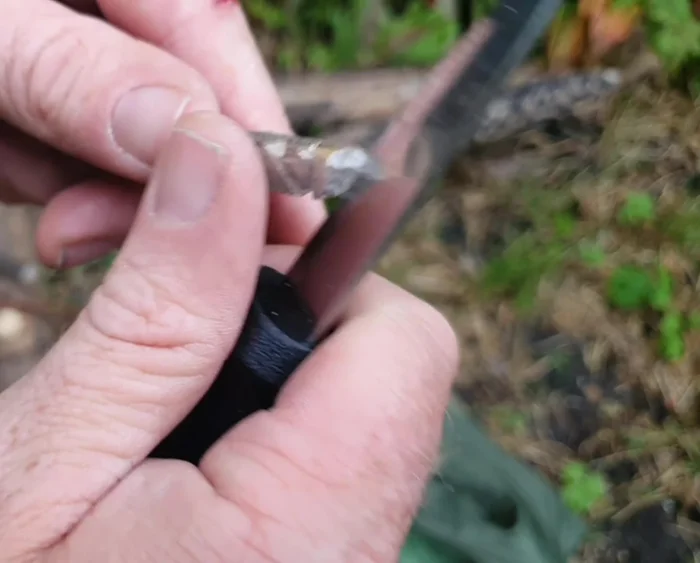
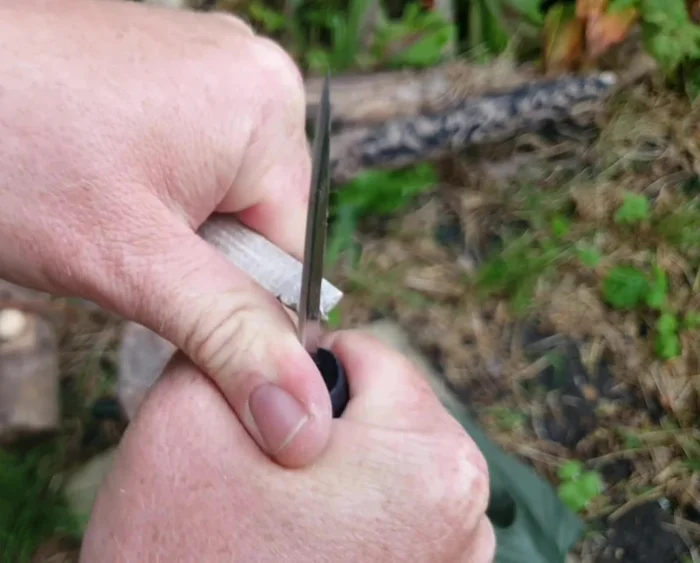
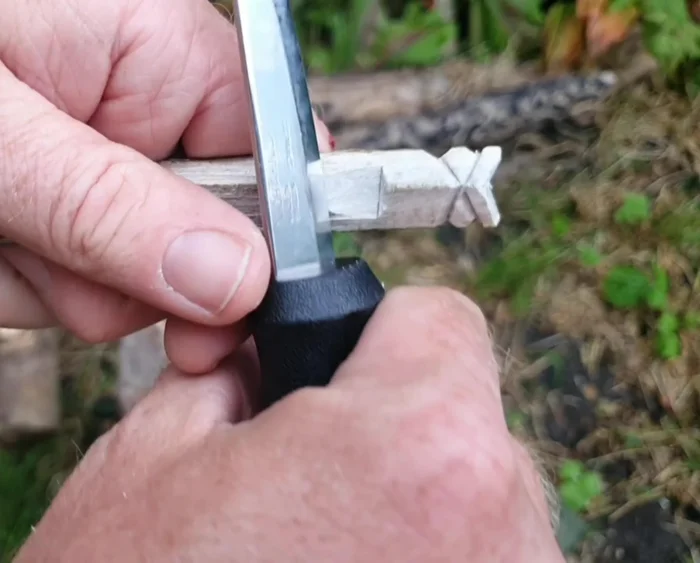
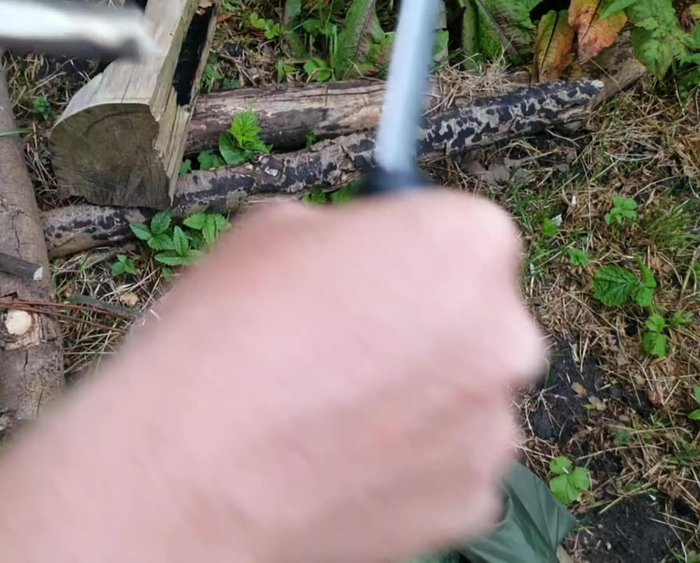
- Quarter the stick using a knife and another stick as a wedge. Select the best section (top section is usually better).

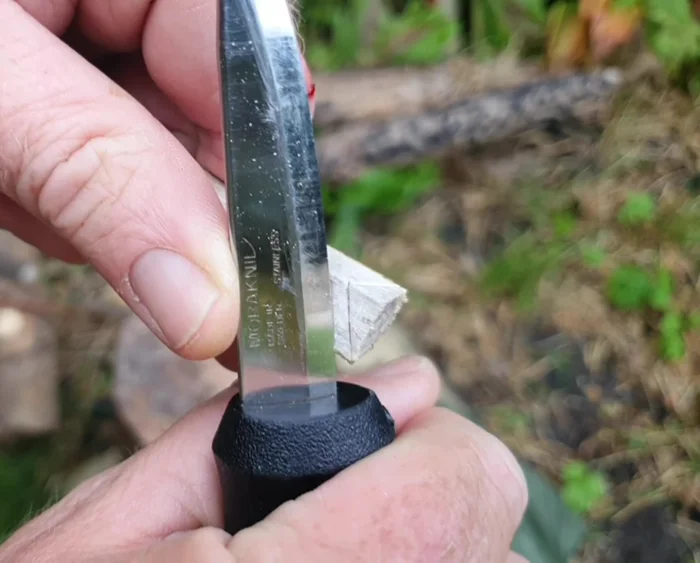
Prepare the Wood Shape the Owl's Head
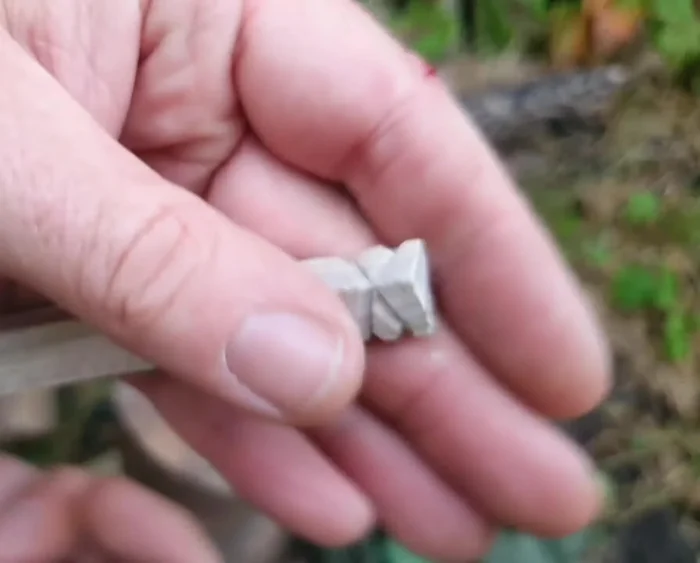
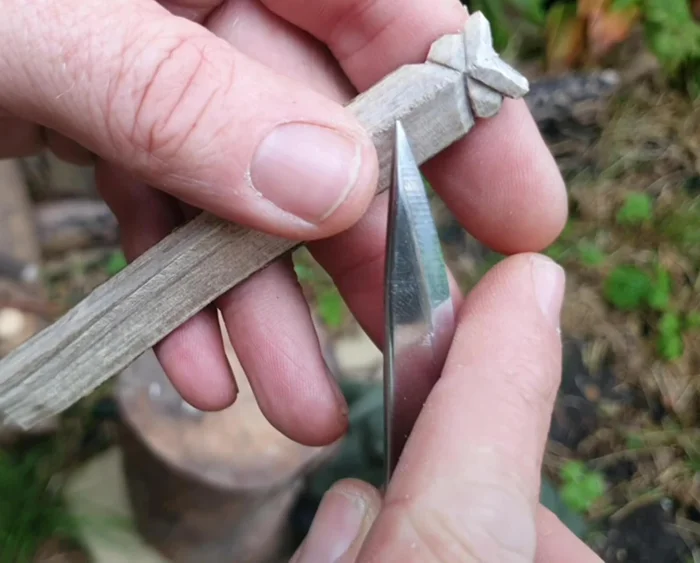
- Create a triangle shape. Smooth two sides of the triangle.
- Make a cross using stop cuts (light cuts to score the wood) forming a V shape at the top of the triangle.
- Carefully deepen the V-cuts to shape the owl's head.
- Create small V-cuts on the corners to round out the owl's face. This will be where the eyes will be.
Shape the Owl's Head Carve the Head Details
- Create an angled cut from the front corner to the back to define the head shape, leaving a slight flat area for the eyes.
- Gently rock the knife across the top of the head to create a shallow groove for the ears, avoiding splitting the wood.
- Cut down into the stop cuts to shape the ears.
Carve the Head Details Separate Body and Tail
- Score a line to separate the owl's body from the tail. Deepen the score cut and carefully separate the two parts.
Separate Body and Tail Shape the Tail
- Thin the top of the tail and curve the bottom half. Add notches to create a feathery effect.
Shape the Tail Refine and Finish
- Flatten the bottom of the body to create a flat surface for the bookmark. Create a small notch where the body and tail meet to define the separation.
- Round the end of the tail and add details using thumb push method. Draw eyes with a pen.
Refine and Finish


Read more: Crafting a Biodegradable Woodsman's Whistle: A Step-by-Step Guide
Tips
- Don't be afraid to make mistakes; you can always adjust.
- Use gentle, rocking motions with the knife to avoid splitting the wood.
- Take your time and work slowly to achieve the desired shape.