Showing gratitude is a beautiful gesture, and a heartfelt thank you card can make all the difference. But crafting elegant cards doesn't have to be time-consuming or require advanced skills. This tutorial will guide you through creating a charming and personalized thank you card using readily available materials: patterned paper and a stencil. Forget complicated techniques and expensive supplies – we're focusing on simplicity and impact, resulting in a card that's both beautiful and expressive, perfect for any occasion.
With just a few simple steps and everyday craft supplies, you'll learn to transform plain cardstock into a sophisticated thank you note. We'll explore how to effectively use patterned paper to create visual interest, and the magic of stencils to add unique and delicate designs. Ready to elevate your thank you notes effortlessly? Let's dive into the step-by-step process and create a stunning card that speaks volumes.
Preparation and Safety Guidelines
- Corner Blooms stencil
- Patterned paper
- Mini ink cube (Distress Ink - Black Soot)
- Blending brush
- Wendy Vecchi Make Art Station
- Post-it tape
- Card base
- Guillotine trimmer
- Wonky Stitched Rectangle die
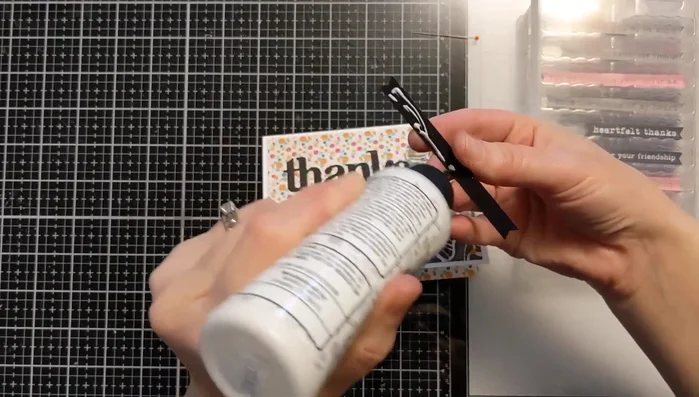
- Liquid glue
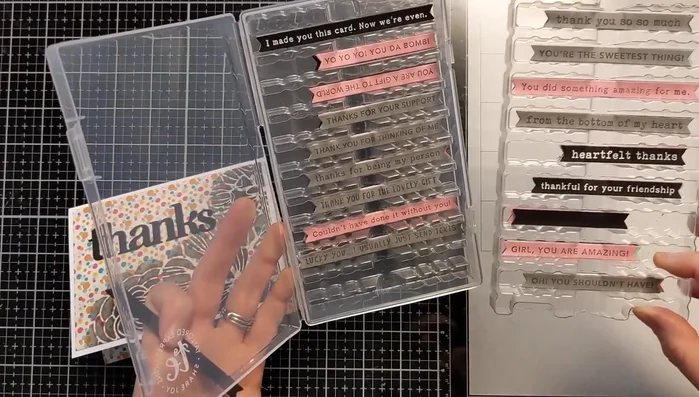
- Sentiment stamps/dies (Hero Arts, Tailored Expressions)
- Always use a craft mat or protected surface when using stencils and cutting tools to avoid damaging your work surface.
- When using spray adhesive or other glues, ensure adequate ventilation and follow the manufacturer's instructions carefully to prevent inhalation of fumes and ensure proper adhesion.
- Supervise children closely if they are participating in any crafting activities involving sharp tools or potentially hazardous materials.
Step-by-Step Instructions
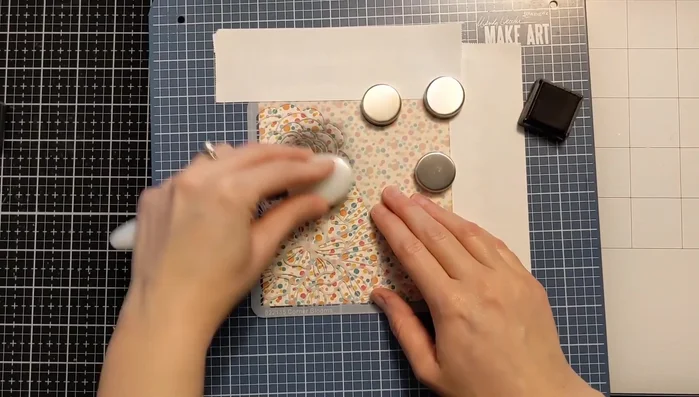
Prepare Supplies
- patterned paper, stencil, ink, blending brush, and Wendy Vecchi Make Art Station.

Prepare Supplies Stencil the Patterned Paper
- Secure the stencil onto the patterned paper using the Wendy Vecchi station and Post-it tape to mask off edges.
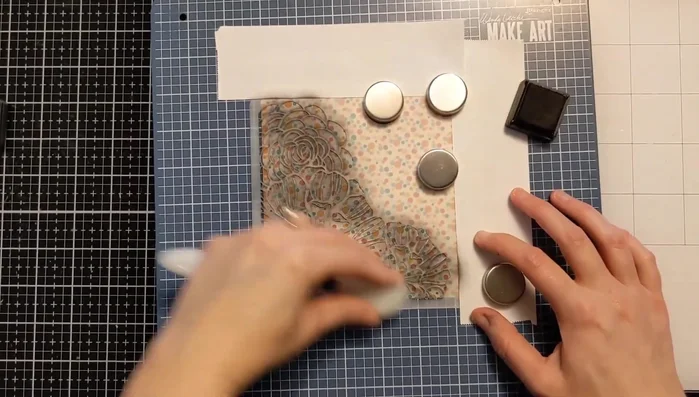
- Apply Distress Ink (Black Soot) onto the stencil using a blending brush, adding darker layers in the center for depth.
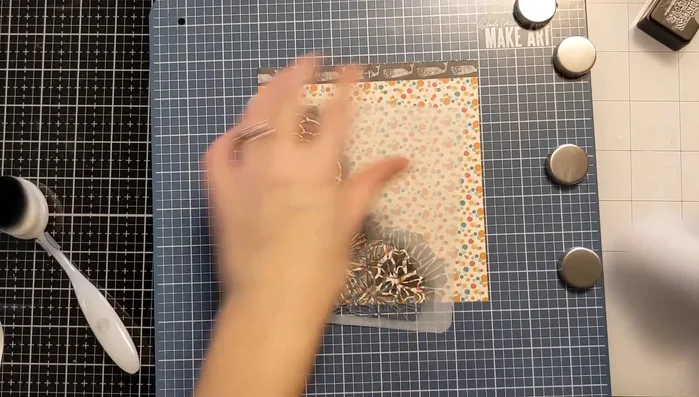
- Remove the stencil and Post-it tape to reveal the embossed design.
Stencil the Patterned Paper Create the Card Base
- Create a card base (A2 size).
- Cut a strip of patterned paper for the inside of the card.
Create the Card Base Die-Cut and Prepare Card Elements
- Die-cut a wonky stitched rectangle from the patterned paper.
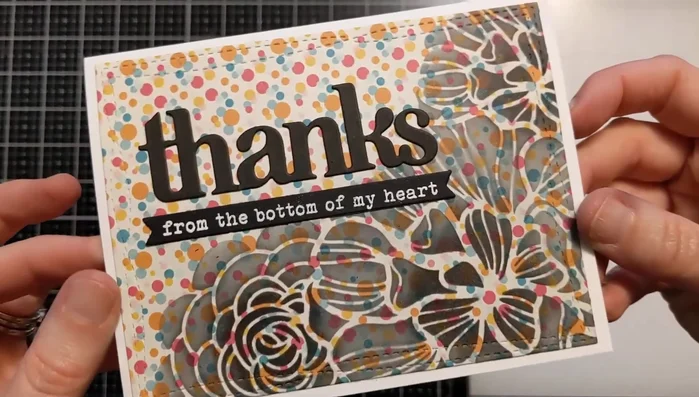
- Choose and die-cut a sentiment ('Thanks' from Hero Arts).
- Add a sub-sentiment ('from the bottom of my heart') using stamps and dies from Tailored Expressions.
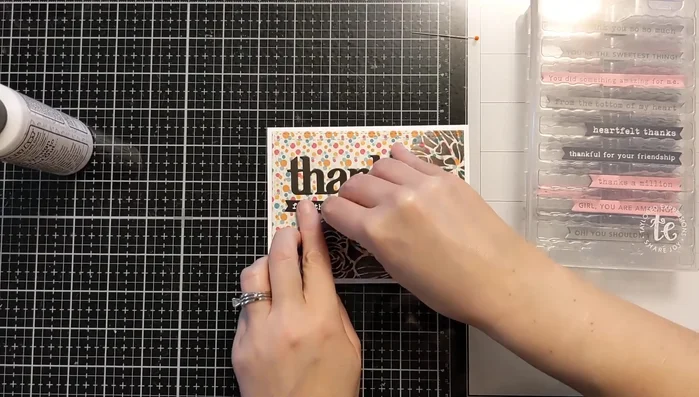
Die-Cut and Prepare Card Elements Assemble the Card
- Attach the die-cut patterned paper panel to the card base using glue.
- Attach the sentiment and sub-sentiment to the patterned paper panel.
- Add the patterned paper strip to the inside of the card.
Assemble the Card


Read more: DIY Witch's Brew Resin Craft: A Step-by-Step Guide
Tips
- Use various colors of ink for a different effect. Deep navy or other dark colors would work well.
- Experiment with different patterned papers and stencil designs for unique card creations.