Step into the magical world of Encanto and unleash your inner artisan with this delightful DIY project! Inspired by the vibrant colors, intricate designs, and heartwarming characters of Disney's hit film, we'll guide you through creating your own stunning Encanto-themed pendant jewelry. Imagine adorning yourself with a miniature Casita, a dazzling hummingbird, or perhaps a representation of Mirabel's iconic glasses – the possibilities are as boundless as your creativity. Each piece will be a unique testament to your crafting skills and a vibrant reminder of the magical Madrigal family.
This guide provides a fun and accessible way to celebrate your love for Encanto, regardless of your crafting experience. Whether you're a seasoned jewelry maker or a complete beginner, you'll find the step-by-step instructions easy to follow, ensuring a successful and satisfying crafting journey. So, gather your supplies and let's get started on transforming your Encanto fandom into wearable art!
Preparation and Safety Guidelines
- 18 pendants (various shapes)
- Glass gems
- Glue
- Necklaces
- Bracelets
- Encanto character images
- Scissors
- Always supervise children when using crafting tools like glue guns or sharp jewelry-making pliers. Hot glue can cause serious burns.
- If using resin, work in a well-ventilated area. Resin fumes can be irritating or harmful if inhaled.
- Be mindful of potential allergies. Check the materials list for any components that might trigger allergic reactions (e.g., certain metals, resins, or paints).
Step-by-Step Instructions
Pendant Preparation
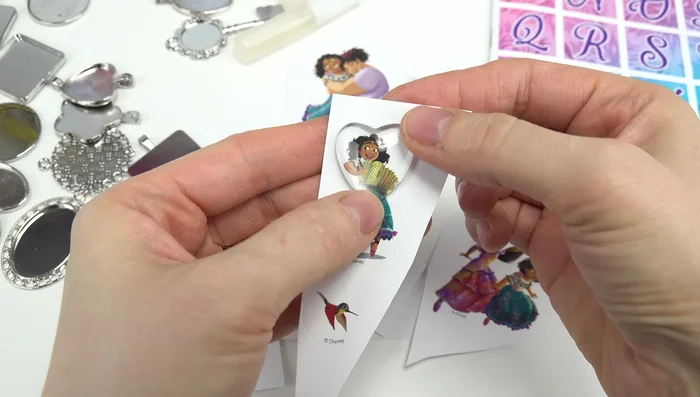
- Choose a pendant shape (heart, square, oval, etc.) and select a corresponding glass gem.
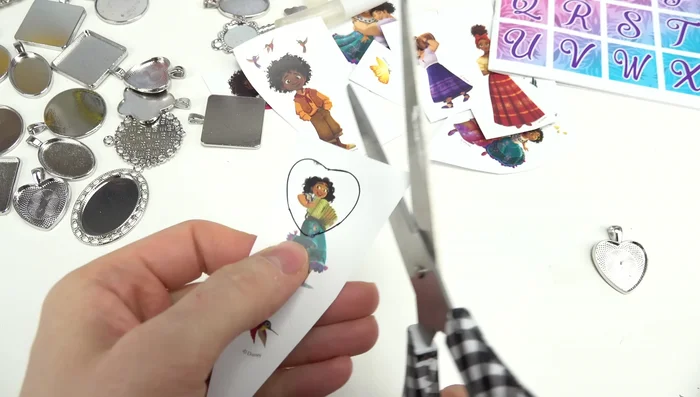
- Place the glass gem on top of the chosen Encanto character image and trace around it.
- Carefully cut out the traced image.

Pendant Preparation Adhering the Image
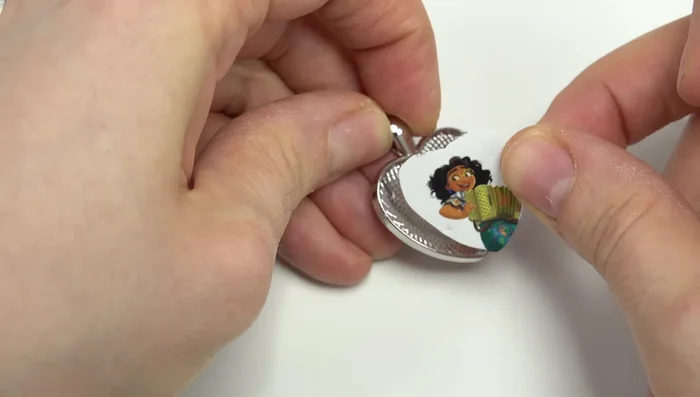
- Apply a small amount of glue to the back of the pendant.
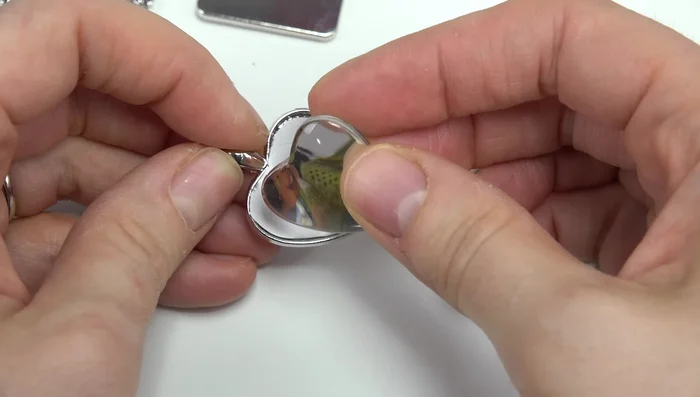
- Center the cut-out image onto the glued pendant and press firmly to adhere.
- Apply glue to the back of the glass gem and place it on top of the image, pressing gently to secure.
Adhering the Image Create Multiple Pendants
- Repeat steps 1-6 for each desired pendant.
Jewelry Assembly
- Once the glue has dried, thread the pendants onto necklaces or bracelets.
Jewelry Assembly


Read more: DIY Witch's Brew Resin Craft: A Step-by-Step Guide
Tips
- Use a small amount of glue to avoid excess seepage.
- Ensure the image is centered on the pendant before pressing to prevent uneven gluing.
- Allow ample drying time for the glue before stringing onto jewelry.