The holiday season is a time for twinkling lights, festive gatherings, and, of course, beautiful decorations. This year, skip the mass-produced ornaments and add a touch of handmade charm to your tree with stunning DIY stained-glass ornaments. Forget the messy, complicated process of traditional stained glass; we're unveiling a revolutionary technique using a surprisingly simple tool: the laminator! This method allows you to create vibrant, professional-looking ornaments with minimal effort and cleanup. Imagine the rich colours and intricate designs you can achieve, reflecting your unique style and adding a personalized touch to your holiday décor.
Forget fragile glass and specialized tools; this project is accessible to crafters of all skill levels. Using readily available materials and a laminator, you can transform ordinary images and papers into dazzling ornaments that will be treasured for years to come. Ready to create your own dazzling masterpieces? Let's dive into the step-by-step process, guiding you through each stage of crafting your beautiful, one-of-a-kind DIY stained-glass holiday ornaments.
Preparation and Safety Guidelines
- Construction paper
- Tissue paper
- String/twine
- Scissors
- Hole punch
- Glue
- Sharpie
- Thermal laminating pouches (or contact paper/self-laminating sheets)
- Laminator (optional)
- Always use a laminator designed for higher-temperature lamination, as standard laminators may not melt the adhesive film properly.
- Exercise caution when handling hot laminator sheets. Use oven mitts or heat-resistant gloves to prevent burns.
- Ensure adequate ventilation while using the laminator, as some laminating films may release fumes.
Step-by-Step Instructions
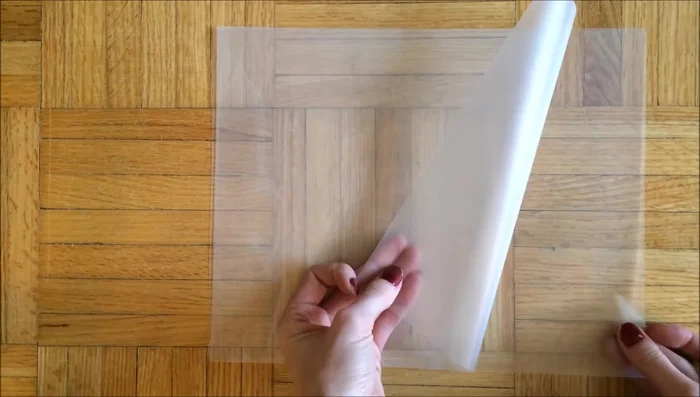
Prepare and Decorate Laminating Sheets
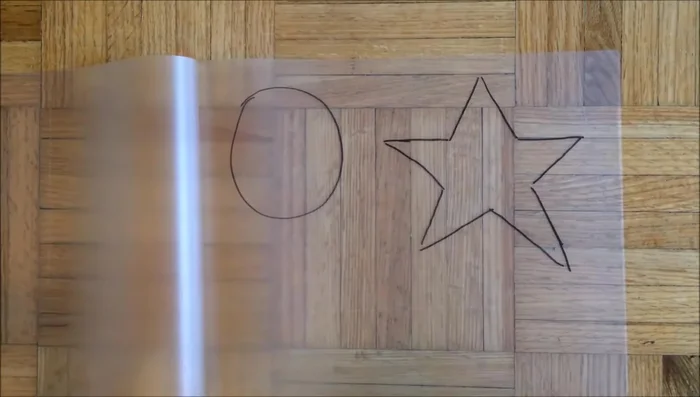
- Prepare your laminating sheets (or contact paper/self-laminating sheets). Draw desired shapes (e.g., circles, stars) onto the sheets.
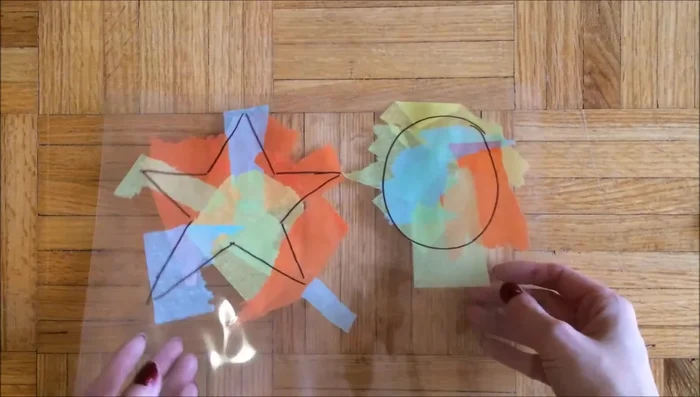
- Tear or cut pieces of tissue paper in various colors. Completely cover the drawn shapes with the tissue paper pieces. It's okay if they overlap the lines.

Prepare and Decorate Laminating Sheets Laminate the Design
- Carefully seal the laminating sheet (or apply contact paper/self-laminating sheets). If using a laminator, run the sheet through it. Adjust any tissue paper pieces that shift.
Laminate the Design Cut Out Ornaments
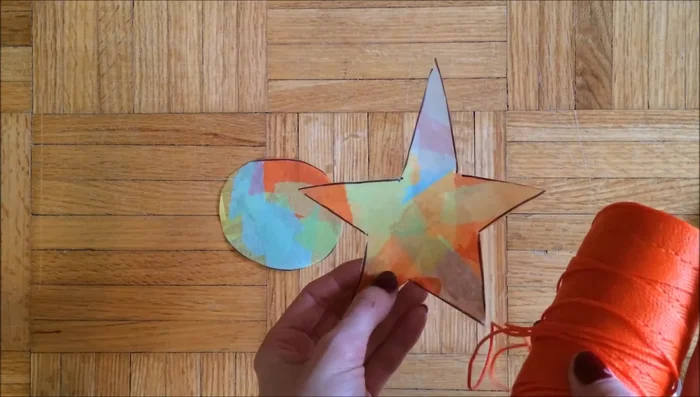
- Cut out your shapes.
Cut Out Ornaments Add Decorative Accents (Optional)
- Add extra details. The example shows cutting out a smaller star from black construction paper, and then gluing it onto a larger, laminated star to create a layered effect.
Add Decorative Accents (Optional) Add Hanger
- Punch a hole in your ornament, thread the string through, and tie it to create a hanger.
Add Hanger


Read more: DIY Witch's Brew Resin Craft: A Step-by-Step Guide
Tips
- Don't worry about making perfect shapes; unique imperfections add character.
- You can use this technique for any holiday or occasion by adapting the shapes and colors.
- Hang the ornaments on a tree or window to let light shine through for a stained-glass effect.