The holiday season is a time for twinkling lights, cozy gatherings, and of course, stunning decorations. This year, ditch the mass-produced ornaments and embrace the charm of handcrafted artistry with DIY marbled glass ornaments! These elegant decorations are surprisingly simple to create, offering a rewarding crafting experience for both beginners and seasoned DIY enthusiasts. The mesmerizing swirls of color add a touch of unique sophistication to any Christmas tree, making them a perfect personalized gift or a beautiful addition to your own festive décor.
Imagine the vibrant hues swirling within delicate glass globes, catching the light and adding a touch of magic to your holiday display. These captivating ornaments are far easier to make than you might think, and the results are truly breathtaking. Ready to transform plain glass balls into dazzling works of art? Let's dive into the step-by-step guide to creating your own stunning marbled glass ornaments.
Preparation and Safety Guidelines
- Glass ornaments (with removable tops)
- Acrylic craft paint (various colors)
- Plastic cup
- Paper towels
- Always work in a well-ventilated area. The paints and solvents used can release fumes.
- Adult supervision is required, especially when working with young children. Keep paints and small ornaments out of reach.
- Use caution when handling glass ornaments. They are fragile and can break easily, causing injury.
Step-by-Step Instructions
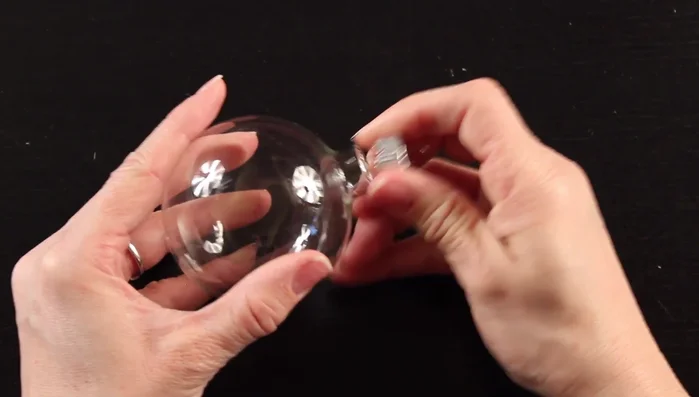
Prepare Ornaments and Paint
- Remove the tops of your glass ornaments and set them aside.
- Shake up your paint well.

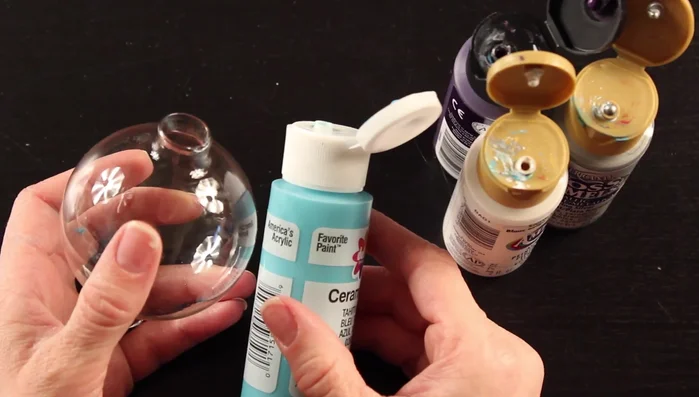
Prepare Ornaments and Paint Drizzle and Layer Paint
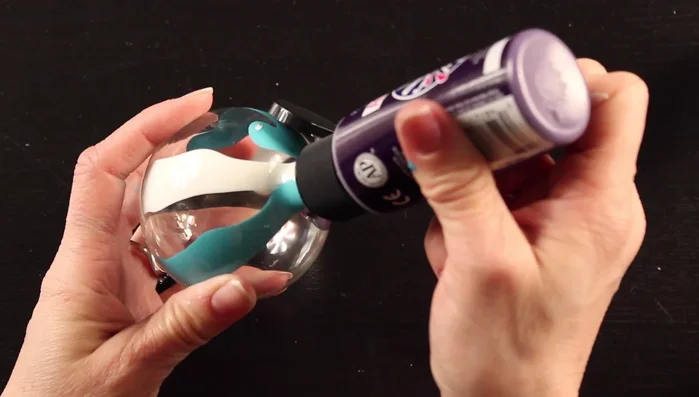
- Holding the ornament at an angle, slowly drizzle paint onto the inside, letting it drip down the sides. Add different colors, one at a time, allowing each to drip before adding the next.
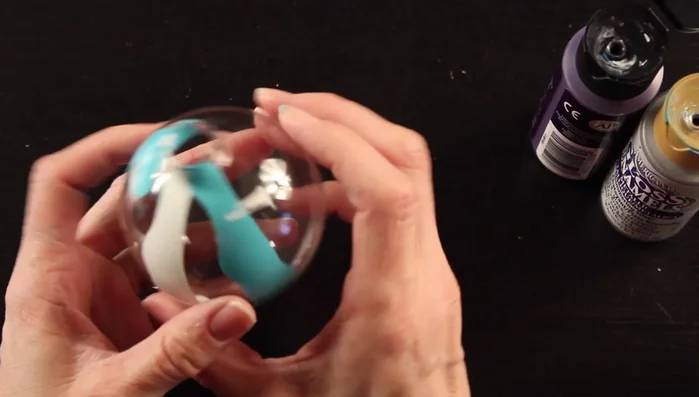
- Clean up any paint that gets on the outside of the ornament with a damp paper towel or your finger.
- Continue adding paint, paying attention to color placement. Consider the order and proximity of colors to create desired effects (e.g., placing lighter colors between complementary colors to prevent them from muddying).
Drizzle and Layer Paint Marble the Paint
- Place a paper towel over the opening of the ornament, hold it tightly, and shake vigorously, turning the ornament in different directions to marble the paint.
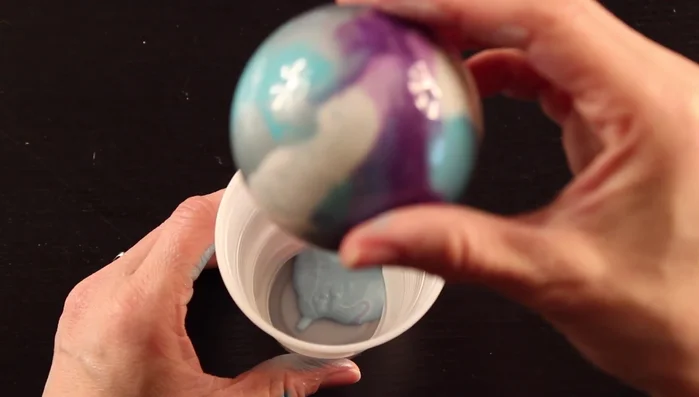
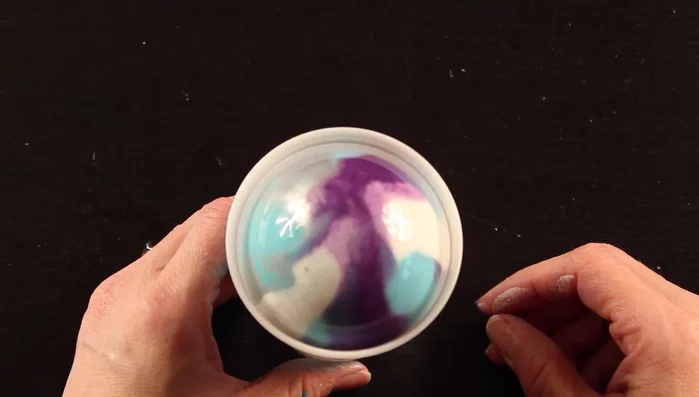
Marble the Paint Drain and Dry
- Tilt the ornament upside down and place it in a cup to drain for about an hour.
- Once drained, place the ornament right-side up to dry completely.
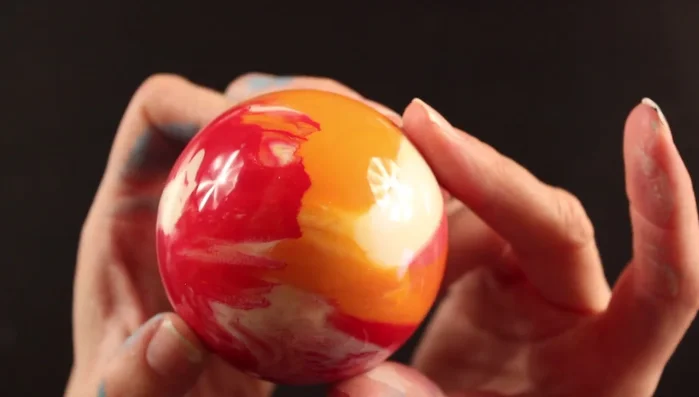
Drain and Dry Finish and Decorate
- Carefully replace the top of the ornament.
Finish and Decorate

Read more: DIY Witch's Brew Resin Craft: A Step-by-Step Guide
Tips
- Pay attention to the order you add colors to create visually interesting effects. Lighter colors between complementary colors prevent muddying.
- Don't be afraid to experiment with color combinations and placement. No two ornaments will ever be exactly alike!
- Shake vigorously to achieve a fully marbled effect, but be gentle with the glass to avoid breakage.