Love jewelry but tired of tangled necklaces and misplaced earrings? A beautiful and organized jewelry collection starts with the perfect storage solution, and what's better than a handcrafted one? This tutorial will guide you through creating your very own elegant jewelry box using the fascinating art of origami. Forget expensive store-bought options; with just a few sheets of paper and a little patience, you can craft a stunning and personalized storage solution that adds a touch of artistry to your dressing table. We'll explore the simplicity and satisfying process of folding paper into a functional and beautiful piece.
Forget complicated instructions and frustrating failures! This origami jewelry box is surprisingly easy to make, even for beginners. Using simple folds and clear diagrams, you'll transform ordinary paper into a charming and practical container. Ready to learn how to make this delightful little box? Let's dive into the step-by-step instructions and begin crafting your very own origami masterpiece!
Preparation and Safety Guidelines
- Colored paper
- Use sharp scissors with caution, keeping fingers away from the blades. Adult supervision is recommended, especially for younger crafters.
- Avoid using excessive force when folding the paper; this can cause tearing or creases that affect the final appearance. Work slowly and carefully.
- If using glue or adhesive, ensure proper ventilation and follow the manufacturer's instructions carefully. Keep away from children and pets.
Step-by-Step Instructions
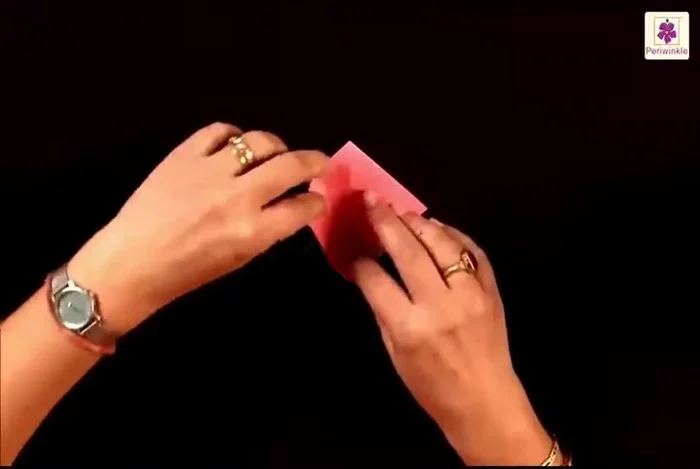
Initial Creases
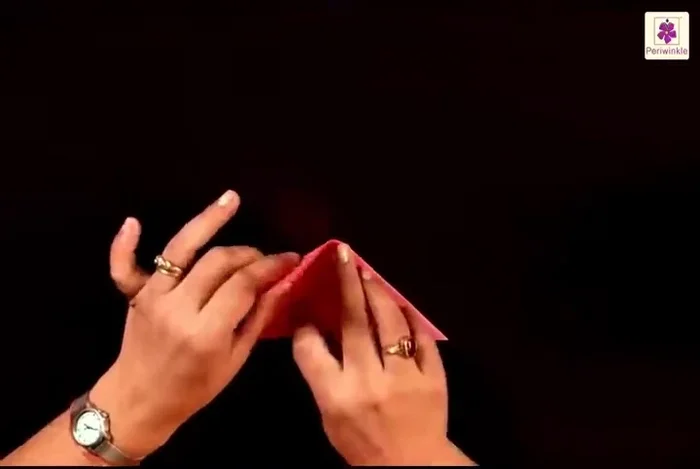
- Fold the top right corner to the bottom left corner.
- Place the corners on top of each other and press the fold.
- Lift the top left corner and fold it to the bottom right corner.
- Lift the top flap from the bottom right corner and place it to the bottom left corner.

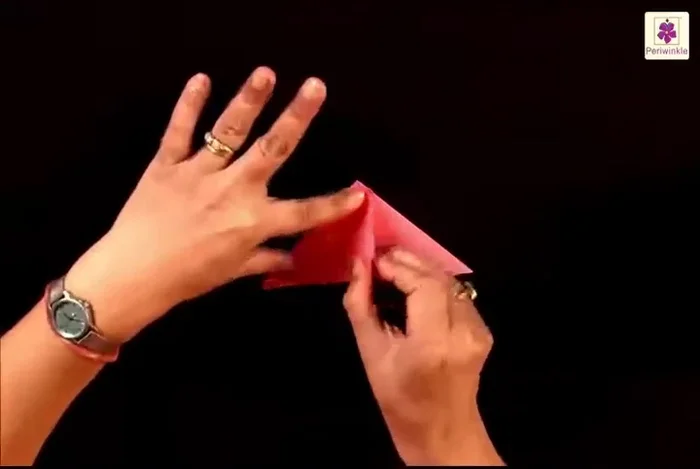
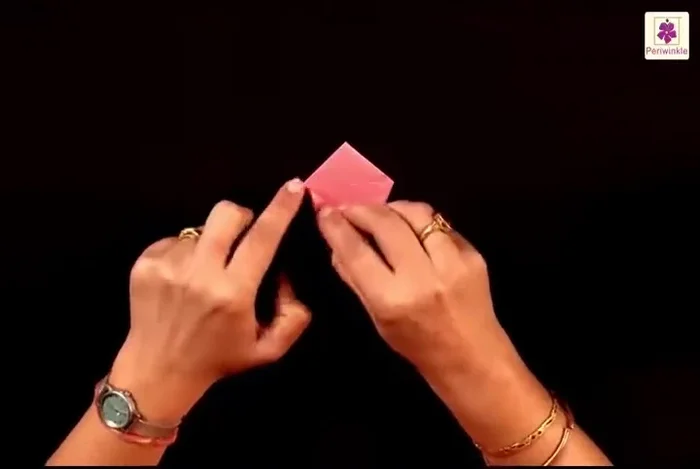
Initial Creases Forming the First Squares
- Lift the top flap, put your finger in, and open it outwards. Repeat on the other side.
- Flip it over and repeat steps 5 on the other side, creating creases first by folding the bottom left corner to the bottom right corner, pressing the fold and then folding the left side to the top right side.
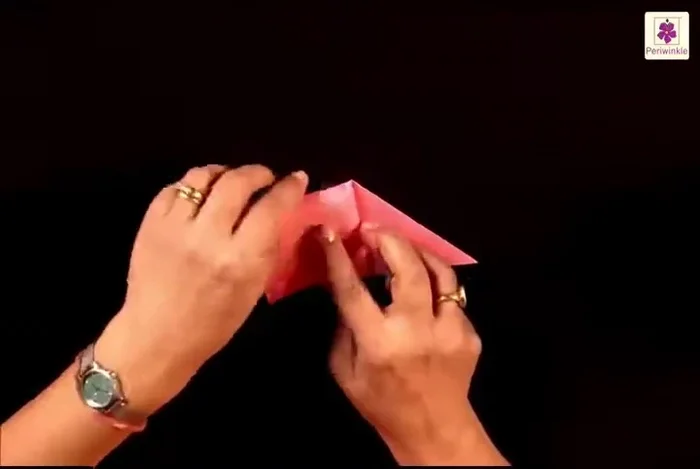
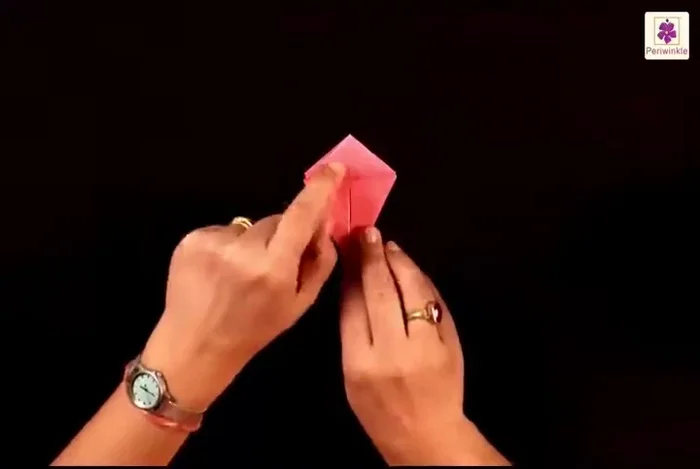
Forming the First Squares Creating the Box Base
- Turn it sideways with the open-ended corners at the bottom. Lift the upper flap and fold it from the bottom, bringing the left corner to the center line. Repeat on the right side.
- Flip it over and repeat step 7 on the other side.
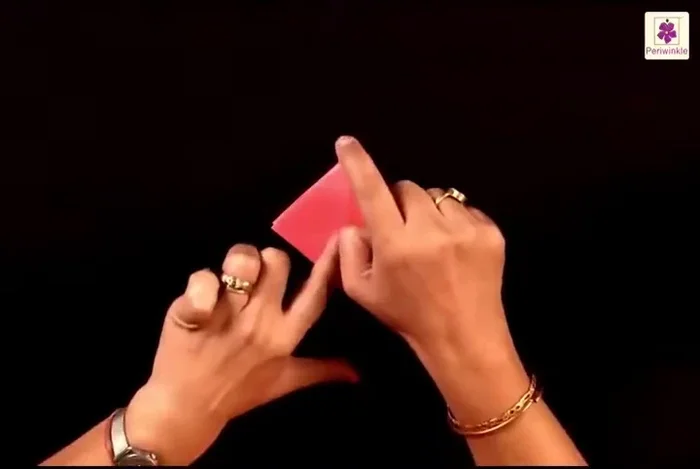
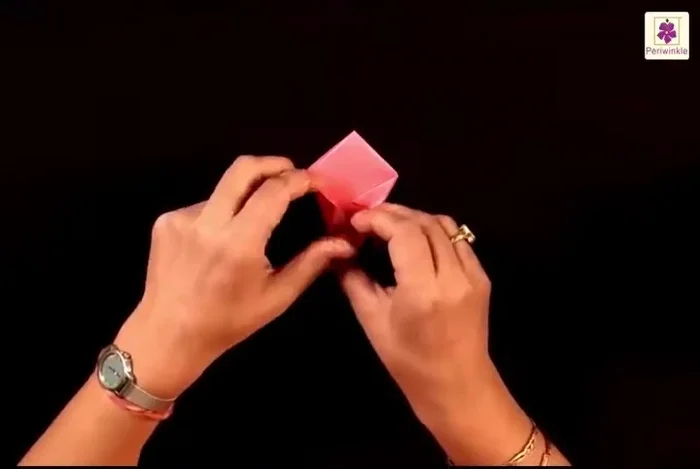
Creating the Box Base Inner Flaps
- Fold the inner corner of the left flap (on the center line) to the left side. Repeat on the right side.
- Flip it over and repeat step 9 on the other side.
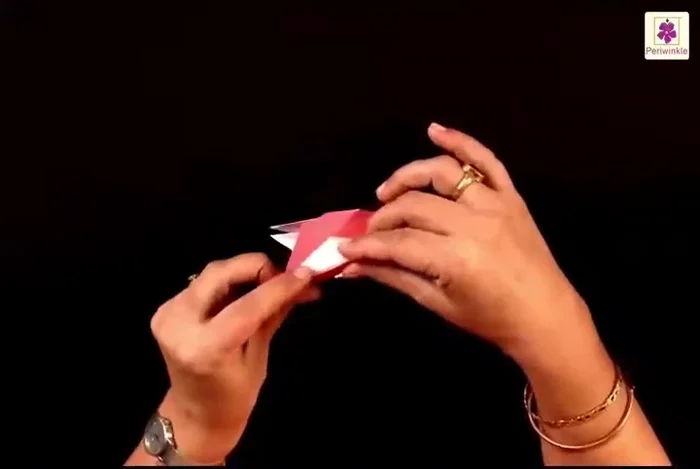
Inner Flaps Shaping the Sides
- Unfold and open the flap. Bring the top side to the center line, pressing the sides simultaneously. Repeat on all four sides.
Shaping the Sides Mountain Folds
- Fold the left side of the left flap to the back side (mountain fold). Repeat on the right side.
- Flip it over and repeat step 12 on the other side.
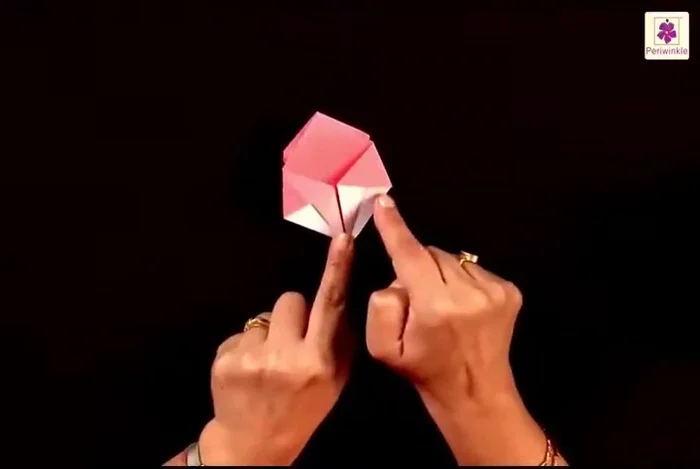
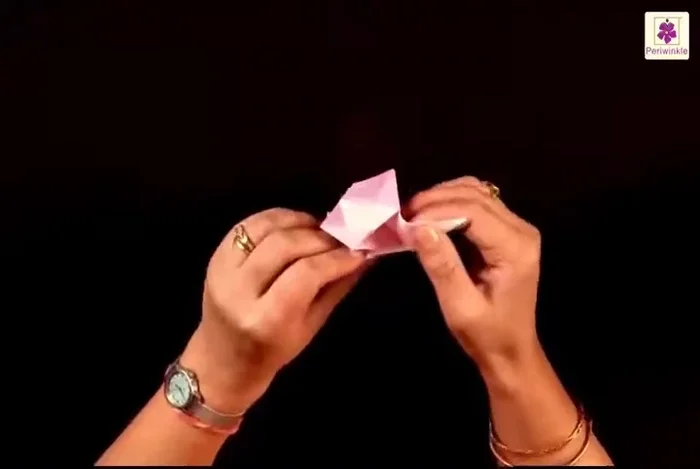
Mountain Folds Final Shaping
- Lift the uppermost flap and fold it towards the top tip, aligning with the bottom corners of the small triangles. Repeat on the other side.
- Bring the two remaining flaps downwards. Fold them on the sides, then open them slightly. Push in from inside to shape the box.
Final Shaping


Read more: DIY Witch's Brew Resin Craft: A Step-by-Step Guide
Tips
- N/A