Unleash your child's inner artist with this fun and easy craft project: creating mosaic picture frames using colorful ceramic tiles! This vibrant activity is perfect for rainy days, school holidays, or any time you're looking for a creative outlet that's both engaging and rewarding. Kids will love the tactile experience of arranging the tiles, developing their fine motor skills and artistic expression all at once. The finished product is a beautiful and personalized keepsake they can proudly display, showcasing their unique design and creativity. They’ll be so excited to fill their handmade frame with a treasured photograph!
This simple project requires minimal materials and preparation, making it ideal for even the youngest crafters (with appropriate adult supervision, of course). From selecting the tiles to carefully gluing them in place, this activity encourages patience, precision, and a sense of accomplishment. Ready to get started on this colorful adventure? Let's dive into the step-by-step instructions below to create your own dazzling mosaic picture frames.
Preparation and Safety Guidelines
- inexpensive wood frames
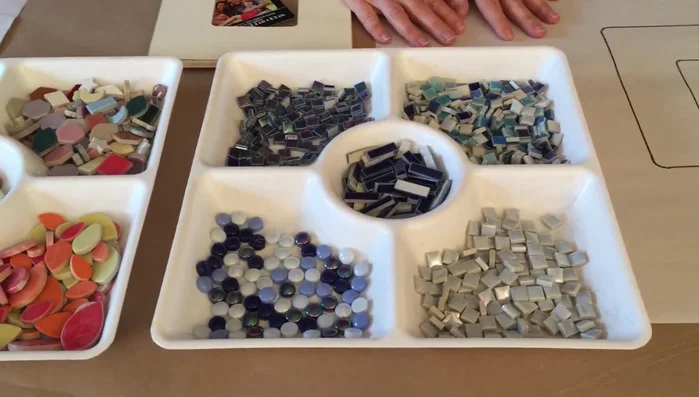
- ceramic tiles
- cardboard
- PVA glue
- water
- box cutter
- well bond (or similar adhesive)
- sanded grout
- paintbrush
- sponges
- latex gloves
- rags
- paper towels
- squirt bottle
- mirror (optional)
- photograph (optional)
- Adult supervision is required at all times. Ceramic tiles can be sharp and breakable.
- Use appropriate safety glasses to protect eyes from flying tile fragments during the breaking process (if breaking tiles).
- Ensure the workspace is clean and well-lit to prevent accidents. Clean up any broken tiles immediately.
Step-by-Step Instructions
Prepare the Frames
- Score the surface of the wood frames with a box cutter to give it some tooth. This increases the adhesive's grip.
- Apply a 50/50 mixture of white PVA glue and water to the scored wood. This helps seal the porous wood and improves adhesion.
- Allow the primed frames to dry overnight or for a couple of hours.
Design and Glue Tiles
- Create a design on the frame using the ceramic tiles. Use a template (cardboard cut to the frame size) to help arrange tiles efficiently.
- Apply a good quality white PVA glue to the backs of the tiles and adhere them to the frame according to your design. Space tiles between 1/16 to 1/2 inch apart for grouting.
- Let the glued tiles dry completely (overnight is recommended).

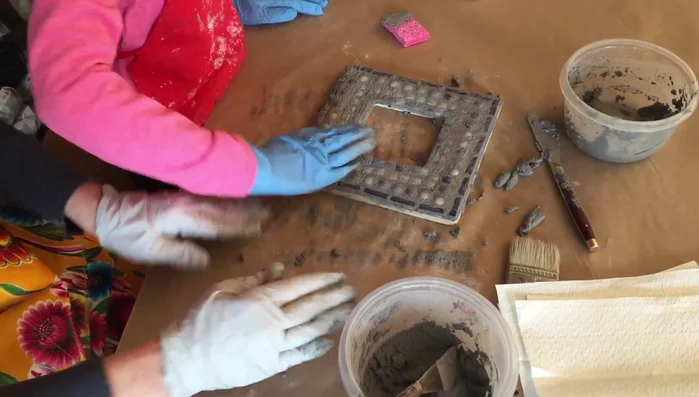
Design and Glue Tiles Apply and Finish Grout
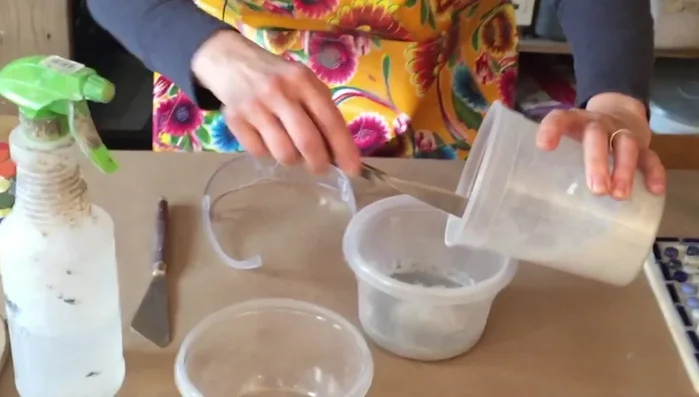
- Mix the sanded grout with water (using a squirt bottle to avoid overwatering).
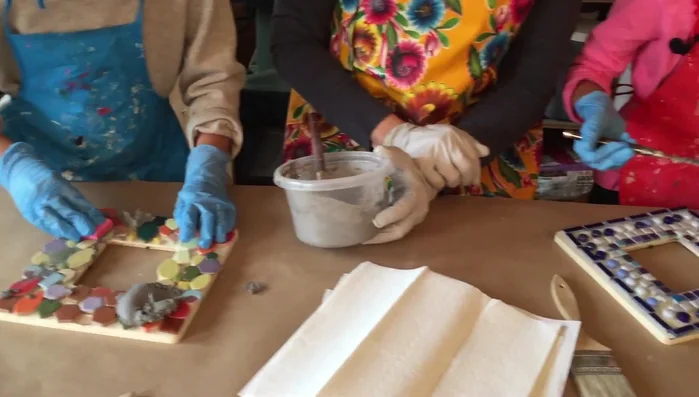
- Apply a generous amount of grout to the spaces between the tiles. Use your fingers (wearing gloves) to fill the gaps.
- After allowing the grout to sit for a while, wipe away the excess grout with a damp sponge or rag.
- Buff the surface with a dry rag to remove any remaining grout residue.
Apply and Finish Grout Add Picture
- Insert a pre-cut mirror or photograph (using the cardboard template as a guide) into the frame.

Read more: DIY Witch's Brew Resin Craft: A Step-by-Step Guide
Tips
- Use a cardboard template for efficient tile arrangement and as a guide for cutting pictures or mirrors.
- Space tiles between 1/16 to 1/2 inch apart for easy grouting.
- Use sanded grout for better adhesion and a smooth finish.
- Use a squirt bottle to control the amount of water added to the grout.
- Use industrial-strength paper towels for efficient grout removal.