Transforming a blank wall into a captivating masterpiece is easier than you think! Giant wall murals offer a dramatic way to personalize your space, adding personality and impact unlike any other décor. Forget expensive professional installations – with a little planning and the right approach, you can create a stunning focal point in your home or office, all by yourself. Imagine the satisfaction of creating such a visually striking feature, a testament to your creativity and DIY prowess. The possibilities are endless, from breathtaking landscapes to vibrant abstract art, limited only by your imagination.
This guide demystifies the process of installing a large-scale wall mural, providing a comprehensive, step-by-step approach that even novice DIYers can confidently follow. Let's dive in and discover how to effortlessly install your own awe-inspiring giant wall mural, turning your vision into a stunning reality.
Preparation and Safety Guidelines
- Measuring tape
- Utility knife
- Level
- Squeegee
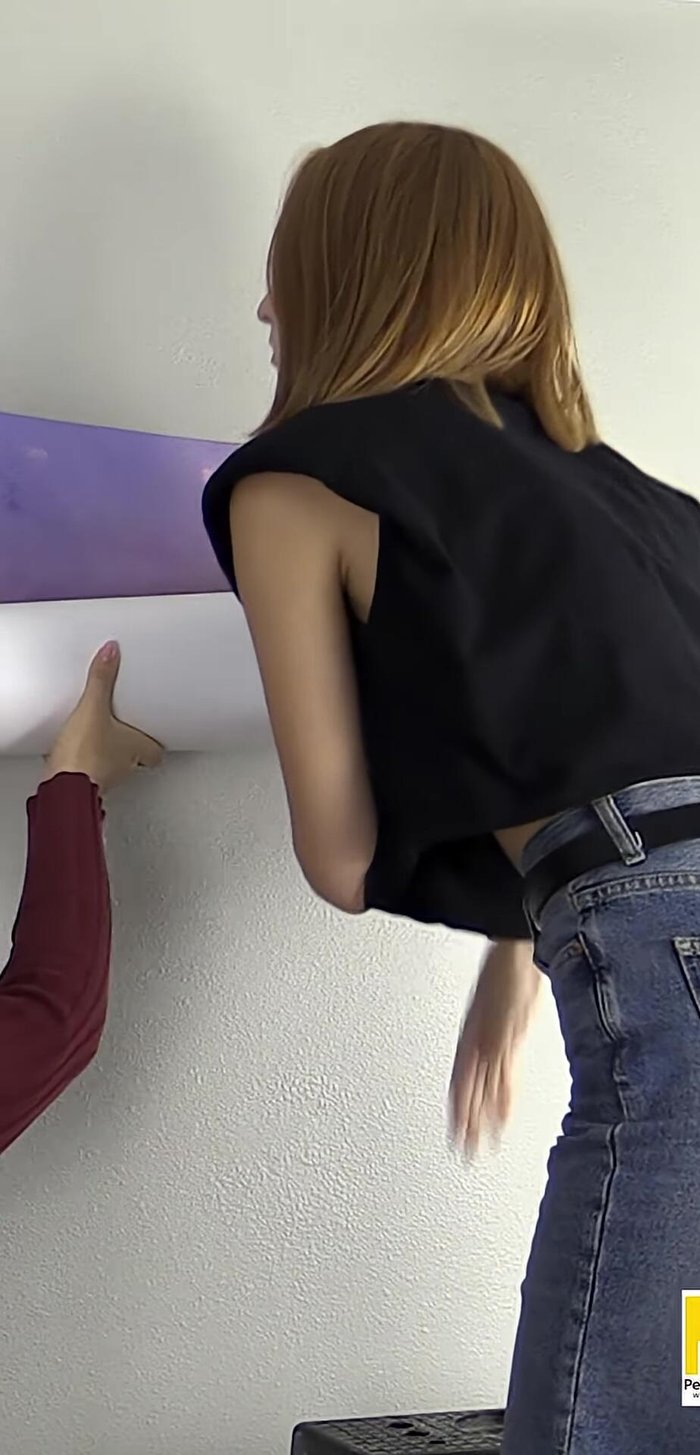
- Always work with a partner or helper, especially when handling large, unwieldy mural sections. This prevents injury and makes the process significantly easier.
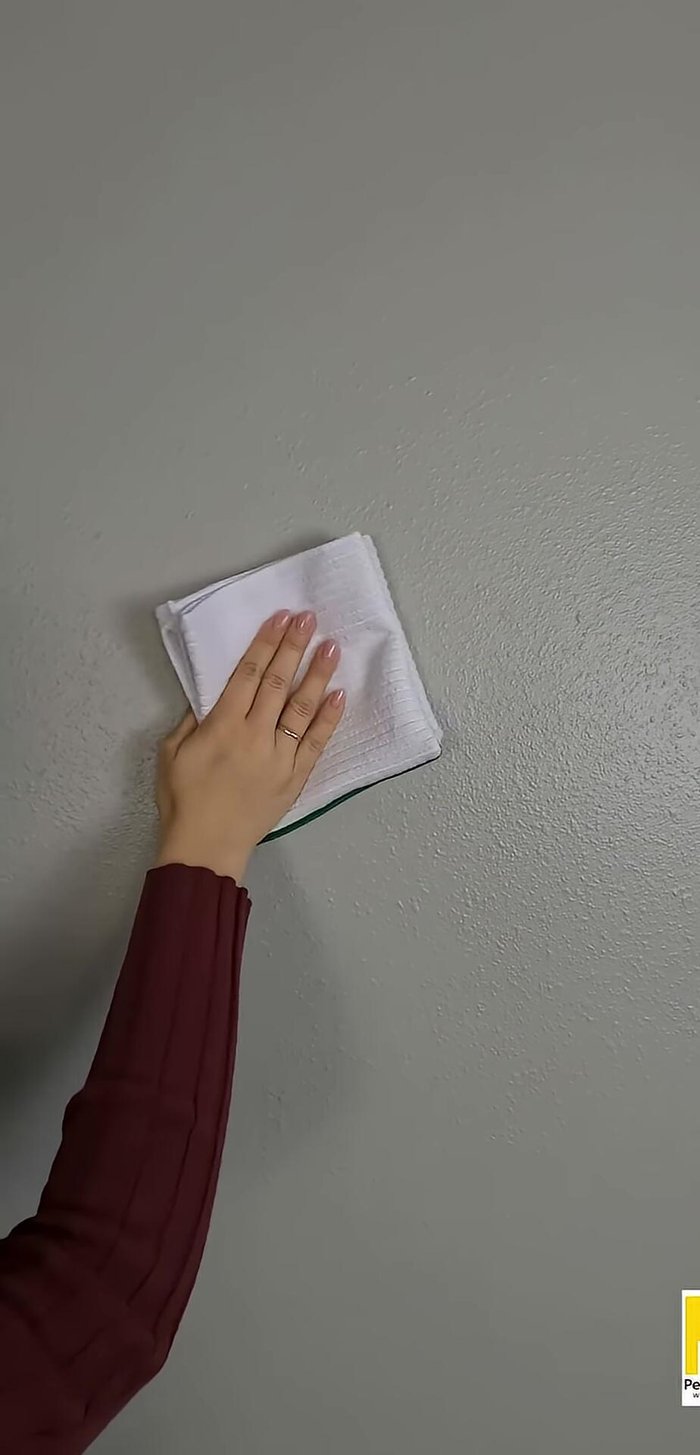
- Ensure the wall surface is clean, dry, and smooth. Any imperfections will show through the mural and impact the final look. Proper preparation is key.
- Use appropriate safety equipment like gloves and eye protection, especially when working with adhesives or sharp tools for trimming.
Step-by-Step Instructions
Preparation
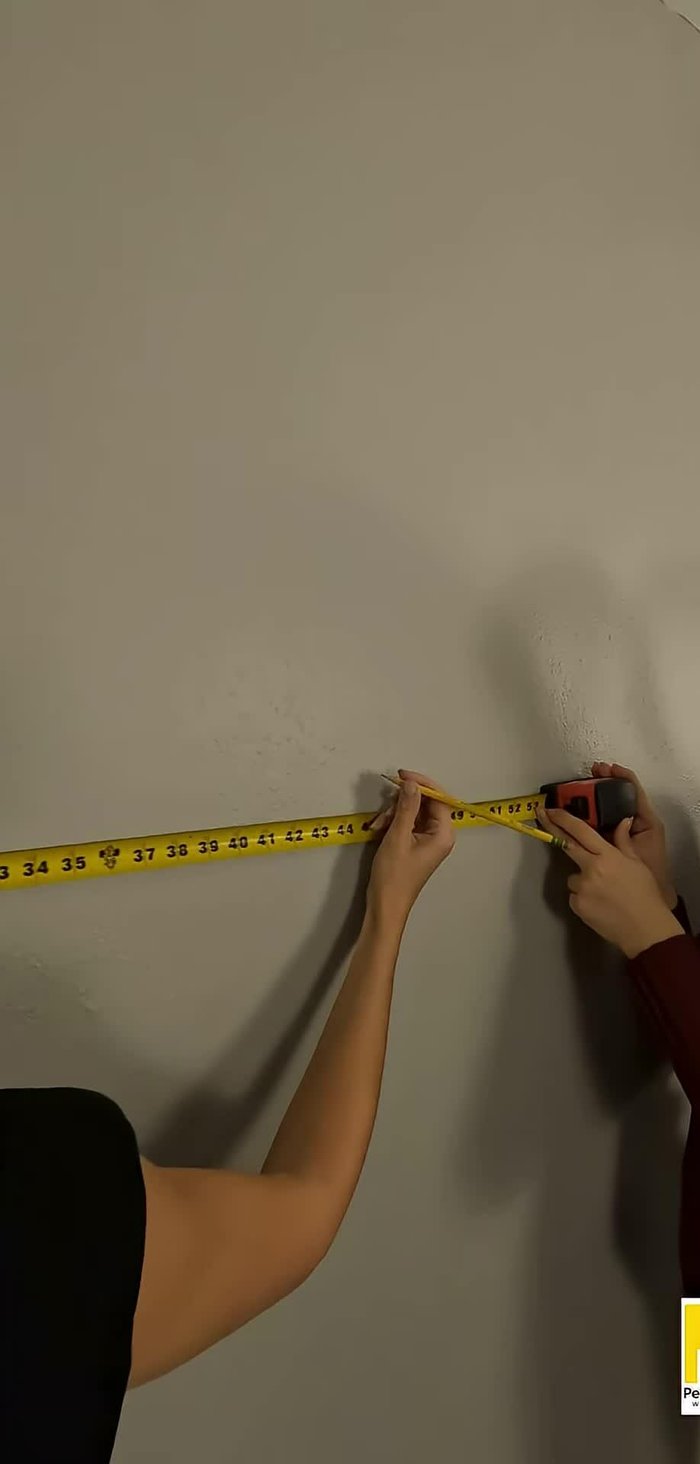
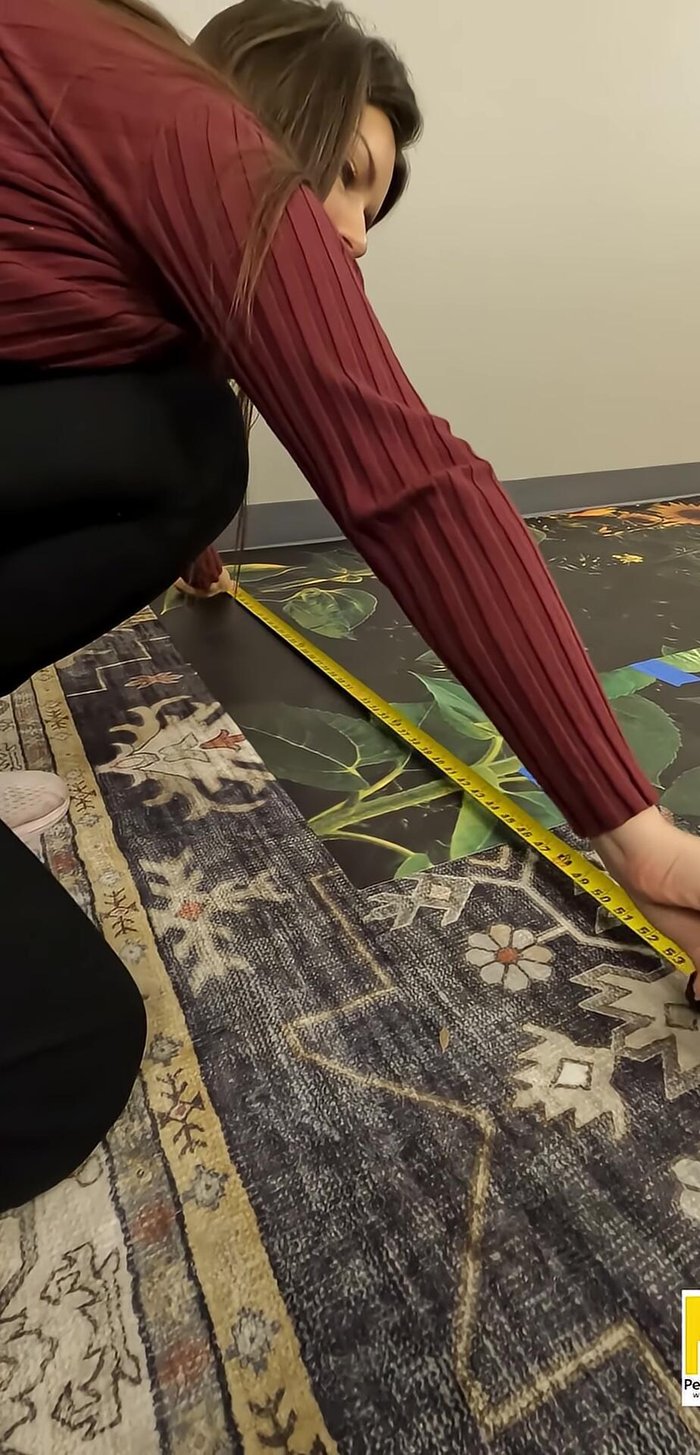
- Accurately measure the wall.
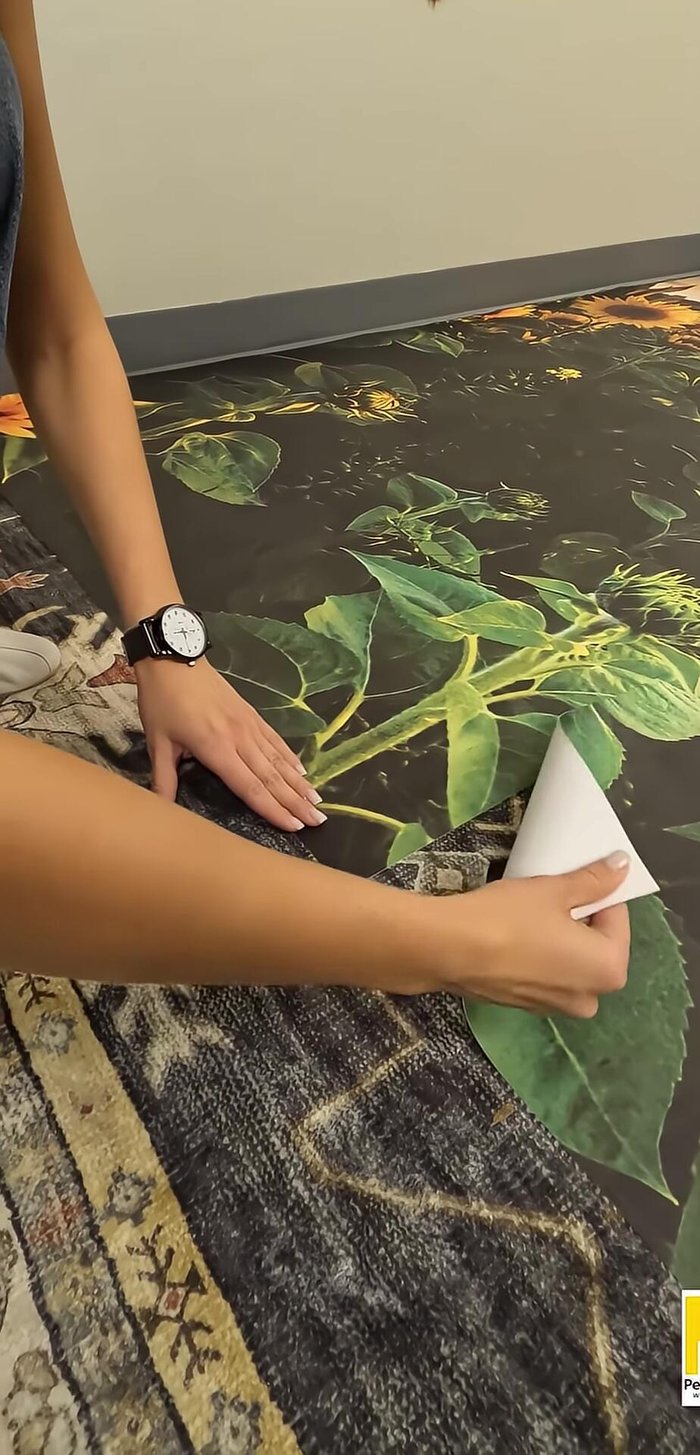
- Unroll and relax the mural panels on the floor.
- Clean the walls of dirt, oil, and grease. Ensure paint is fully cured (at least 4 days). Check for bumps and dents.
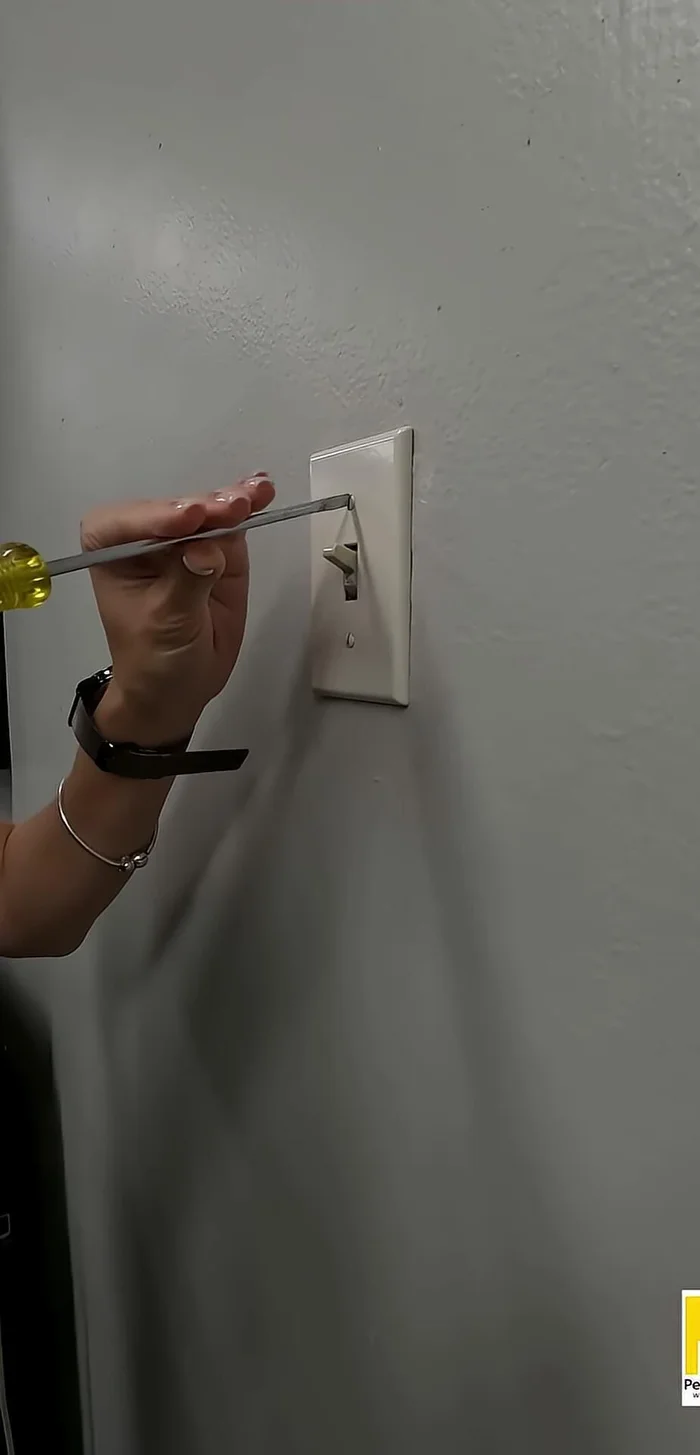
- Remove switch and outlet covers.

Preparation Panel Alignment and Marking
- Lay down the panels, starting with the leftmost one, overlapping by 1 inch. Tape and mark the overlap for precise cutting.
- Measure and mark the wall for the first panel (considering the 1-inch bleed). Use a level to mark two points 3 feet apart vertically.
Panel Alignment and Marking Installing the First Panel
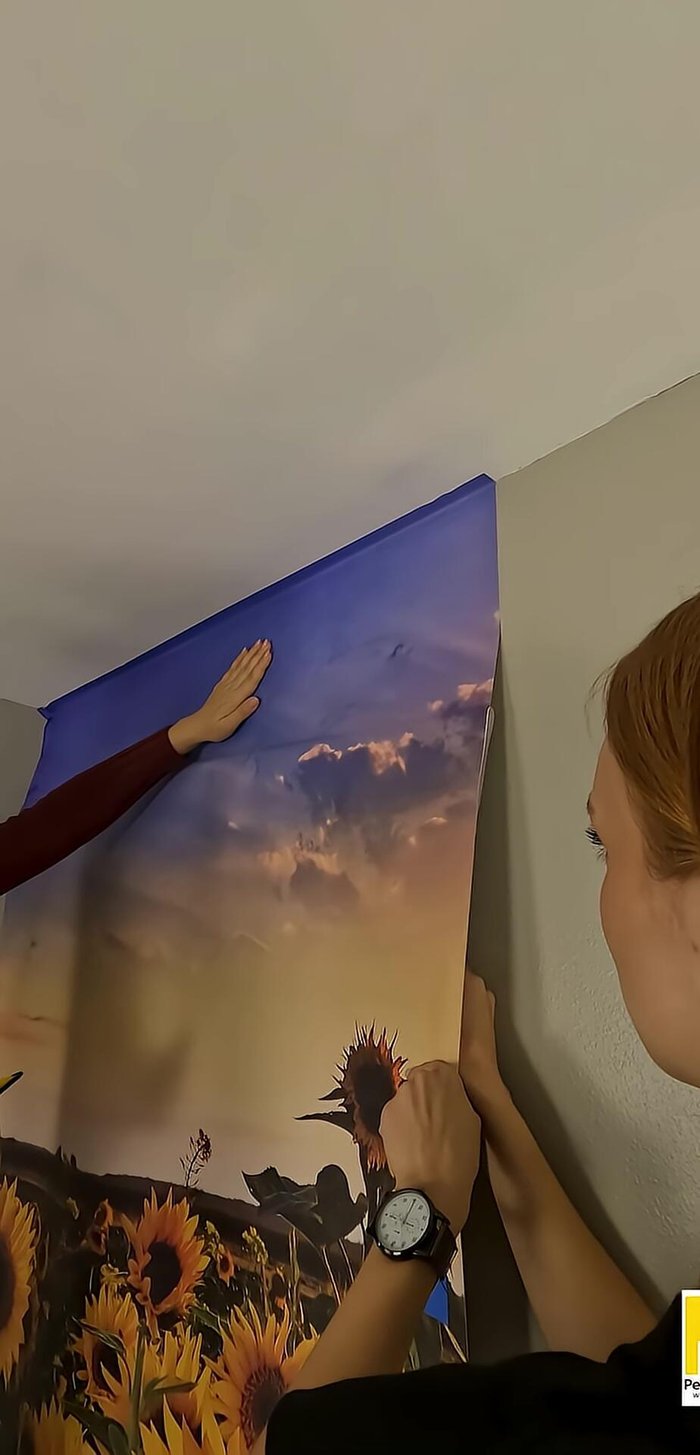
- Place the first panel face down, peel back about 10 inches of liner from the top, and crease. Align the panel on the wall, ensuring the right side aligns with the marks and you have about an inch of bleed at the top.
- Smooth the panel from the middle outward, working in 10-inch sections. Continue until the whole panel is adhered.
Installing the First Panel Installing Remaining Panels
- Repeat for the remaining panels, aligning using the marked arrows and overlapping by 1 inch.
Installing Remaining Panels Finishing Touches
- Trim the mural around light switches and outlets, carefully avoiding electrical wires.
Finishing Touches

Read more: DIY Witch's Brew Resin Craft: A Step-by-Step Guide
Tips
- If a bubble forms or the graphic is misaligned, carefully peel it back and reposition.