Step into a world of intricate detail and whimsical charm as we embark on a captivating journey of fantasy wood carving. This project will guide you through the creation of Elwin, a mischievous and endearing elvin forest creature, brimming with personality and painstakingly crafted features. From the delicate curve of his pointed ears to the intricate patterns adorning his tiny tunic, Elwin is a testament to the artistry and patience required in this beloved craft. We’ll explore the techniques needed to bring this tiny woodland dweller to life, utilizing a variety of tools and approaches to achieve a truly remarkable result.
Prepare to be amazed as we delve into the fascinating process of bringing Elwin into existence, piece by painstaking piece. This detailed guide will walk you through each step, from selecting the perfect piece of wood to applying the final touches of finishing and detailing. Get ready to unleash your creativity and discover the magic of transforming a simple block of wood into a captivating miniature masterpiece.
Preparation and Safety Guidelines
- Knife
- Gouge
- Always use sharp tools. Dull tools require more force, increasing the risk of slips and injuries.
- Wear appropriate safety gear: safety glasses to protect your eyes from flying wood chips, and a dust mask to prevent inhaling wood dust.
- Work in a well-lit, organized area free from distractions. A cluttered workspace increases the risk of accidents.
Step-by-Step Instructions
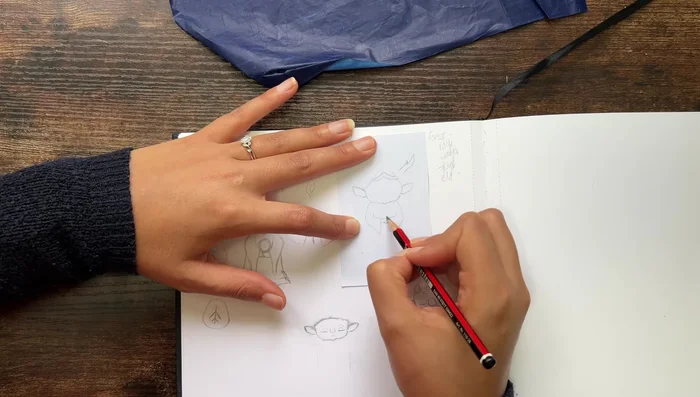
Preparation
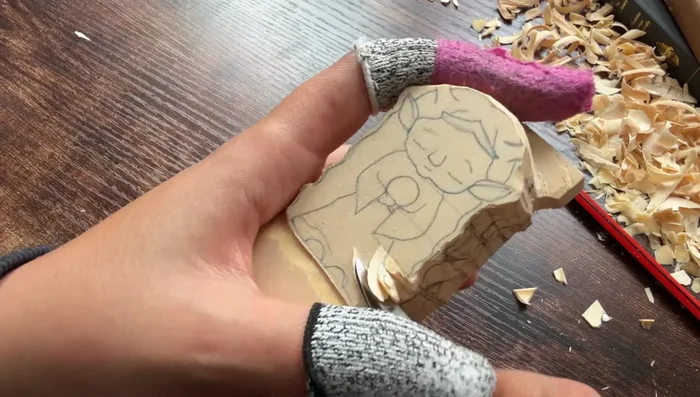
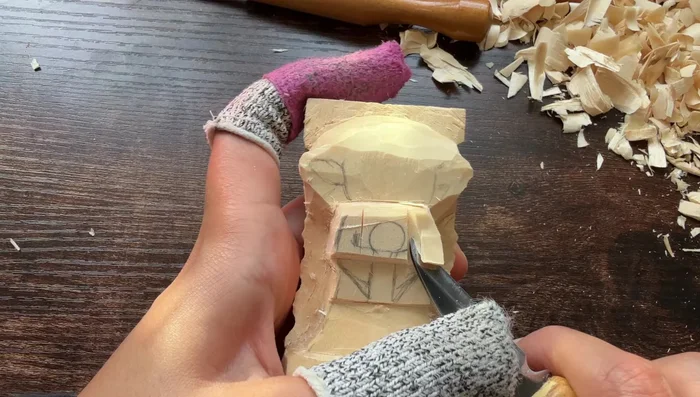
- Trace drawing onto wood using transfer paper.

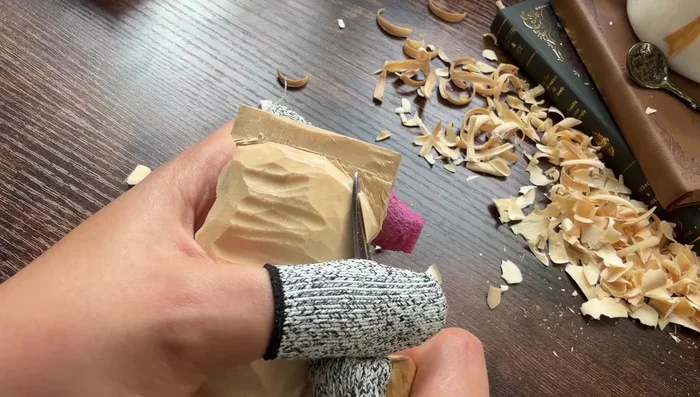
Preparation Initial Carving
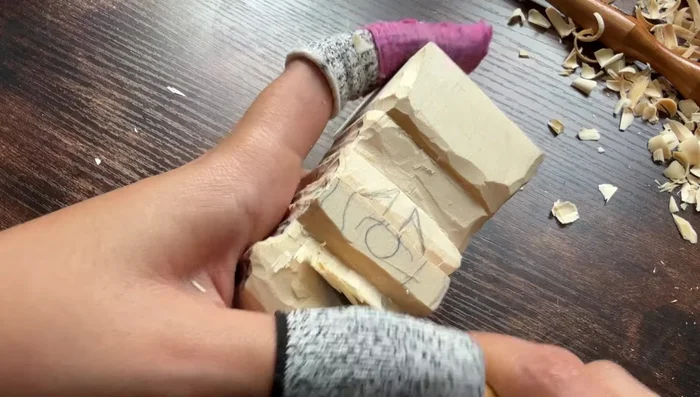
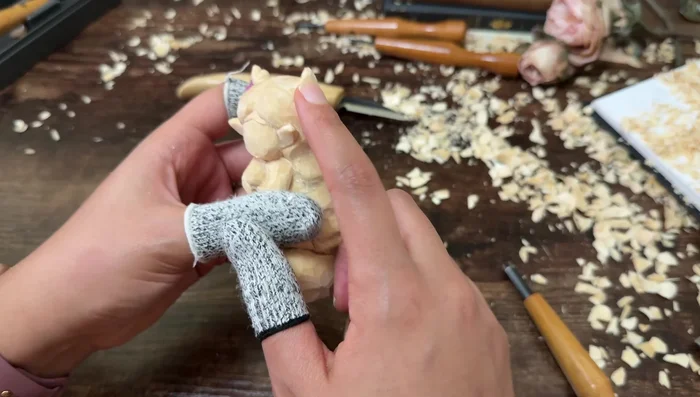
- Begin carving, removing excess wood from the sides first.
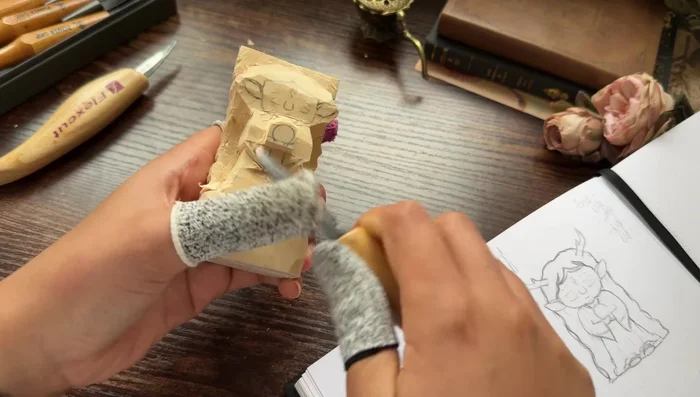
- Carefully carve away wood little by little, shaping the head and antlers.
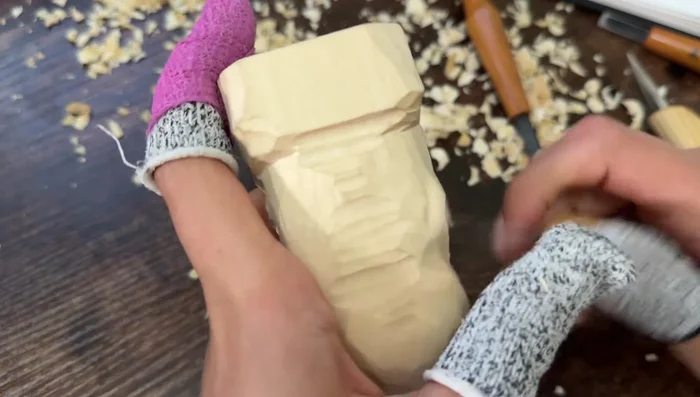
- Carve the skirt and forearm portions, removing excess wood and shaping.
Initial Carving Refining the Shape
- Refine the head shape, removing wood until the face begins.
- Frame out the hair from the body using stop cuts.
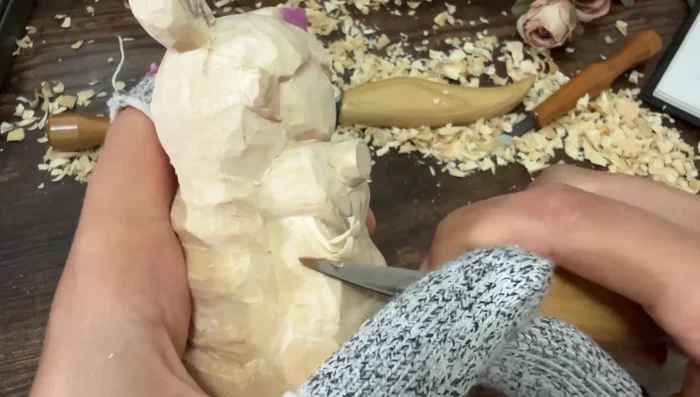
- Shape the arms, creating a ball area that protrudes further than the arms.
- Refine the overall shape, removing excess wood and paying attention to detail.
Refining the Shape - Round off harsh edges to create a more realistic look.
Refining the Shape Delicate Carving
- Carefully carve the ears, taking time to avoid removing too much wood.
- Carefully carve the antlers, being mindful of potential breakage.
Delicate Carving Adding Details
- Add a headband detail.
- Add texture to the hair using horizontal indents.
Adding Details Finishing
- Sand the carving to smooth out rough edges and splinters.
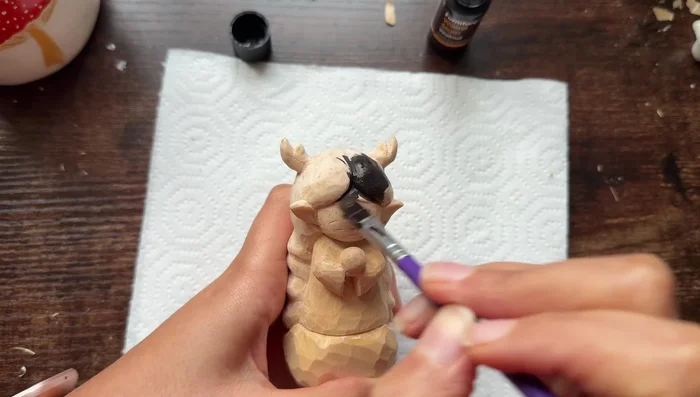
- Apply wood stain (Walnut finish).
Finishing

Read more: Crafting a Biodegradable Woodsman's Whistle: A Step-by-Step Guide
Tips
- Start with a detailed drawing and use transfer paper for accuracy.
- Work slowly and methodically, removing wood gradually to avoid mistakes.
- Use stop cuts to control the removal of wood in larger sections.
- Be extra careful when carving delicate features like ears and antlers.
- Consider using different tools for different textures (gouges for hair, etc.).