Epoxy resin art is experiencing a surge in popularity, offering artists a versatile medium to create stunning, translucent works. Few subjects lend themselves to this technique as beautifully as the graceful form of a turtle, its shell providing a natural canvas for the mesmerizing depth and clarity achievable with epoxy. Imagine a sculpted turtle, its shell shimmering with embedded colours and captivating details, seemingly alive within its glassy confines. This unique blend of artistry and material science allows for incredible precision and realism, capturing the intricate texture and subtle curves of a real turtle.
This detailed guide will walk you through the process of crafting your own crystal-clear epoxy turtle sculpture, from initial design and mold creation to the meticulous pouring and curing stages. Prepare to be amazed as we delve into each step, unlocking the secrets to creating this breathtaking piece of resin art.
Preparation and Safety Guidelines
- Buckeye Burl
- Planer
- Chainsaw
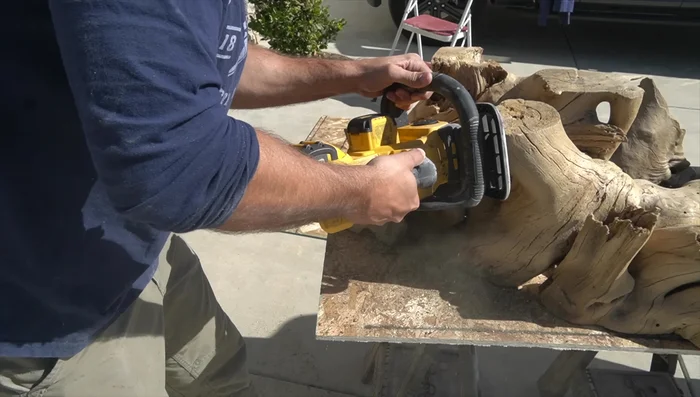
- Angle Grinder
- Sanding tools (orbital sander, hand sanding tools)
- Penetrating Epoxy
- Tabletop Epoxy
- UV Cure Resin
- Vacuum Chamber
- 3D Rendering Software
- Mold (FRP)
- Die Grinder
- Polishing compounds
- Epoxy resin is a powerful chemical. Always work in a well-ventilated area, preferably outdoors or with a respirator, to avoid inhaling fumes. Skin contact should be avoided; wear gloves and eye protection.
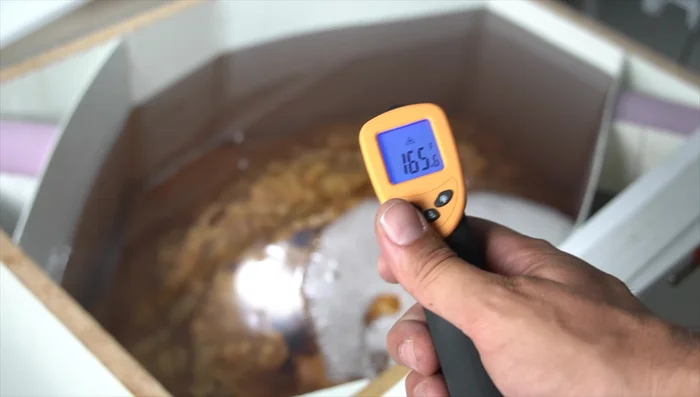
- Epoxy resin exotherms (generates heat) during curing. Large pours require careful temperature control to prevent cracking or overheating. Consider using smaller pours or a heat-dissipating mold.
- Dispose of resin and hardener containers and any unused resin according to local regulations. Never pour down the drain.
Step-by-Step Instructions
Prepare the Buckeye Burl
- Remove bark, debris, and cavities.

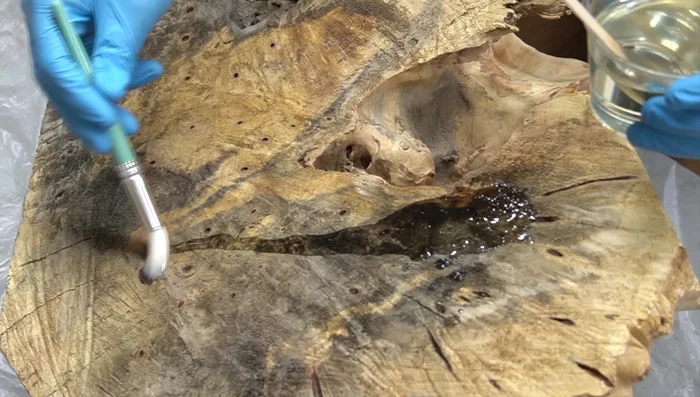
Prepare the Buckeye Burl Seal the Burl
- Apply two layers of penetrating epoxy, followed by a layer of tabletop epoxy.
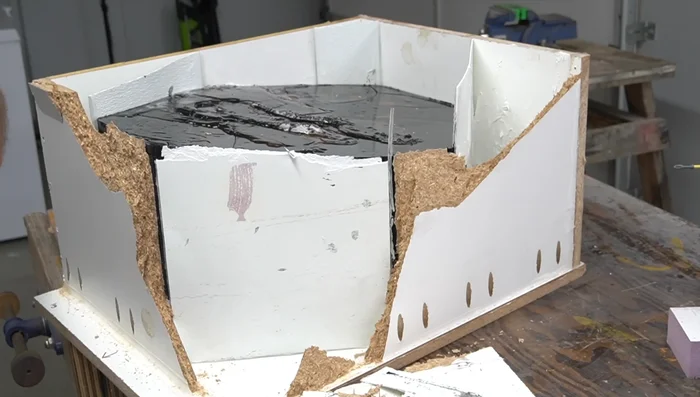
Seal the Burl Create the Mold
- Use FRP (fiberglass reinforced plastic) for a strong and reusable mold.
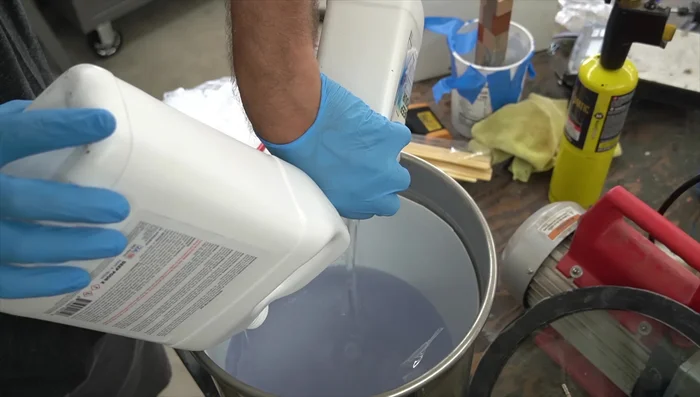
Create the Mold Prepare the Epoxy
- Store epoxy in the refrigerator at 60 degrees for 48 hours before pouring.
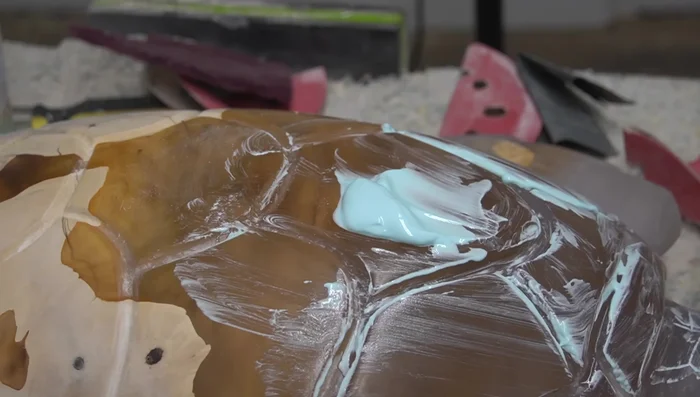
- Fill any deep cavities or holes in the burl with epoxy before the main pour to prevent air pockets and bubbling.
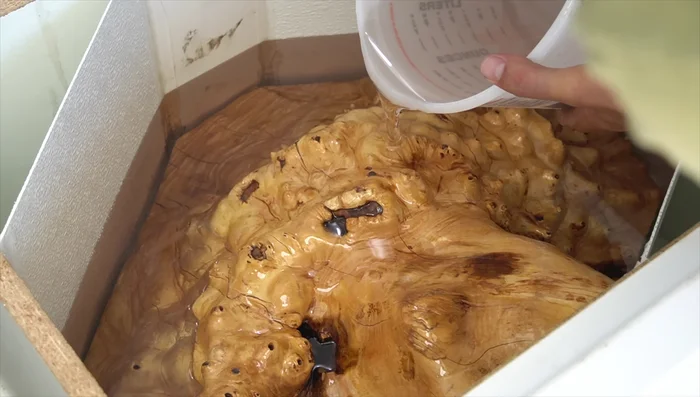
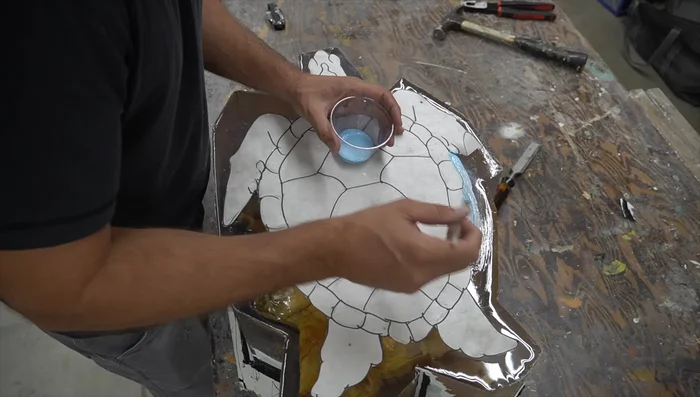
Prepare the Epoxy Epoxy Pour and Cure
- Pour epoxy slowly and carefully into the mold. This is best done using a vacuum chamber to remove bubbles.
- Allow the epoxy to cure completely. Monitor temperature carefully, as excessive heat can cause cracking and bubbling.
Epoxy Pour and Cure Demold the Sculpture
- Carefully remove the cured epoxy from the mold.
Demold the Sculpture Carve the Turtle
- Use a 3D model as a guide. Start with rough shaping using a chainsaw, then refine with an angle grinder, and finally, sand to 5000 grit.
Carve the Turtle Finish and Polish
- Polish to a crystal-clear finish.
Finish and Polish Display the Sculpture
- Mount the sculpture on a prepared base (e.g., Buckeye burl piece).
Display the Sculpture


Read more: Crafting a Biodegradable Woodsman's Whistle: A Step-by-Step Guide
Tips
- Use a vacuum chamber to remove air bubbles from the epoxy during the pour.
- Pre-chill your epoxy to prevent rapid curing and potential problems.
- Backfill all cavities in the burl with epoxy before the main pour to minimize air bubbles.
- Use mold release agent in your mold to prevent epoxy from sticking and simplify demolding.
- Sand to a high grit for a crystal clear finish.