Introducing your little one to the joys of playful learning doesn't require expensive store-bought toys. In fact, some of the most cherished and beneficial playthings can be crafted right at home! This beginner's guide will walk you through the process of creating vibrant, colorful wooden blocks, perfect for stimulating your baby's sensory development and building crucial fine motor skills. These blocks are not only incredibly engaging but also designed with safety as the utmost priority, ensuring peace of mind for parents while fostering creativity in their child.
Making your own DIY wooden blocks is surprisingly simple, requiring only a few readily available materials and basic tools. Forget complicated instructions and frustrating techniques – this project is designed for absolute beginners. Ready to get started and bring a splash of color and fun to your baby's playtime? Let's dive into the step-by-step process below!
Preparation and Safety Guidelines
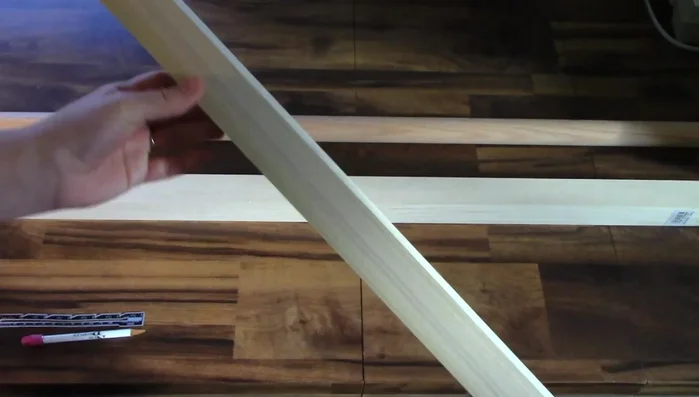
- Hobby boards (1 1/2 x 1 1/2 inch)
- Pencil
- Saw
- Carpenter's square
- Sandpaper (60, 100, 150, 220 grit)
- Food coloring
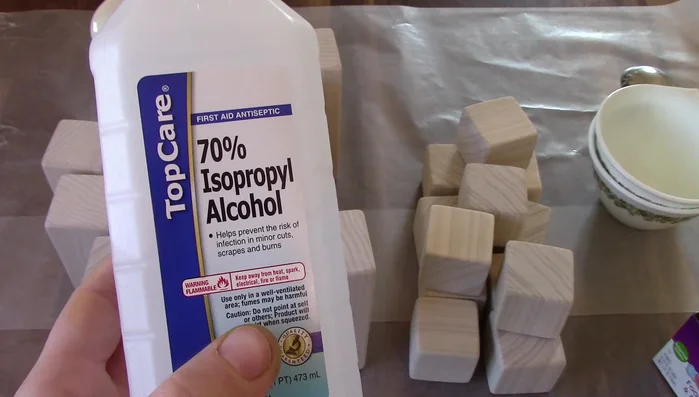
- Isopropyl alcohol
- Q-tips
- Coconut oil
- Beeswax
- Old rags/washcloths
- Use non-toxic paints and finishes specifically designed for children's toys. Ensure they are completely dry and cured before allowing your baby to handle the blocks.
- Avoid small parts or sharp edges. Sand all surfaces thoroughly to remove any splinters or roughness. Blocks should be large enough to prevent choking hazards.
- Supervise your baby at all times while they are playing with the blocks. Never leave them unattended.
Step-by-Step Instructions
Material Preparation
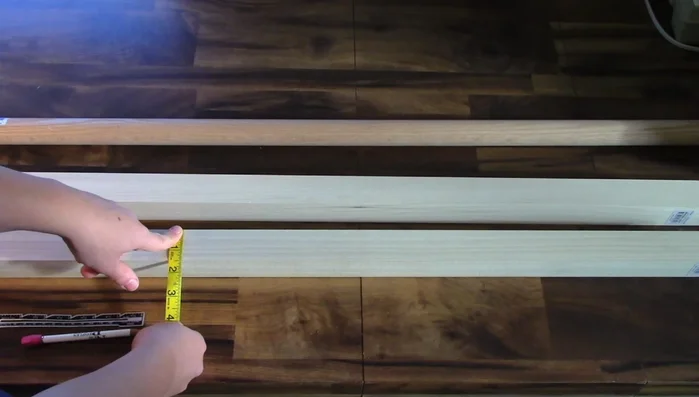
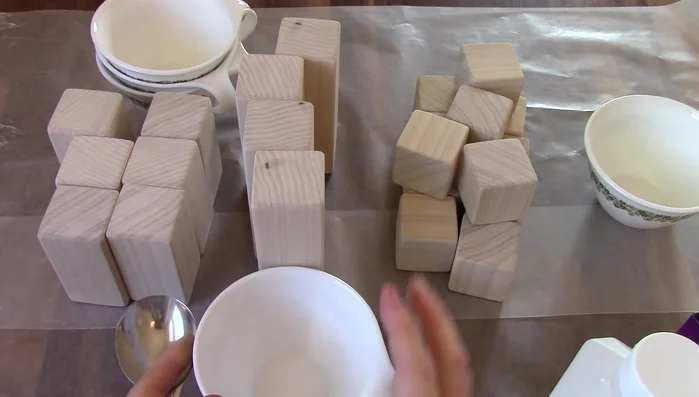
- Purchase and measure hobby boards.

Material Preparation Measuring and Marking
- Mark desired block lengths (cubes, 3-inch, 4-inch) on the boards, accounting for saw blade width.
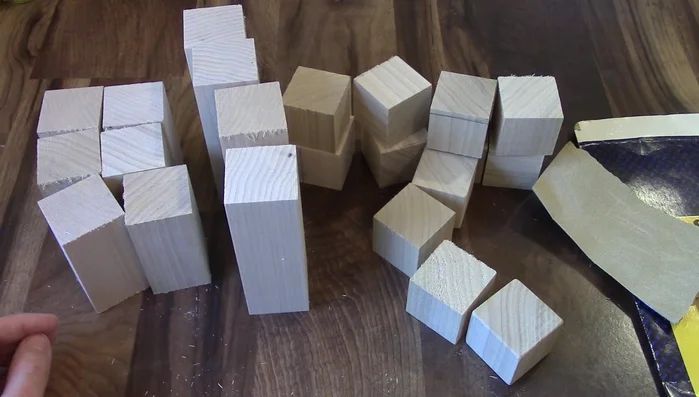
Measuring and Marking Cutting the Blocks
- Cut the blocks using a saw and carpenter's square for precise 90° angles.
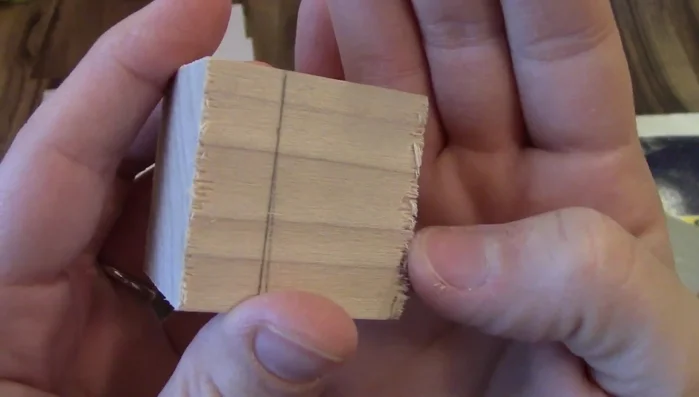
Cutting the Blocks Sanding and Smoothing
- Sand the blocks to remove pencil marks, splinters, and smooth edges and corners.
Sanding and Smoothing Dye Preparation
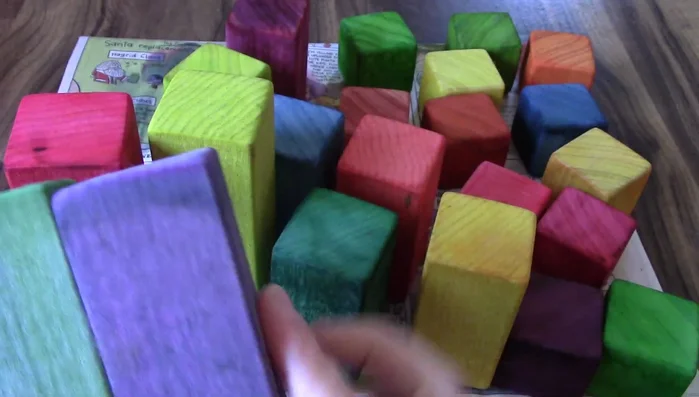
- Prepare alcohol and food coloring dye.
Dye Preparation Dyeing the Blocks
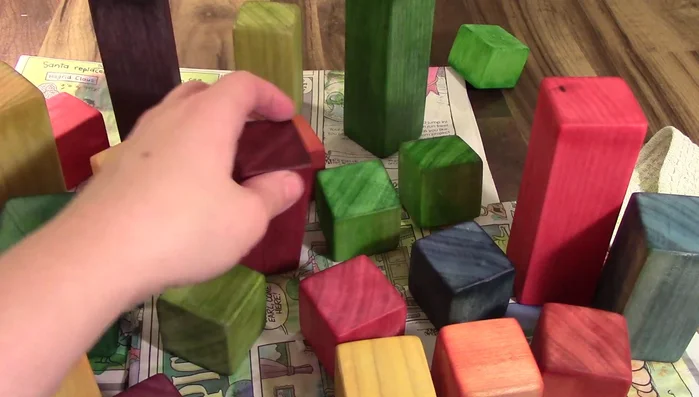
- Dye the blocks using isopropyl alcohol and food coloring, experimenting with different color combinations. Start with light colors and gradually add darker shades to avoid muddy colors.
Dyeing the Blocks Dye Removal and Color Stabilization
- Rinse the blocks under running water to remove excess dye and reduce color transfer.
Dye Removal and Color Stabilization Oil and Wax Treatment
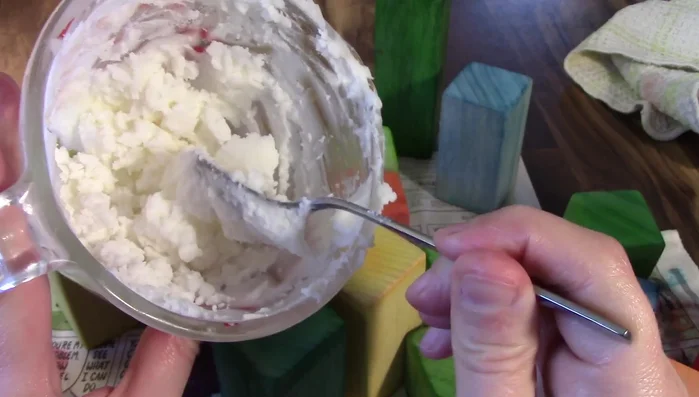
- Mix coconut oil and beeswax. Apply a thin layer to each block and let sit for about 4 hours.
Oil and Wax Treatment Finishing and Polishing
- Wipe off excess oil/wax mixture and buff the blocks to a polished finish.
Finishing and Polishing
Read more: Crafting a Biodegradable Woodsman's Whistle: A Step-by-Step Guide
Tips
- Use a carpenter's square for accurate cuts.
- Sand in stages using progressively finer grit sandpaper.
- Start with light colors when dyeing to avoid muddy results.
- Wash blocks thoroughly to reduce color transfer after dyeing.
- Use a coconut oil and beeswax mixture to seal the blocks and add a subtle sheen.