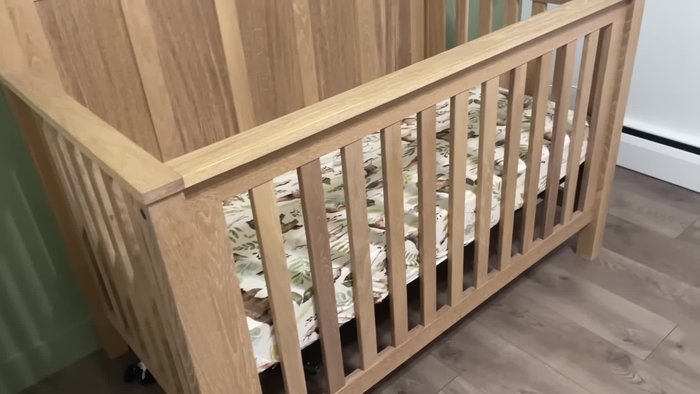
Building a toy box is a rewarding DIY project, offering both practical storage and a chance to unleash your creativity. But what if you could elevate your creation beyond the ordinary, achieving a truly professional and stunning finish? This guide focuses on mastering seamless grain matching in your DIY toy box build, transforming a simple project into a piece of furniture you’ll be proud to display. We'll delve into techniques that ensure your wood panels align perfectly, creating a cohesive and visually appealing aesthetic that belies its handmade origins.
Forget mismatched grains and unsightly seams; this project is your opportunity to showcase impeccable craftsmanship. From carefully selecting your lumber to employing precise cutting and joining methods, we'll walk you through every step, ensuring a flawlessly matched grain pattern that will impress. Ready to embark on this satisfying journey? Let's dive into the detailed step-by-step instructions that will transform your toy box vision into a reality.
Preparation and Safety Guidelines
- Cordless saw
- Miter saw
- Table saw
- Jointer
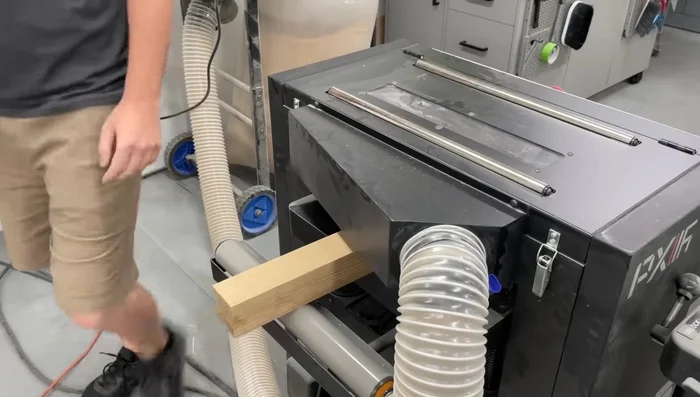
- Planer
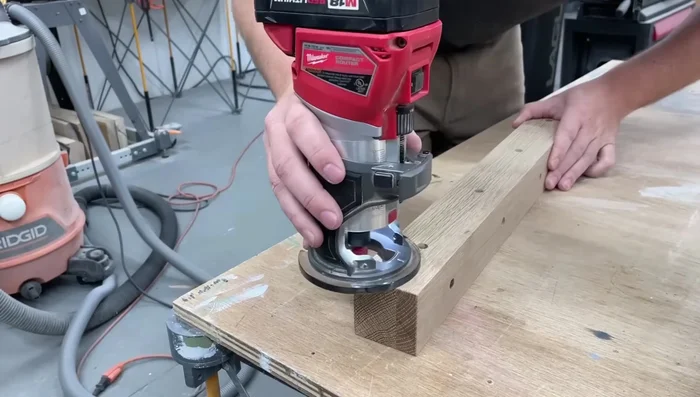
- Router
- Freud Shaker router bit set
- Coping sled (optional)
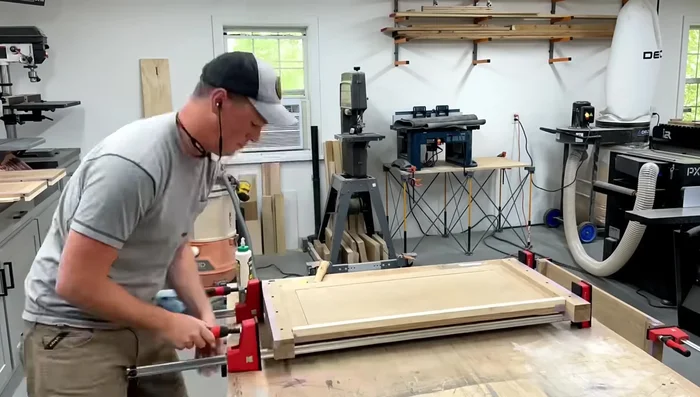
- Clamps
- Mallet
- Sandpaper
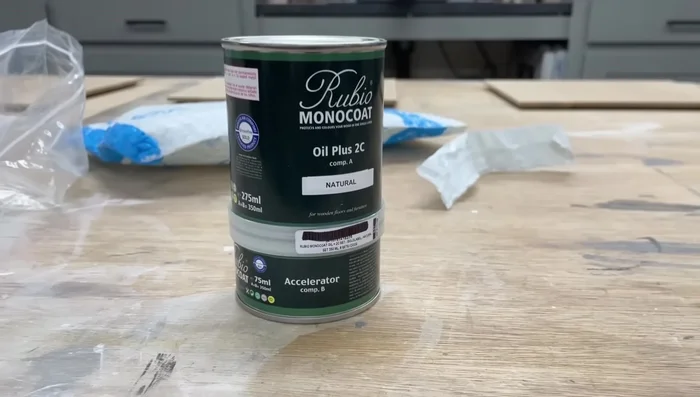
- Rubio Monocoat Natural
- White Scotchbrite pad
- Dowels
- Lid stay torsion hinges
- Rockler hinge jig (optional)
- Always wear safety glasses and a dust mask when cutting, sanding, or using power tools. Wood dust is harmful to your lungs.
- Ensure proper ventilation when using wood finishes. Many contain volatile organic compounds (VOCs) that can be hazardous to your health.
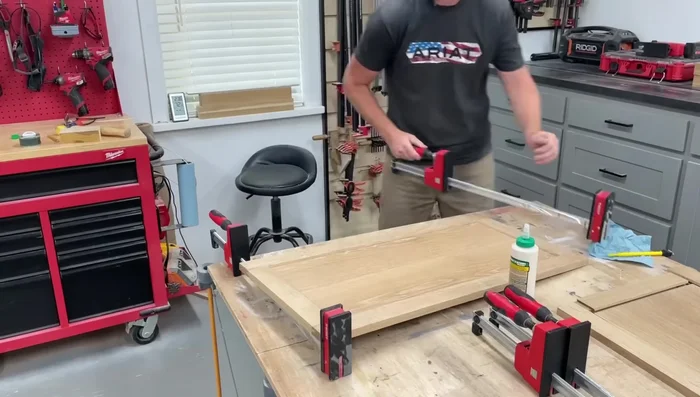
- Use clamps to secure wood pieces during gluing and ensure they are properly aligned before the glue sets. This prevents shifting and improves the grain matching.
Step-by-Step Instructions
Planning and Initial Lumber Preparation
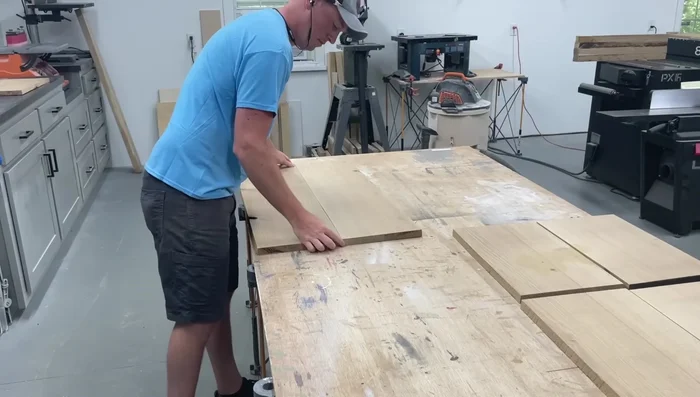
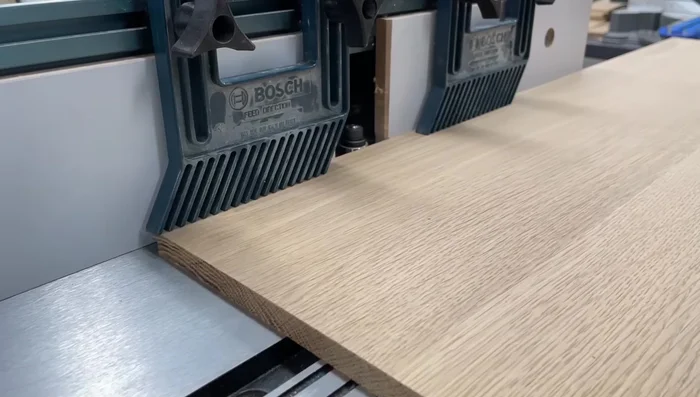
- Plan and cut your lumber. Pay close attention to grain and color matching. Create straight edges with the jointer if necessary.

Planning and Initial Lumber Preparation Panel Construction and Preparation
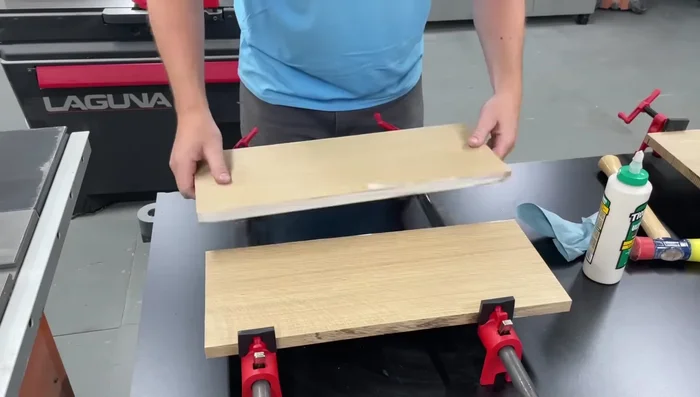
- Glue up panels for all four sides of the box, pairing pieces from the same board and rotating them for seamless grain. Flatten and square one face and edge using the jointer and planer. (Pre-milled lumber is an alternative).
Panel Construction and Preparation Box Assembly: Gluing Main Components
- Glue up four box panels and the top. Laminate pieces for thicker legs if necessary.
Box Assembly: Gluing Main Components Frame Construction: Tongue and Groove Joints
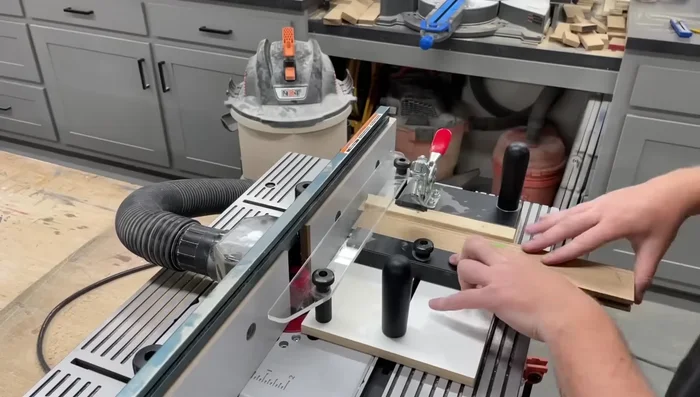
- Cut rail and stile pieces for panel frames to final size. Use a router and Shaker bit set for tongue and groove joints. Mark the back of each piece to maintain orientation.
- Cut tongues on all vertical pieces. Mill extra material for test pieces to dial in the height. Use a coping sled (optional) for easier routing.
Frame Construction: Tongue and Groove Joints Panel Frame Integration
- Cut a rabbet on all four sides of the center panels to slide into the grooves of the frames.
Panel Frame Integration Pre-Finishing and Finishing Touches
- Pre-finish the panels with Rubio Monocoat Natural to prevent shrinkage issues. Apply liberally and buff with a Scotchbrite pad.
Pre-Finishing and Finishing Touches Final Assembly: Joining Panels and Legs
- Glue and clamp the tongue and groove joints, ensuring edges are perfectly aligned. Use a mallet for adjustments as needed.
- Resquare legs after glue-up. Add dowels and glue to join the panels to the legs.
Final Assembly: Joining Panels and Legs Adding Detail and Bottom Panel
- Round over the exposed edges with a roundover bit. Add plywood bottom to inside of box with glued strips.
Adding Detail and Bottom Panel Securing Bottom Panel and Box
- Add glue and dowels to attach the bottom panel, using tape to prevent glue squeeze-out.
Securing Bottom Panel and Box Lid Construction and Hinge Installation
- Finish the lid and install torsion hinges using a jig for easier installation. Add a third hinge for heavier white oak lid.
Lid Construction and Hinge Installation

Read more: Crafting a Biodegradable Woodsman's Whistle: A Step-by-Step Guide
Tips
- For perfect jointing, fold the pieces like a book, placing one against the jointer fence and the other face up. This eliminates inconsistencies in the fence.
- Pre-finishing panels prevents shrinkage problems, especially in changing climates.
- Use tape to protect inside corners from glue squeeze-out.