Transform ordinary tissue paper into breathtaking stained-glass flowers that will illuminate your home with vibrant, sun-caught beauty! This enchanting DIY project is perfect for crafters of all skill levels, offering a delightful blend of creativity and simplicity. Imagine the cheerful splash of color these delicate blooms will bring to a windowsill, a lampshade, or even a child's bedroom. Using readily available materials and a few easy techniques, you can create stunning, personalized decorations that capture the light and add a touch of whimsy to any space. Forget expensive store-bought décor; let's unleash our inner artist and craft something truly unique.
These captivating tissue paper flowers are surprisingly easy to make, requiring minimal materials and effort for maximum impact. Prepare to be amazed by the stunning results as you learn to manipulate the translucent layers of tissue paper to create a mesmerizing stained-glass effect. To begin crafting your own sun-catching floral masterpieces, follow the step-by-step instructions below.
Preparation and Safety Guidelines
- Clear contact paper
- Tissue paper (variety of colors)
- Tape
- Construction paper (one sheet per flower)
- Scissors
- Writing utensil
- Adult supervision is required, especially when using scissors and potentially sharp tools for cutting tissue paper or the base material.
- Avoid contact with eyes. If tissue paper dye or glue gets in your eyes, flush immediately with plenty of water and seek medical attention if needed.
- Work in a well-ventilated area. Some tissue paper dyes or glues may have fumes that could be irritating.
Step-by-Step Instructions
Prepare Materials
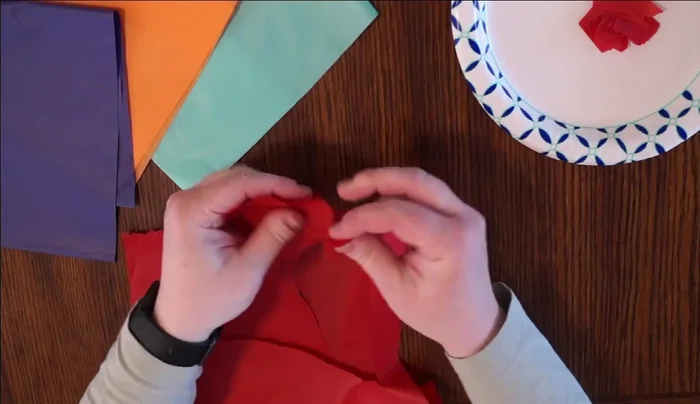
- Rip or cut tissue paper into small pieces. Mix the colors.

Prepare Materials Create Flower Template
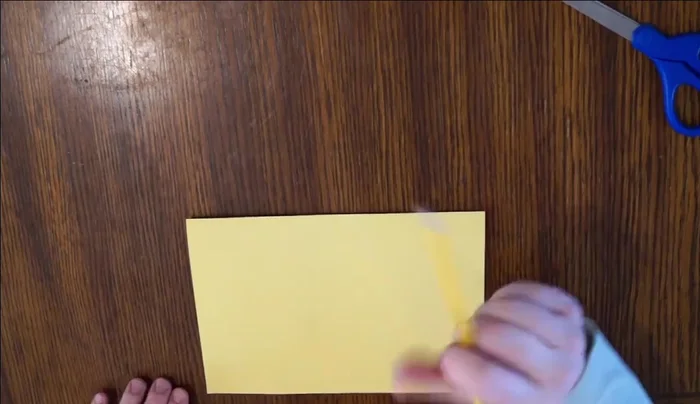
- Fold construction paper in half. Draw arcs of varying sizes, leaving space between each arc. Cut out the arcs.
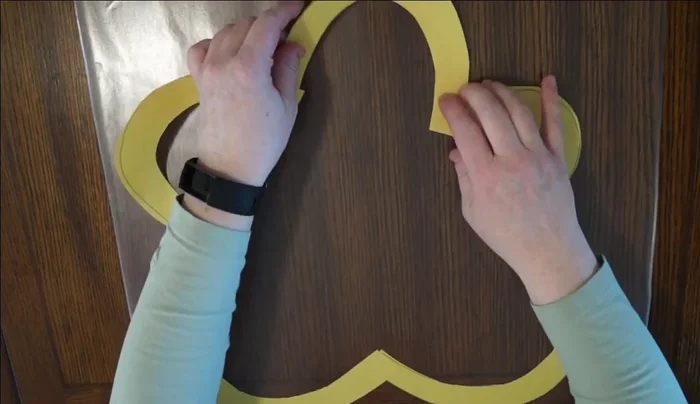
Create Flower Template Assemble Flower Frame
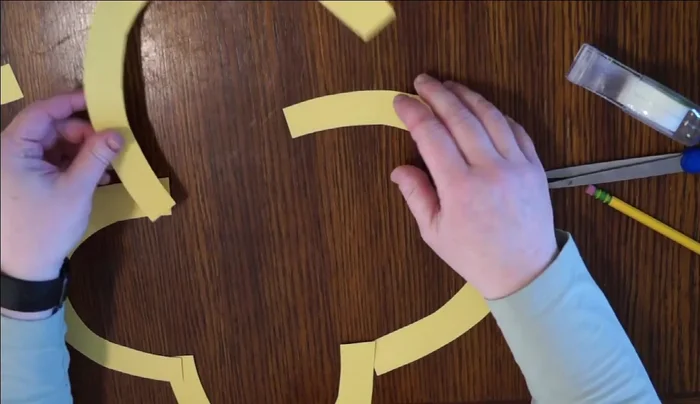
- Arrange five of the largest arcs to create a flower shape, with the cut sides facing inwards. Secure the joints with tape. Set aside one smaller arc.
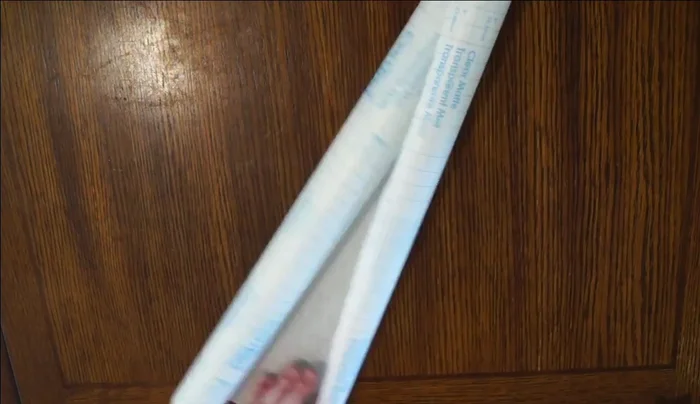
Assemble Flower Frame Prepare Contact Paper Layer 1
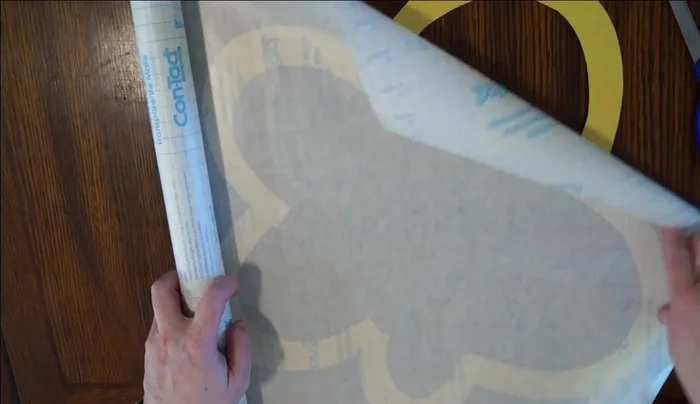
- Unroll clear contact paper sticky side up, ensuring enough to cover the flower. Cut the contact paper to size.
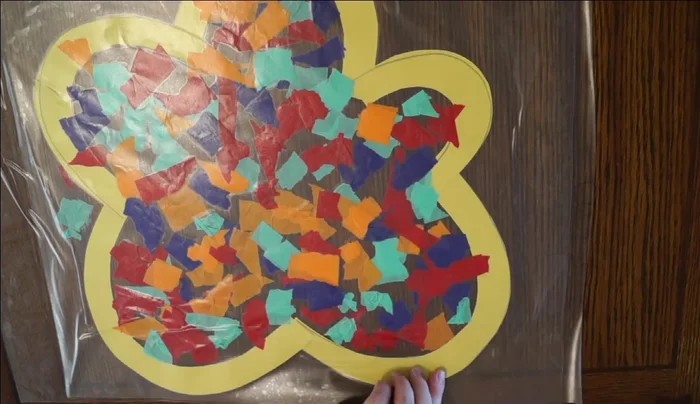
Prepare Contact Paper Layer 1 Apply Tissue Paper to Frame
- Place the flower frame onto the sticky side of the contact paper. Sprinkle and press tissue paper pieces onto the contact paper, filling the spaces between the flower petals. Experiment with layering and color combinations.
Apply Tissue Paper to Frame Prepare Contact Paper Layer 2
- Cut a second piece of contact paper to the same size. Carefully place it sticky side down over the tissue paper, smoothing out any air bubbles.
Prepare Contact Paper Layer 2 Cut and Finish
- Cut out the finished stained glass flower from the contact paper.
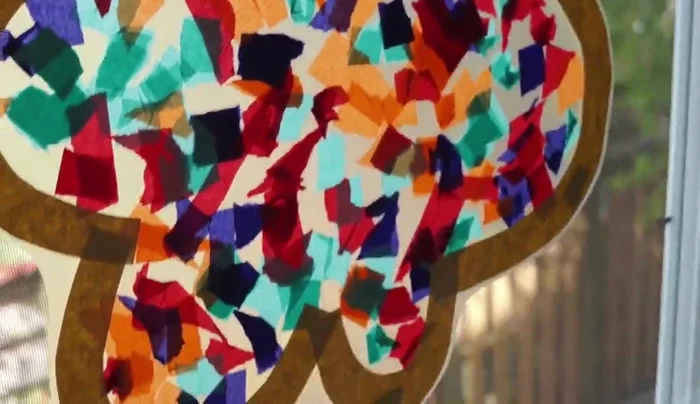
Cut and Finish Display
- Place your finished stained-glass flower in a sunny window.
Display
Read more: DIY Witch's Brew Resin Craft: A Step-by-Step Guide
Tips
- Ripping the tissue paper is more fun than cutting it.
- Flowers in nature generally have an odd number of petals, so using five arcs for the main flower shape is aesthetically pleasing.
- A second pair of hands is helpful when applying the second layer of contact paper.