Spring is in the air, and what better way to celebrate the season's blossoming beauty than with enchanting DIY fairy light jars? These charming decorations add a touch of whimsical magic to any space, from your porch to your bedroom windowsill. Imagine the soft, warm glow of tiny lights peeking through intricately decorated glass, casting a captivating spell on your home. Whether you're looking for a unique craft project, a thoughtful gift idea, or simply a way to enhance your spring décor, these luminous jars are the perfect solution. They're surprisingly easy to make, requiring only a few simple materials and a touch of creativity.
Transform ordinary jars into stunning spring accents with our easy-to-follow guide. This step-by-step process will take you from plain glass container to a beautifully illuminated masterpiece, perfect for brightening up your home and celebrating the arrival of spring. Let's get crafting!
Preparation and Safety Guidelines
- 16 oz jar
- Mod Podge
- Press flowers (from Amazon)
- Tweezers
- Twine/String
- Fairy lights (from Amazon)
- Always use battery-operated fairy lights to avoid electrical hazards. Never use mains-powered lights inside glass jars.
- Ensure the jar is clean and dry before inserting the lights to prevent short circuits.
- Supervise children closely when using or handling the finished fairy light jars to prevent accidents.
Step-by-Step Instructions
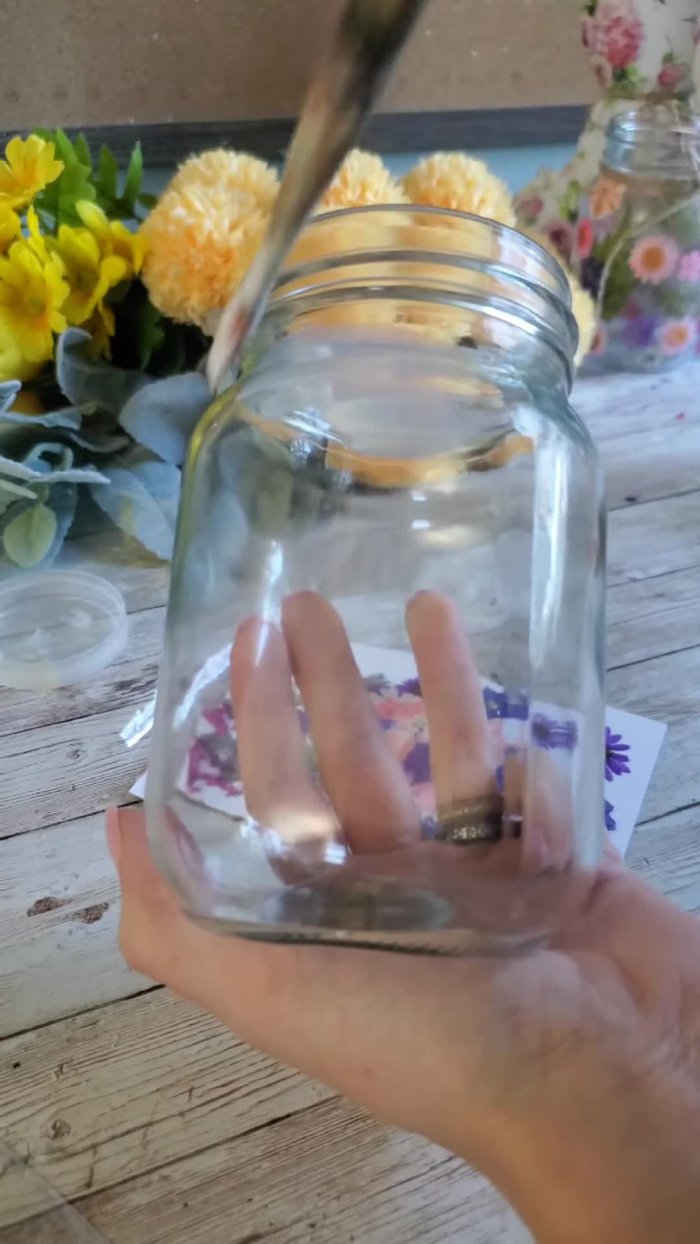
Prepare the Jar
- Paint a small area of the jar with Mod Podge.

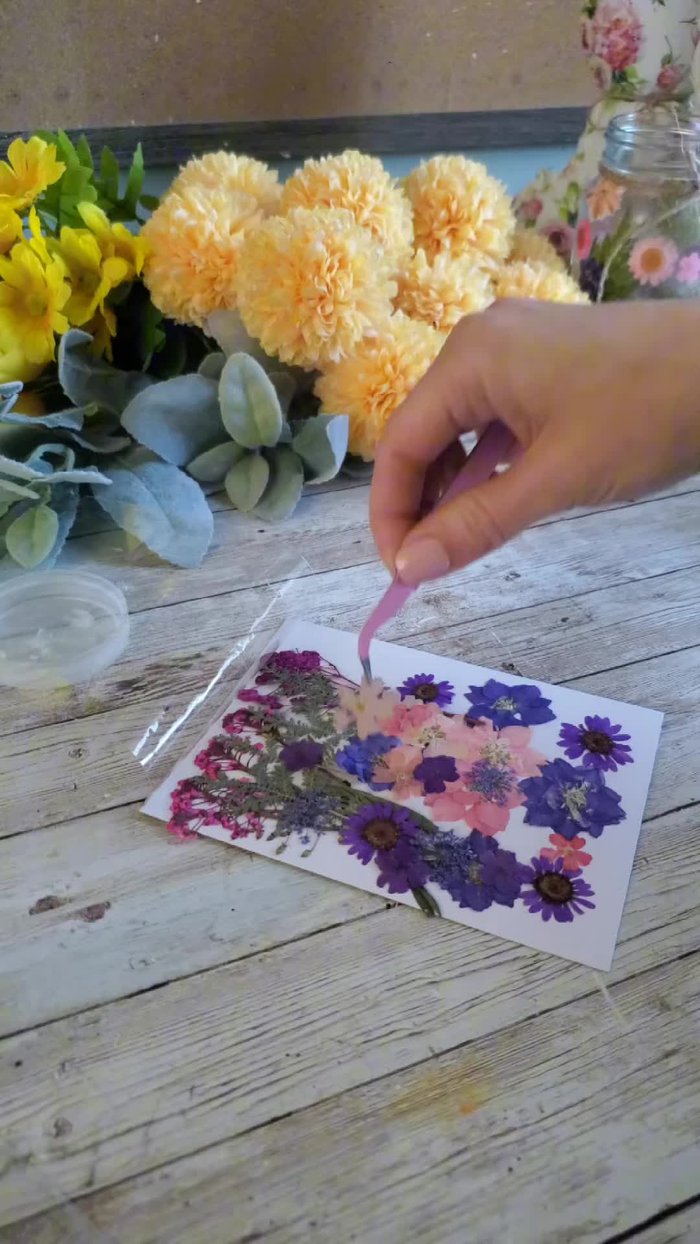
Prepare the Jar Apply Flowers
- Use tweezers or fingers to place press flowers onto the Mod Podge.
- Add Mod Podge in small areas, pressing on more flowers. If Mod Podge dries too quickly, add more.
- For flowers with stems, place a little flour over the stem before adding more Mod Podge.
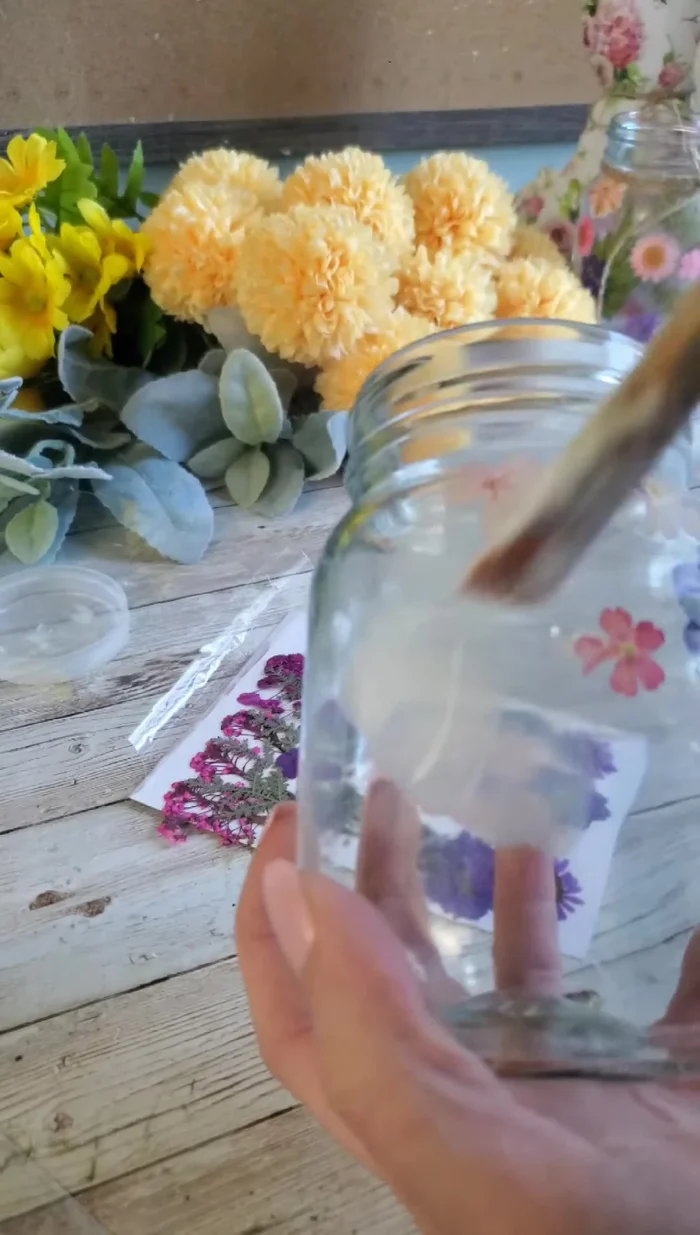
Apply Flowers Seal and Dry
- Gently coat each flower with Mod Podge to seal them.
- Let the Mod Podge dry completely.
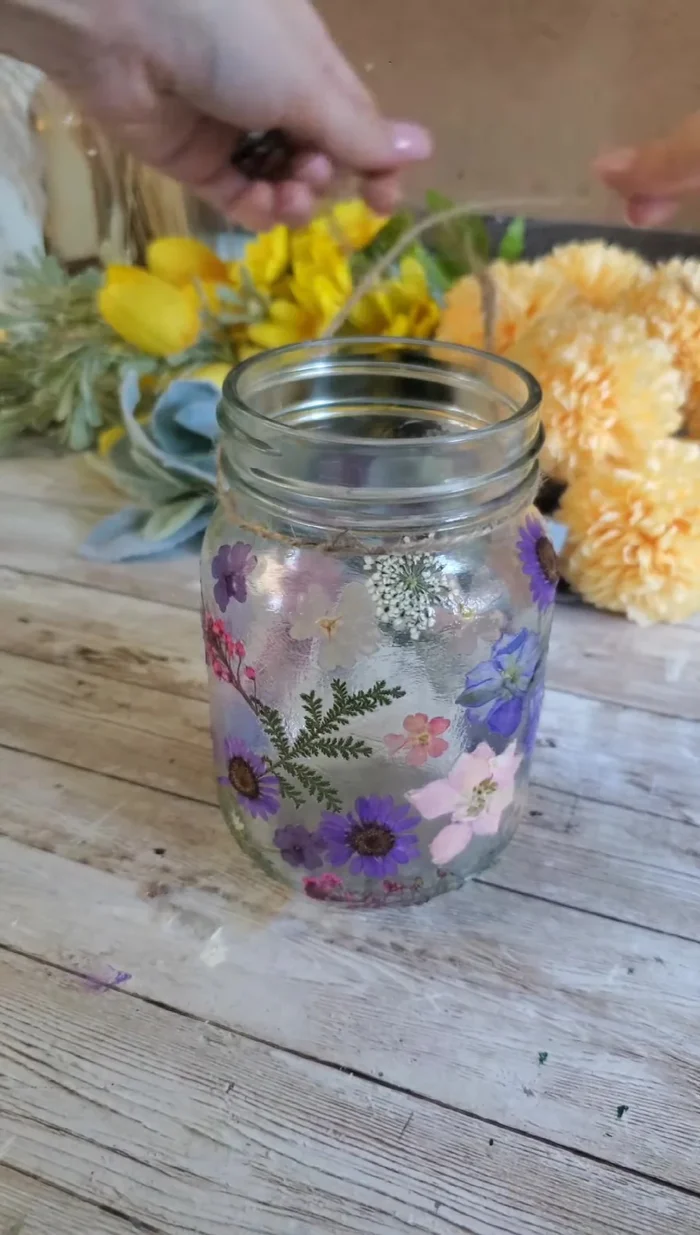
Seal and Dry Decorate (Optional)
- Add twine/string and a bow (optional).
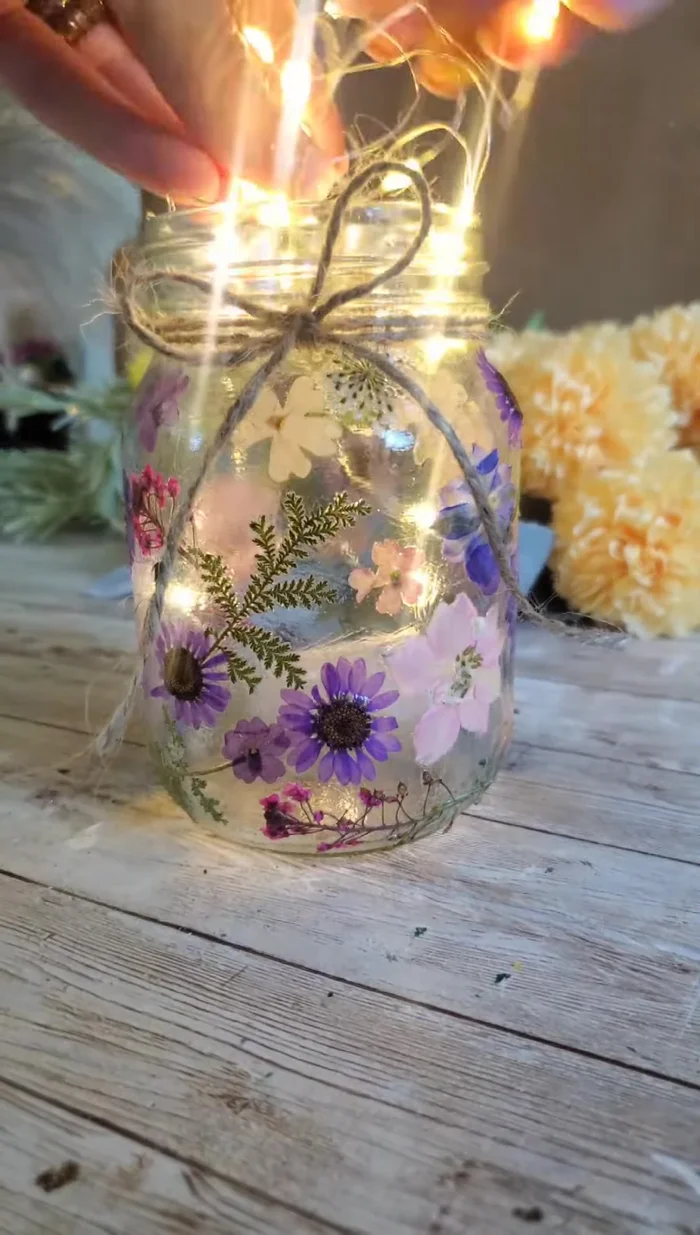
Decorate (Optional) Add Fairy Lights
- Add fairy lights to the jar, laying the battery pack flat if possible.
Add Fairy Lights


Read more: DIY Witch's Brew Resin Craft: A Step-by-Step Guide
Tips
- Apply Mod Podge in small sections to prevent it from drying before placing the flowers.
- Using fingers can sometimes be easier than tweezers for placing flowers.