Ever dreamed of soaring through the cosmos? While a real rocket ship might be out of reach for most of us, building your very own miniature masterpiece is entirely within grasp! This guide provides a fun and engaging introduction to the world of DIY woodcraft, taking you on an exciting journey to construct a charming, handcrafted rocket ship. Perfect for aspiring astronauts of all ages, this project combines creativity with practical skills, allowing you to design and build a unique piece that will ignite your imagination.
Forget expensive kits and complicated instructions; this project utilizes readily available materials and simple techniques, making it accessible to both seasoned crafters and enthusiastic beginners. We'll guide you through every stage of the process, from initial planning and material selection to the final touches that will make your rocket truly shine. Ready to blast off? Let's embark on this step-by-step adventure and build your own incredible wooden rocket ship!
Preparation and Safety Guidelines
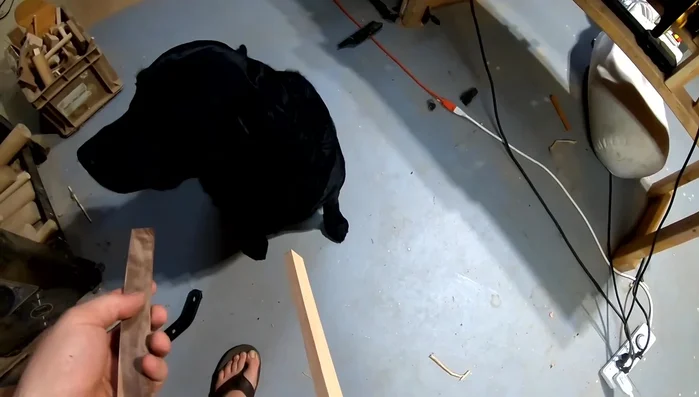
- wood (walnut, oak)
- dowel rods
- bandsaw
- sander
- stencil
- varnish
- drill
- pins
- Always supervise children during the entire crafting process. Sharp tools and small parts present choking and injury hazards.
- Use appropriate safety equipment, such as safety glasses, when using tools like saws, drills, or knives.
- Ensure proper ventilation when using paints, stains, or adhesives. Follow all manufacturer's instructions for safe handling and disposal.
Step-by-Step Instructions
Prepare the Rocket Body
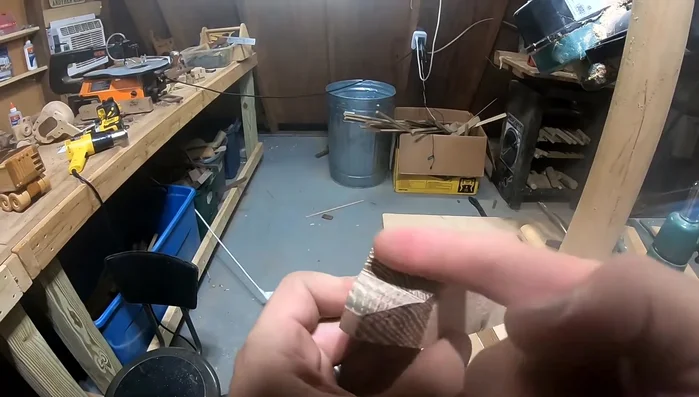
- Choose your wood and prepare the base shape. The creator uses oak for the body and walnut for the bottom.
- Cut out the base shape using a bandsaw and clean it up with a sander. Achieve a half-inch thickness.

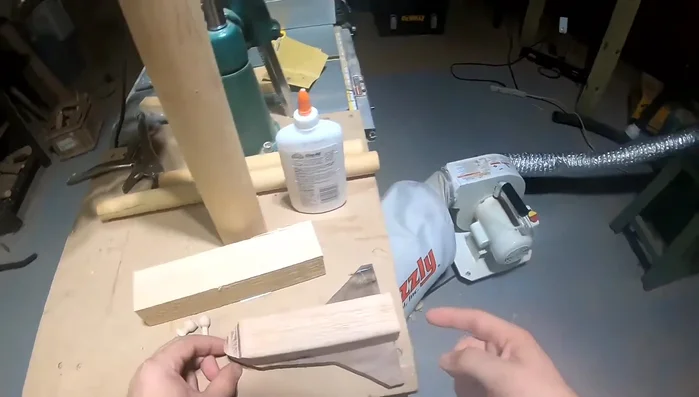
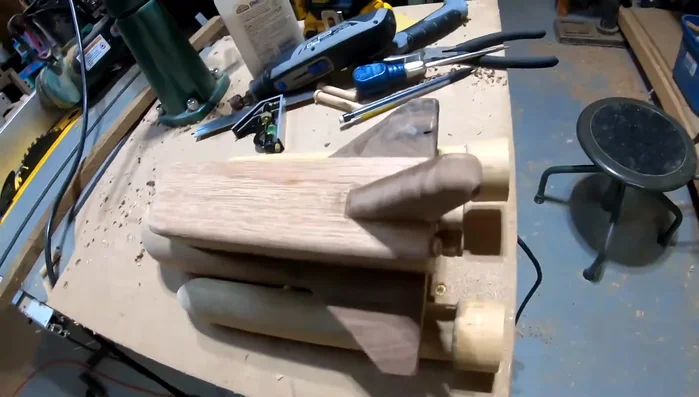
Prepare the Rocket Body Assemble the Main Body
- Attach the base unit to the rest of the body and wings.
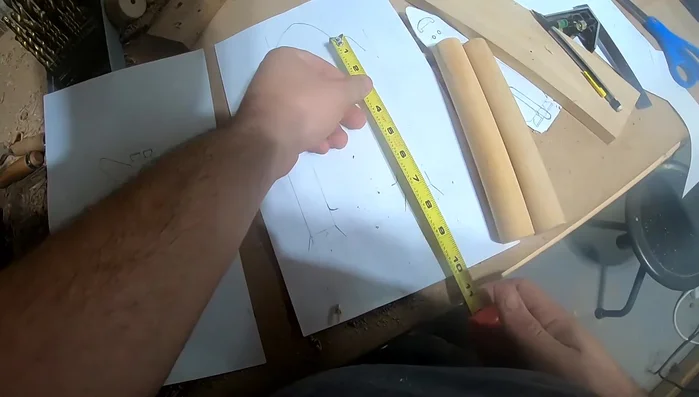
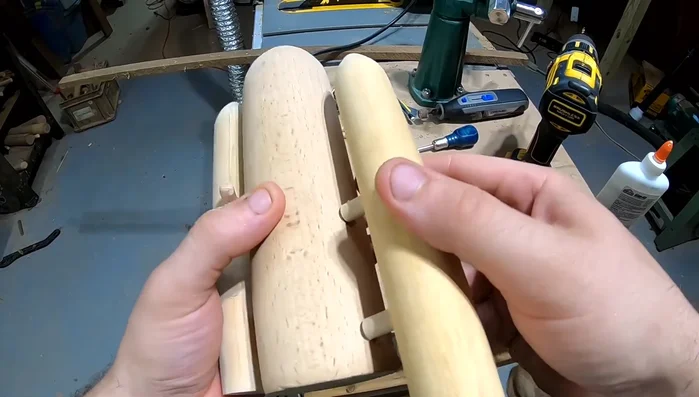
Assemble the Main Body Shape the Boosters
- Shape the rocket boosters (8 inches). The creator sands them down to achieve the desired shape and size (an inch and 3/16).
- Round off the edges of the boosters using a sander and router.
Shape the Boosters Attach the Boosters
- Attach the boosters to the main body using dowels.
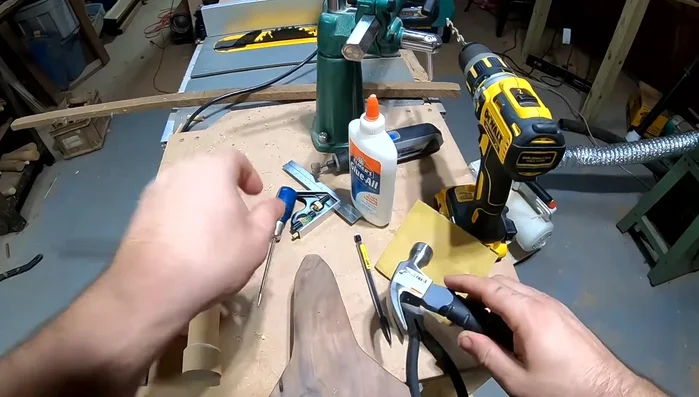
Attach the Boosters Finishing Touches
- Add finishing touches, such as pins for extra support.
- Sand down any uneven surfaces and apply varnish for a final finish.
Finishing Touches

Read more: Crafting a Biodegradable Woodsman's Whistle: A Step-by-Step Guide
Tips
- Don't play with fire in your woodshop unless you really want to.
- Use a sander to refine and smooth all wooden pieces.