Tired of soggy soap bars and unsightly soap scum ruining your bathroom aesthetic? Then it's time to upgrade your soap storage with stylish and practical DIY resin soap dishes! Creating your own resin soap dishes is surprisingly easy and allows for endless customization, letting you perfectly match your bathroom décor or even create unique gifts for friends and family. You can choose from a wide variety of colors, add glitters, dried flowers, or even incorporate small pieces of jewelry to create truly bespoke pieces.
Forget flimsy plastic or rusting metal – resin offers a durable, water-resistant solution that will keep your soap dry and your bathroom looking pristine. This guide provides a comprehensive, step-by-step process, complete with expert tips and tricks, to help you craft beautiful and functional resin soap dishes in no time. Let's dive into the detailed instructions and start creating!
Preparation and Safety Guidelines
- Resin (suitable for water)
- Hardener
- Paper cups
- Stirring stick (silicone recommended)
- Silicone mat
- Pebbles
- Soap dish molds
- Flame torch or cigarette lighter
- Sandpaper (wet)
- Rubber feet
- Gloves
- Hair tie
- Apron
- N95 mask
- Always work in a well-ventilated area. Resin fumes can be irritating and harmful if inhaled.
- Wear gloves and eye protection throughout the entire process. Resin can cause skin and eye irritation.
- Keep resin and its components out of reach of children and pets. Ingestion can be extremely dangerous.
Step-by-Step Instructions
Prepare the Resin
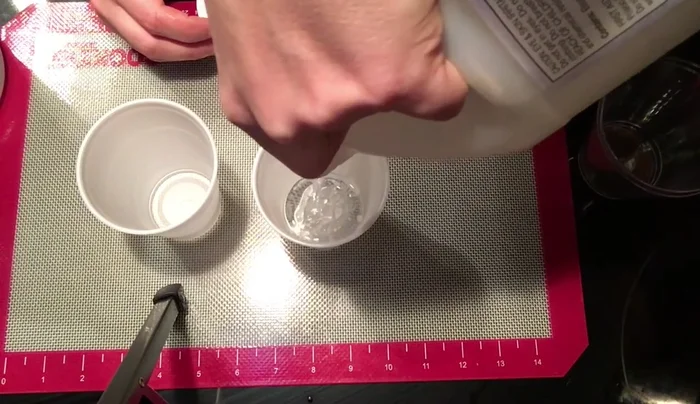
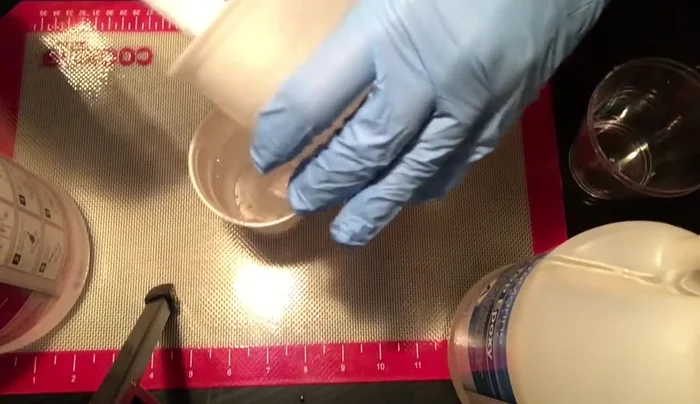
- Measure equal amounts of resin and hardener by volume, not weight.
- Gently mix resin and hardener for 3-4 minutes (or as directed on the package).

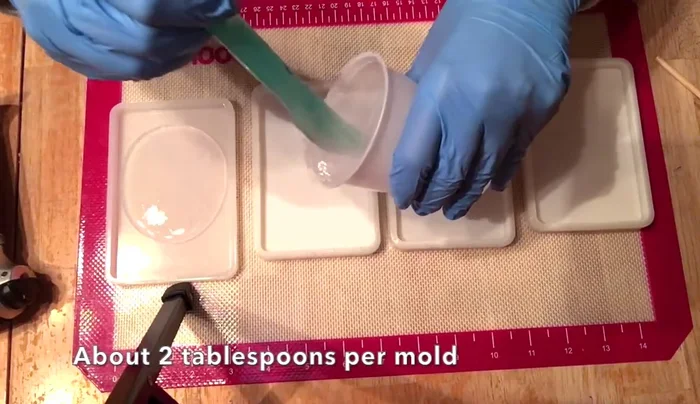
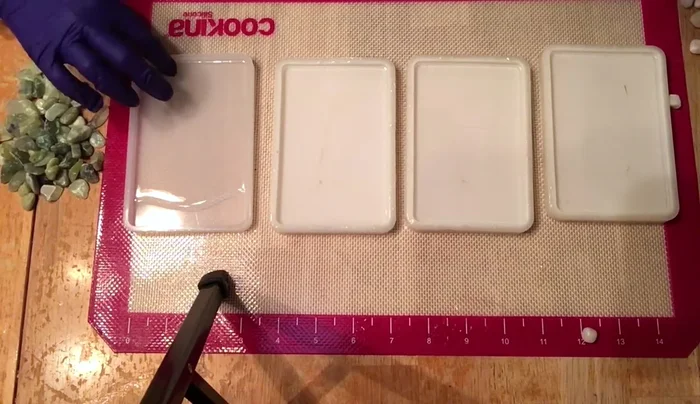
Prepare the Resin Pour and De-bubble Resin
- Pour resin into molds, leaving some space for pebbles. Add a little at a time to avoid overflowing.
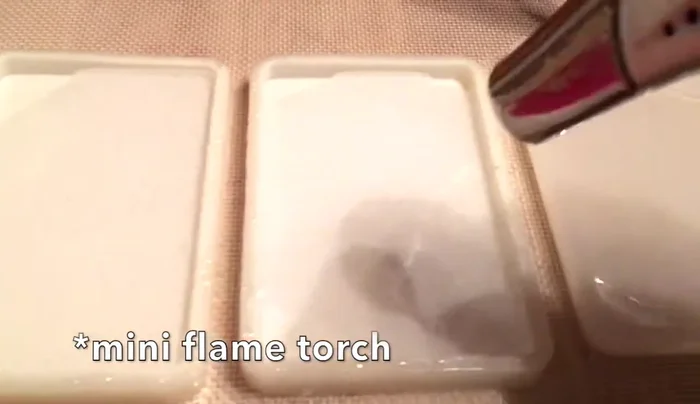
- Use a flame torch or cigarette lighter to remove air bubbles from the resin.
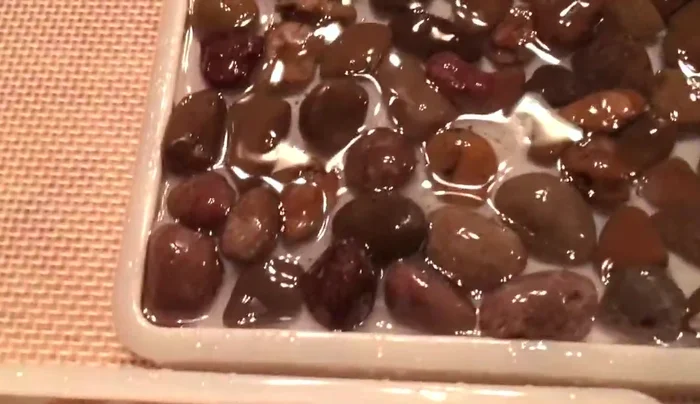
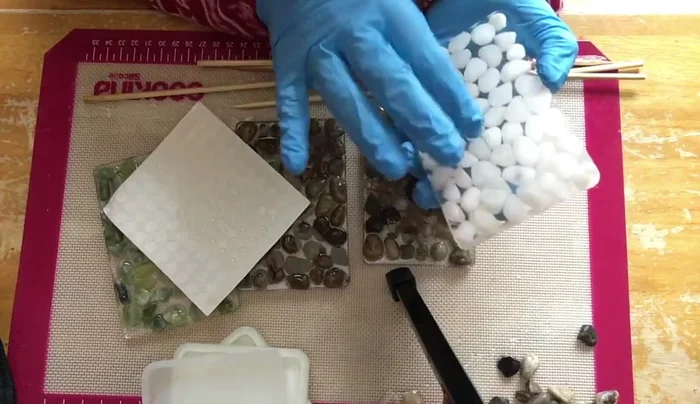
Pour and De-bubble Resin Add and Arrange Pebbles
- Add pebbles to the molds, placing larger ones on the edges and smaller ones towards the center.
- Use the flame torch again to remove any remaining bubbles after adding pebbles.
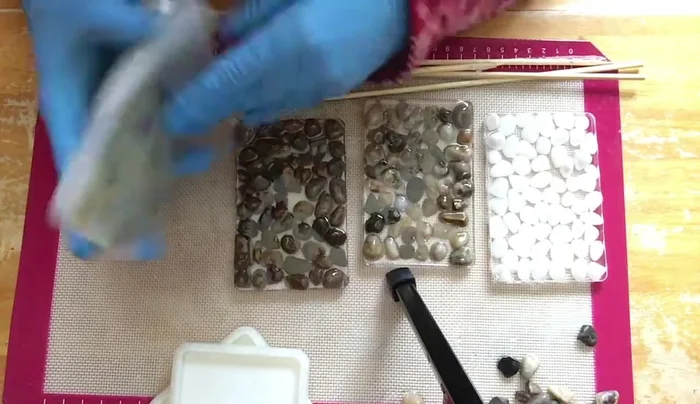
Add and Arrange Pebbles Cure the Resin
- Let the resin cure for 1-2 weeks.
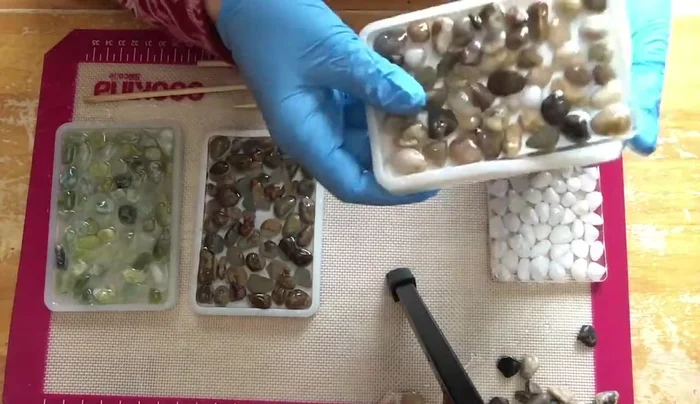
Cure the Resin Unmold and Finish
- Unmold the soap dishes and carefully remove any excess resin with wet sandpaper and a mask.
Unmold and Finish Add Protective Feet
- Apply rubber feet to the bottom of the soap dishes for stability and to protect the resin.
Add Protective Feet
Read more: DIY Witch's Brew Resin Craft: A Step-by-Step Guide
Tips
- Use resin suitable for water exposure.
- Silicone tools and mats make cleanup easier.
- Don't overfill the molds.
- Work quickly as resin thickens after about 45 minutes.
- Wear gloves, tie back hair, and wear an apron when working with resin.