Transform ordinary glass blocks into breathtaking, personalized décor with the simple technique of DIY photo transfer! This surprisingly easy method allows you to immortalize your favorite memories, turning cherished photographs into stunning, illuminated works of art. Imagine showcasing vibrant family portraits, scenic travel shots, or even whimsical pet pictures, all beautifully encased within the translucent glow of a glass block. It's a perfect project for crafters of all skill levels, adding a unique touch to any room in your home, from kitchens and bathrooms to living rooms and bedrooms.
Forget expensive, custom-made decorations – this DIY project offers a budget-friendly and incredibly satisfying way to personalize your space. With just a few readily available materials, you can create truly one-of-a-kind pieces that reflect your personality and style. Ready to learn how to achieve this stunning effect? Let's dive into the step-by-step guide and transform those plain glass blocks into stunning works of art!
Preparation and Safety Guidelines
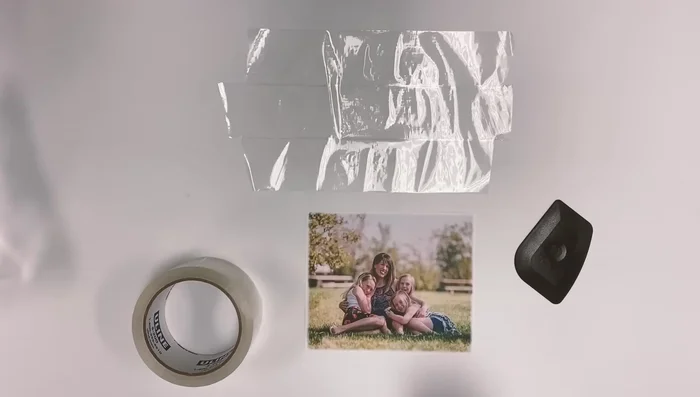
- Glass block
- Scissors
- Heavy-duty packing tape
- Scraper or credit card
- Laser-printed photo
- Always use a well-ventilated area when working with Mod Podge or other transfer mediums. Inhaling the fumes can be harmful.
- Handle glass carefully to avoid breakage. Glass blocks can be heavy and sharp if broken.
- Ensure your chosen image is printed on inkjet paper; laser printed images won't work with this technique.
Step-by-Step Instructions
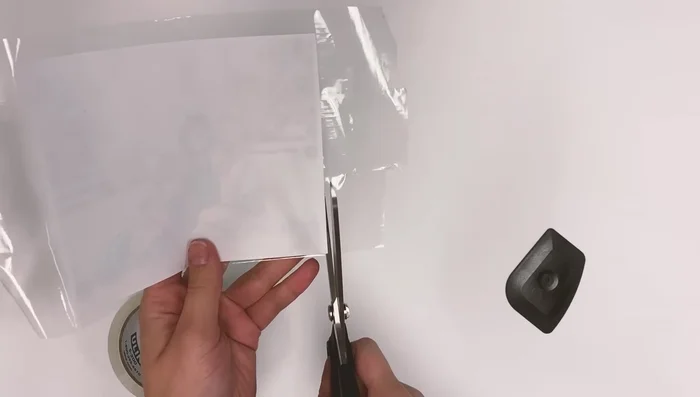
Prepare the Photo
- Cut out your laser-printed photo (reverse the image if it contains text).

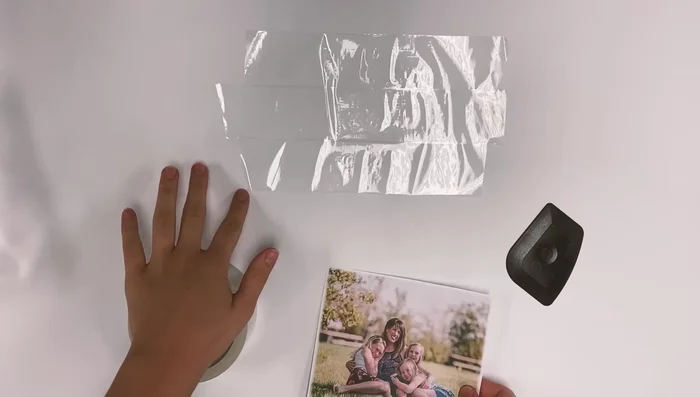
Prepare the Photo Apply Tape and Photo
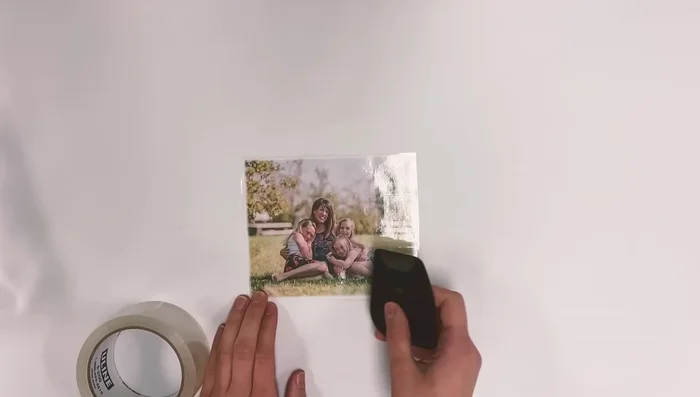
- Apply three overlapping strips of packing tape sticky-side up.
- Stick your photo onto the tape, smoothing to avoid wrinkles.
- Trim excess tape.
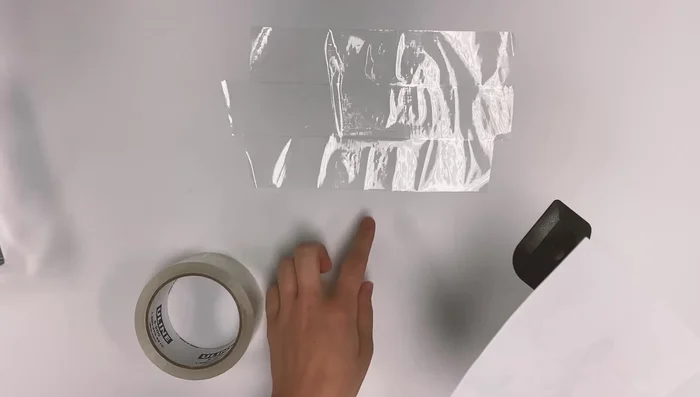
Apply Tape and Photo Adhere the Ink to the Tape
- Burnish (rub firmly) the printed side of the photo with a scraper or credit card to ensure good adhesion.
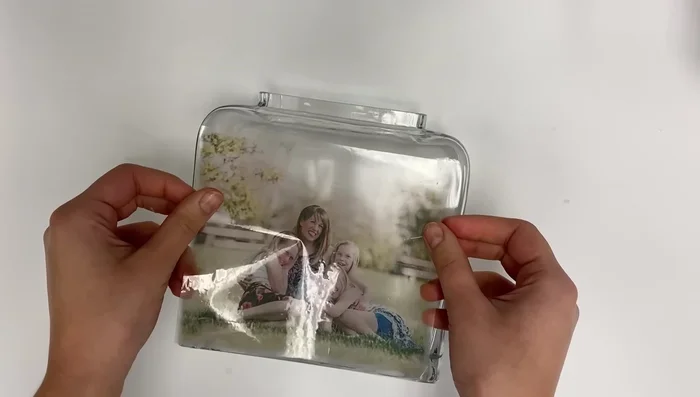
Adhere the Ink to the Tape Remove Paper Backing
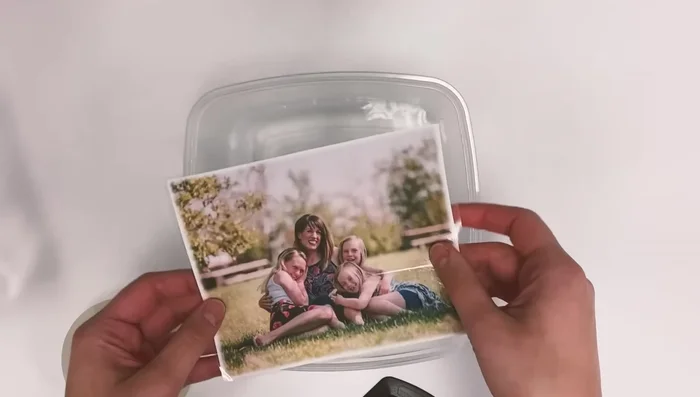
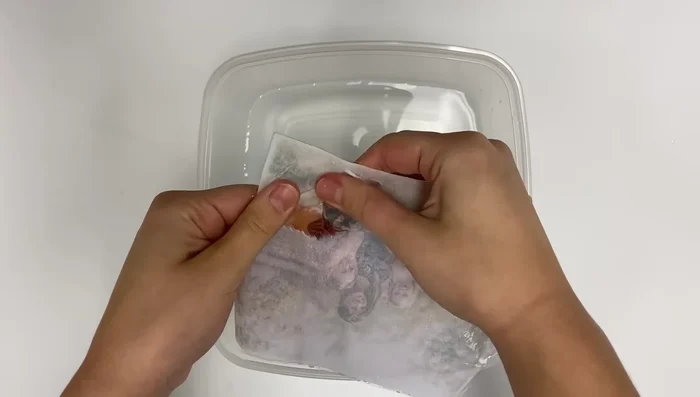
- Soak the taped photo in warm water for 2-3 minutes.
- Gently rub off the paper backing with your fingers until only the ink remains.
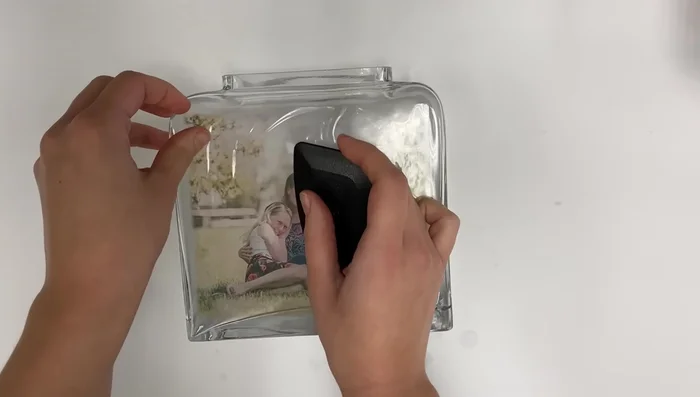
Remove Paper Backing Dry and Transfer to Glass
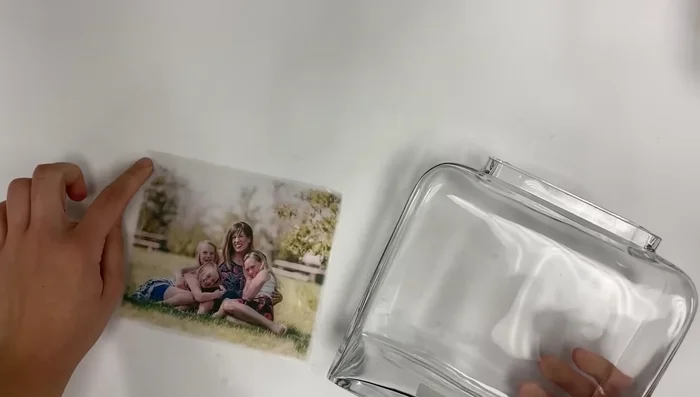
- Let the transferred ink dry completely.
- Position the dried, ink-side down, onto your glass surface.
- Burnish the back of the photo again to adhere it to the glass.
Dry and Transfer to Glass
Read more: DIY Witch's Brew Resin Craft: A Step-by-Step Guide
Tips
- Use a laser printer for the photo. Inkjet printers won't work.
- Reverse your image before printing if it contains text.
- Apply firm pressure when burnishing to ensure good adhesion.