Winter's here, and what better way to embrace the snowy wonderland than with a thrilling sled ride? Forget expensive store-bought options; this year, we're taking on a rewarding DIY project: building a sturdy and stylish sled entirely from reclaimed pallet wood! This project is surprisingly simple, perfect for a weekend afternoon, and incredibly satisfying knowing you crafted your own winter adventure vehicle. You'll be amazed at how much character you can imbue into your sled by using repurposed materials, giving it a unique look that's all your own.
This guide will walk you through each step, from sourcing the perfect pallet wood to the final touches that will make your sled snow-ready. Get ready to transform discarded lumber into a thrilling ride down any snowy hill! We’ll cover selecting the right wood, cutting and shaping the pieces, assembling the frame, and adding those essential finishing touches for a safe and fun sledding experience. Let's get started!
Preparation and Safety Guidelines
- boards
- steel
- nails
- drill
- drill bits
- corner brackets
- rope
- tea light
- wood
- Always use sturdy, untreated pallet wood. Avoid wood showing signs of rot or significant damage.
- Ensure all screws and fasteners are securely tightened and countersunk to prevent snags and injuries.
- Test your sled on a small, gentle slope before using it on a steep hill. Adult supervision is crucial, especially for children.
Step-by-Step Instructions
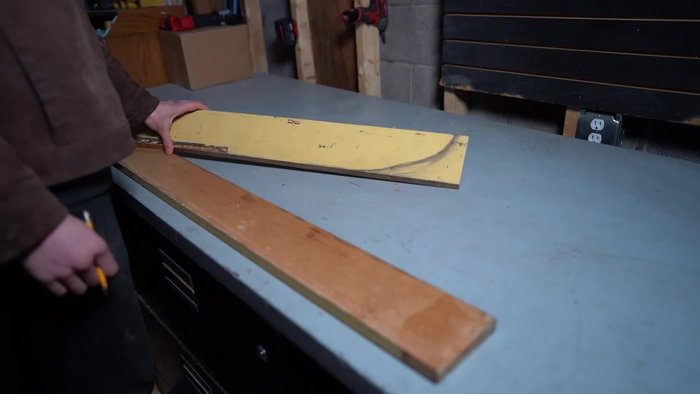
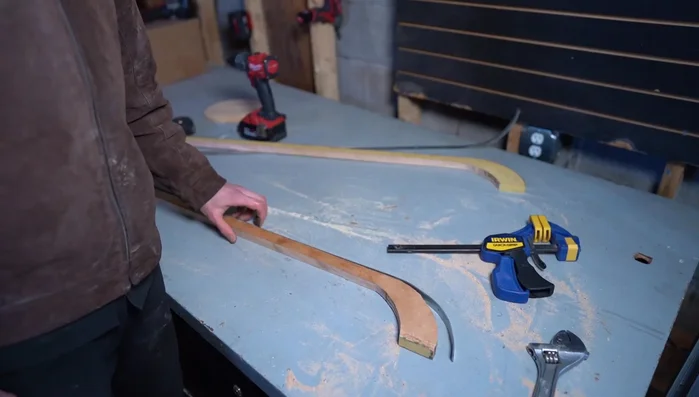
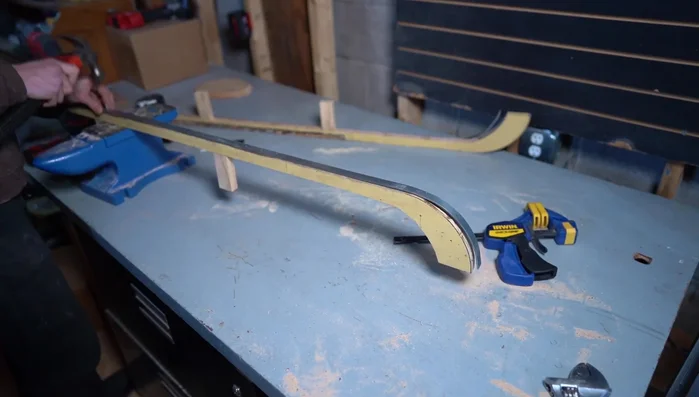
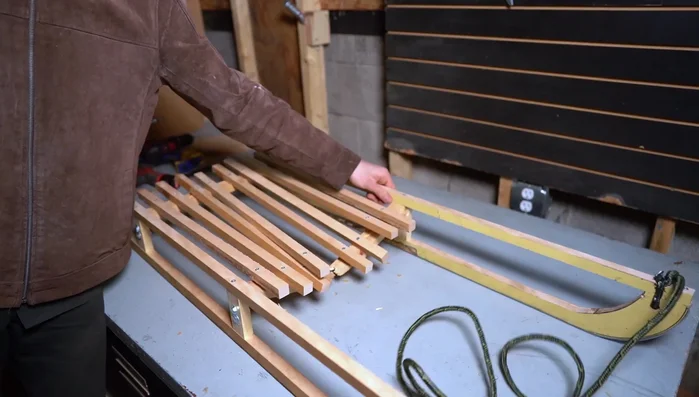
Prepare Runners
- Cut runners from boards.
- Cut supports for runners.

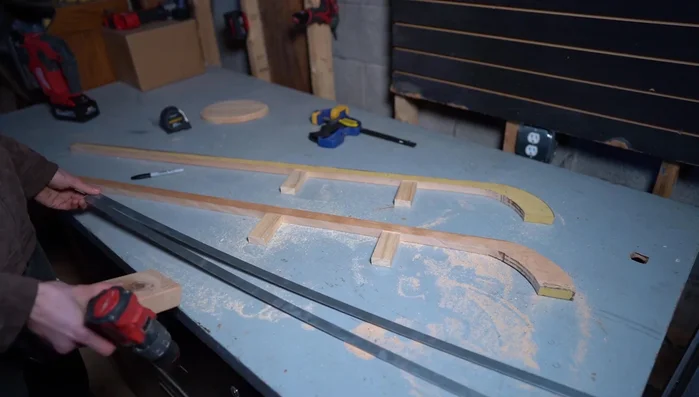
Prepare Runners Attach Runners and Supports
- Attach steel pieces to runners using nails. Drill holes in steel first.
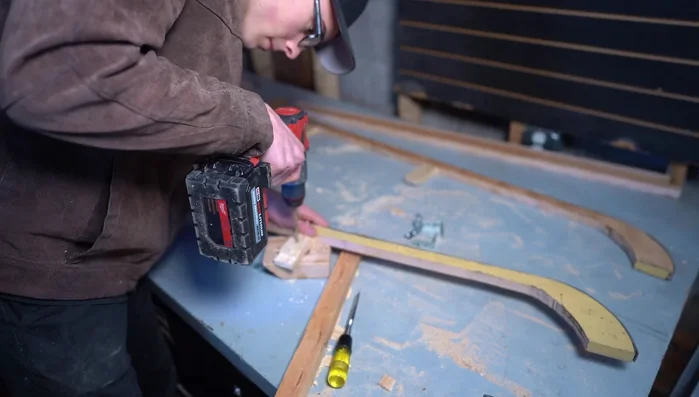
- Attach supports to the runners using nails.
- Attach the steel to the supports using nails.
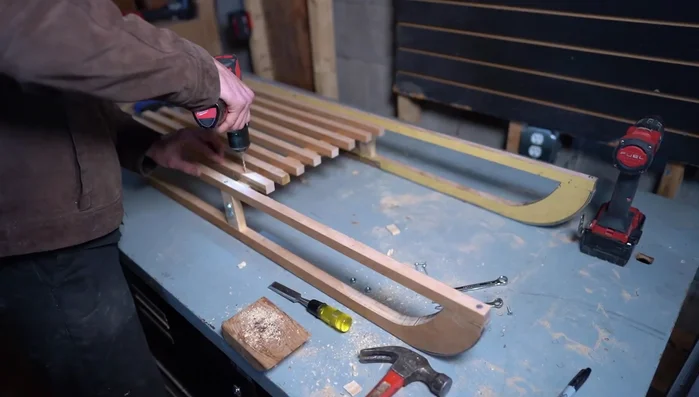
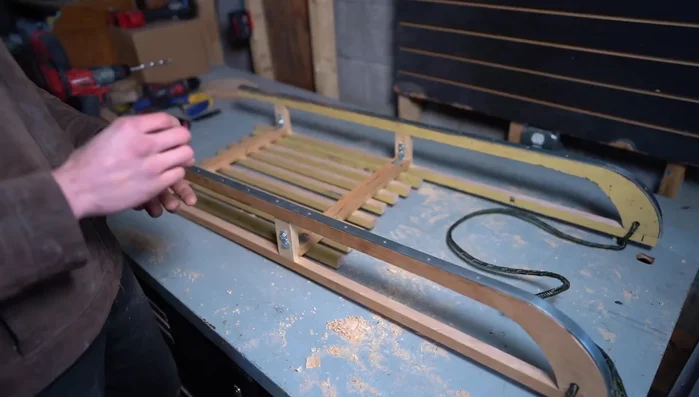
Attach Runners and Supports Assemble the Sled
- Attach front piece using corner brackets.
- Attach slats.
- Drill holes in front for rope attachment.
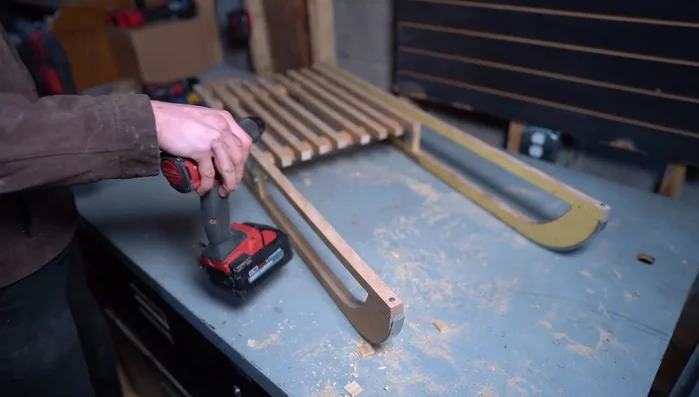
Assemble the Sled Prepare for Use
- Wax runners (using a tea light).
Prepare for Use Initial Test and Repair
- Test the sled.
- Remove broken pieces, replace with sturdier wood, and add a third support for weight distribution. Attach new brackets and slats.
Initial Test and Repair Final Test
- Retest the repaired sled.
Final Test

Read more: Crafting a Biodegradable Woodsman's Whistle: A Step-by-Step Guide
Tips
- Use high-quality wood for increased durability. Avoid pallet wood.
- Ensure proper weight distribution to prevent breakage. Consider adding extra supports.