Personalizing a child's space is a joyful task, and a handmade name plaque adds a unique, charming touch. Whether you're decorating a bedroom, playroom, or crafting a special gift, a custom-made name plaque offers a lasting keepsake brimming with personality. Forget fussy, complicated techniques; this project focuses on achieving a smooth, fluid cut for your child's name, resulting in a professional-looking finish that even beginners can master. We'll explore the satisfying process of bringing your design from concept to beautiful reality using readily available materials.
This guide will walk you through a simple yet effective method for creating perfectly cut name plaques, avoiding jagged edges and achieving a clean, polished look. From selecting the right materials to the final sanding and finishing touches, we'll cover every step in detail. Let’s dive into the step-by-step process and create a name plaque your little one will treasure for years to come!
Preparation and Safety Guidelines
- Poplar wood
- Birch plywood (1/4 inch thick)
- Painters tape
- Stencil (online generated)
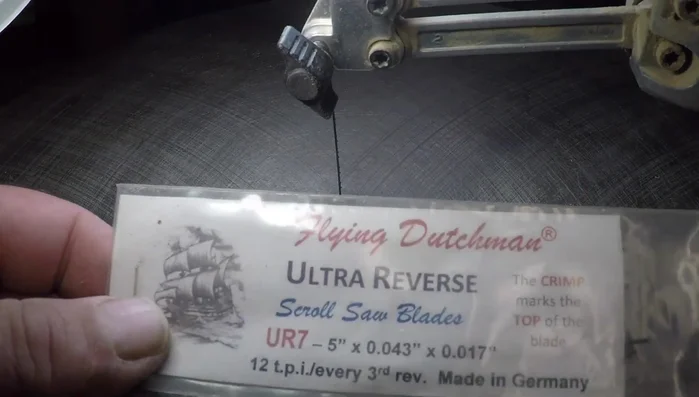
- Flying Dutchman Ultra Reverse UR7 (router)
- Wood glue (Titebond)
- CA glue
- Sandpaper (220 grit)
- Round-over bit
- Scotch-Brite pad
- Paste wax
- Steel wool
- Hanger
- Always supervise children closely during the entire process, especially when using cutting tools.
- Use sharp, well-maintained cutting tools to prevent slips and ensure clean cuts. Dull tools require more force, increasing the risk of accidents.
- Wear safety glasses to protect your eyes from flying debris while cutting.
Step-by-Step Instructions
Prepare the Wood
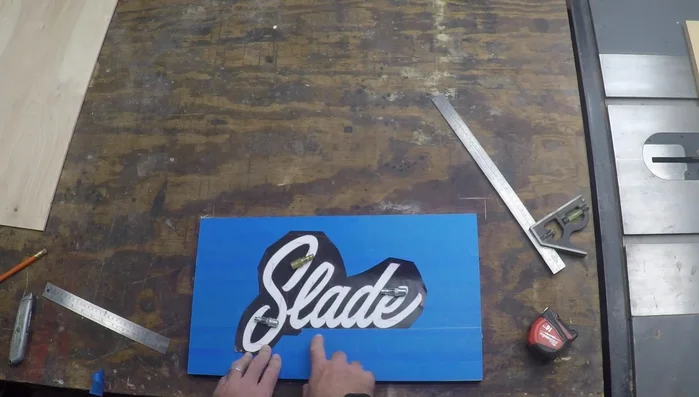
- Cover the wood with blue painter's tape to facilitate stencil removal and prevent glue residue.

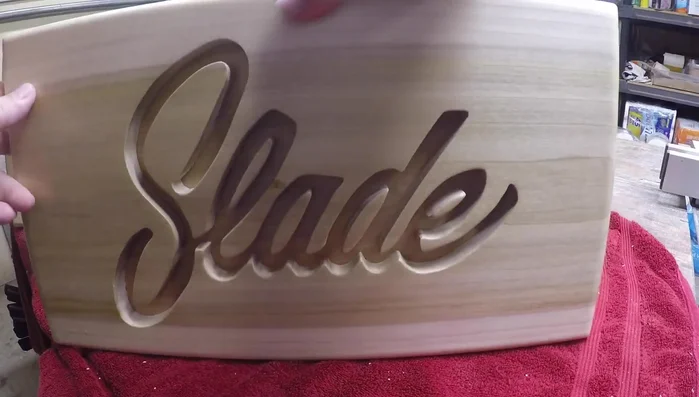
Prepare the Wood Apply Stencil and Cut
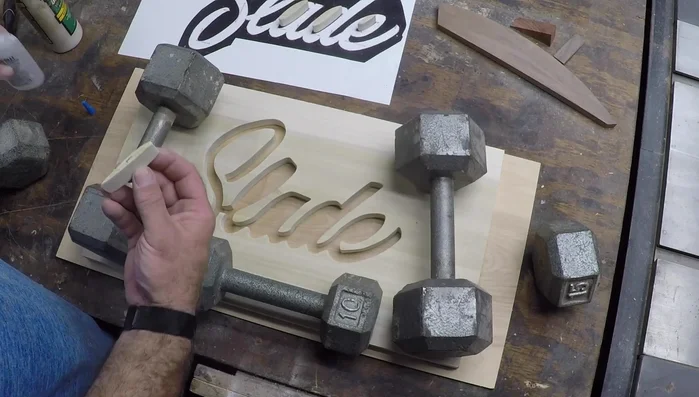
- Secure the stencil onto the taped wood.
- Use a router (Flying Dutchman Ultra Reverse UR7) to cut out the name from the stencil.
Apply Stencil and Cut Sanding
- Sand down any rough edges or ridges after cutting (220 grit sandpaper).
Sanding Attach to Backer Board
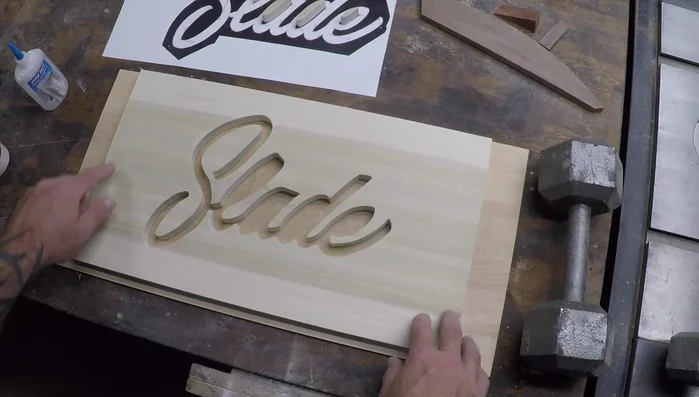
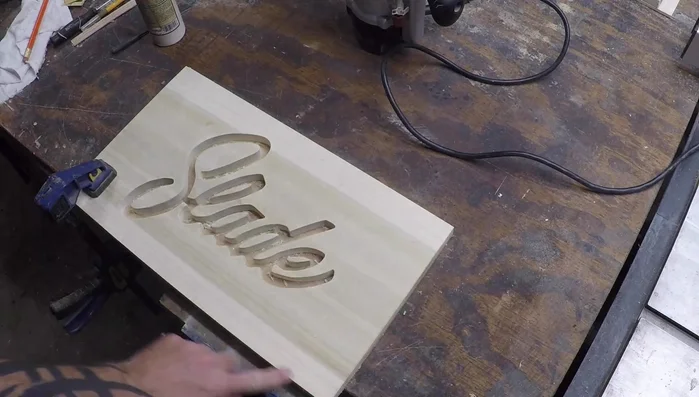
- Apply Titebond wood glue to the larger areas and CA glue to the smaller, more delicate parts of the name plaque, and glue the name to the birch plywood backer piece.
Attach to Backer Board Glue Drying
- Let the glue dry completely.
Glue Drying Cut and Shape
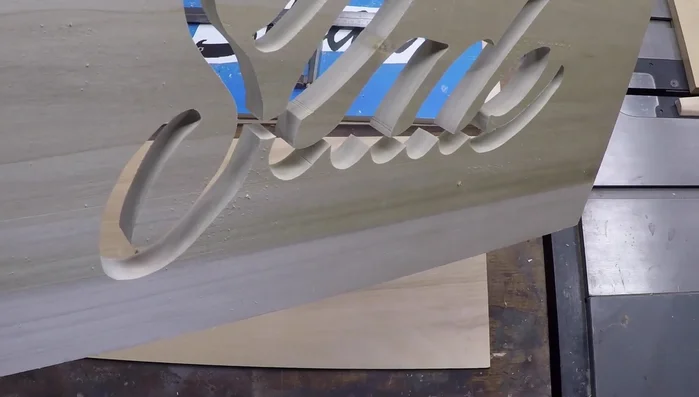
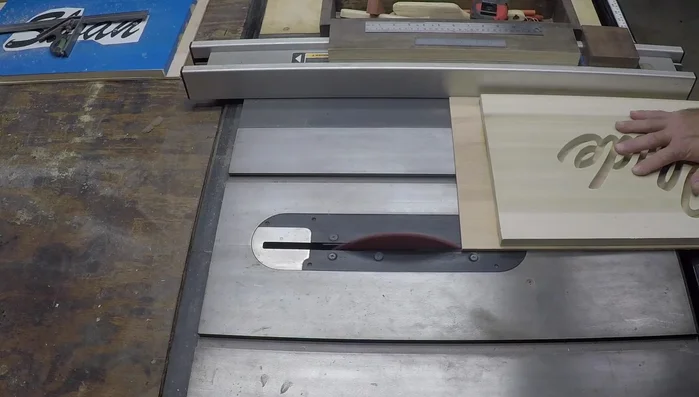
- Cut the excess plywood around the name plaque down to size.
- Use a router with a round-over bit to create a round edge around the plaque.
- Sand the edges for smoothness.
Cut and Shape Finishing
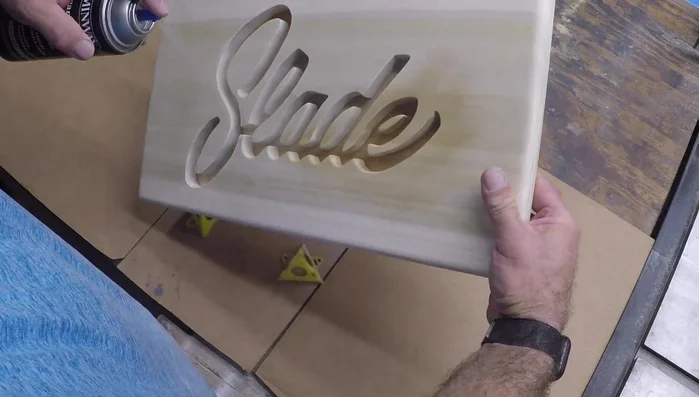
- Apply a finish (paste wax and steel wool).
Finishing Add Hanger
- Add a hanger to the back of the plaque.
Add Hanger


Read more: Crafting a Biodegradable Woodsman's Whistle: A Step-by-Step Guide
Tips
- To achieve a fluid, handwriting-like effect when cutting, maintain a continuous movement to avoid stopping and starting.
- If you make mistakes during the cutting, it’s okay! Slowly return to the line; it won’t be noticeable.