Unleash your inner artist and transform ordinary coasters into breathtaking works of art with this stunning burnt decoupage technique! Forget mass-produced, boring coasters; prepare to create unique, personalized pieces that will elevate any table setting. This exciting DIY project combines the charm of decoupage with the intriguing aesthetic of burnt edges, resulting in coasters that are both beautiful and surprisingly easy to make. The warm, rustic tones achieved through this process offer a touch of vintage elegance, perfect for adding a personal and handcrafted touch to your home decor.
Imagine the compliments you'll receive when guests admire your handcrafted coasters! This detailed tutorial will guide you through each step, from selecting your materials to achieving that perfect, subtly charred finish. Ready to embark on this creative journey and craft your own set of stunning burnt decoupage coasters? Let's get started!
Preparation and Safety Guidelines
- Wooden coaster base
- White gesso
- Flat brush/sponge dauber
- Rice paper
- Mod Podge/Decoupage glue
- Lighter/Candle
- Ranger ink pad
- Permanent ink pad
- Transfer sheet
- Varnish
- Always work in a well-ventilated area. Burning wood creates fumes.
- Use caution when handling hot tools like a wood burning tool. Allow ample cooling time before touching burned surfaces.
- Keep flammable materials away from your work area, including papers, sprays, and fabrics.
Step-by-Step Instructions
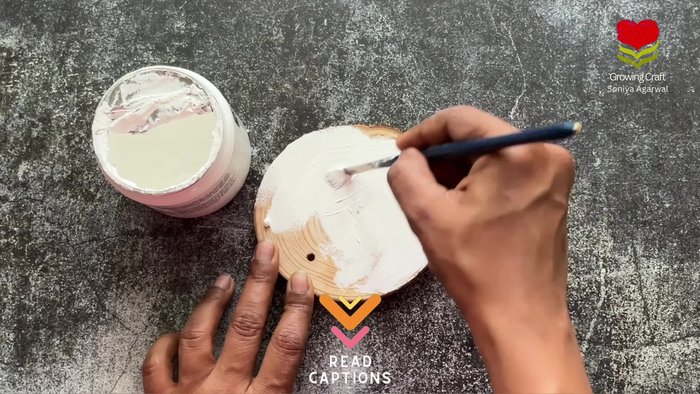
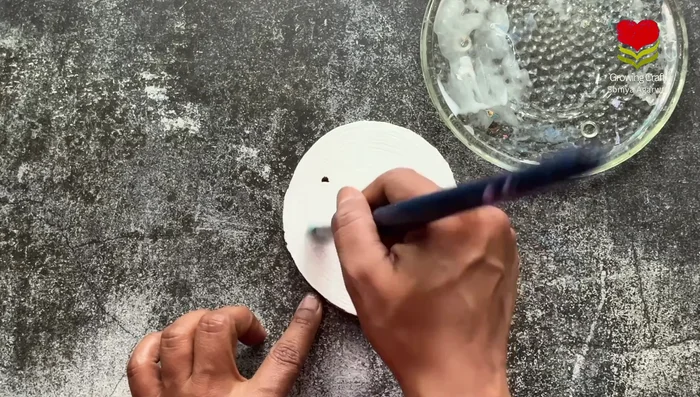
Prepare the Coaster Base
- Prepare the coaster base by applying a thick coat of white gesso.

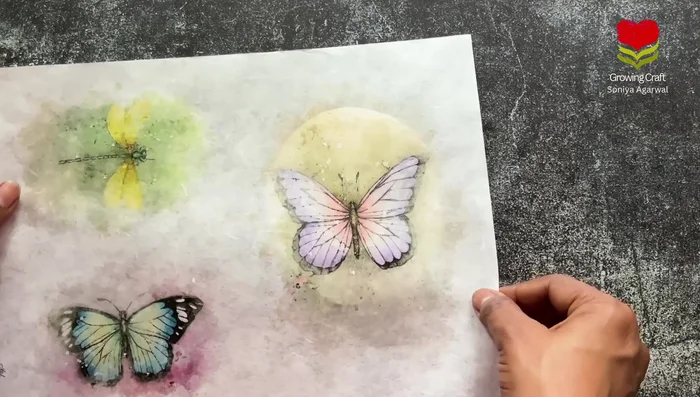
Prepare the Coaster Base Apply Decoupage & Rice Paper
- Apply Mod Podge or decoupage glue to the coaster base.
- Stick the rice paper onto the prepared coaster base.
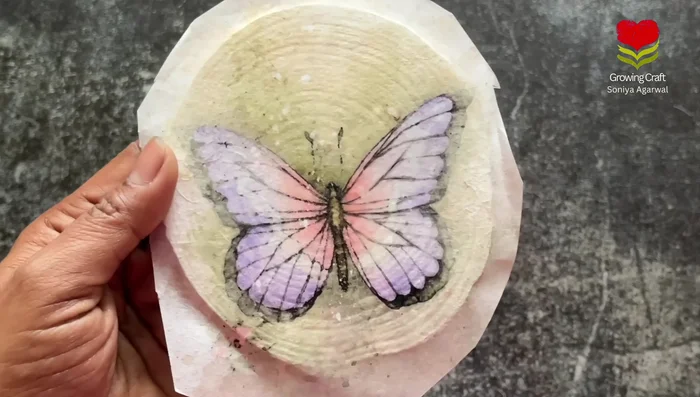
Apply Decoupage & Rice Paper Burn & Trim the Edges
- Carefully cut away excess rice paper. Use a lighter or candle to carefully burn the edges for a unique effect (in a well-ventilated area).
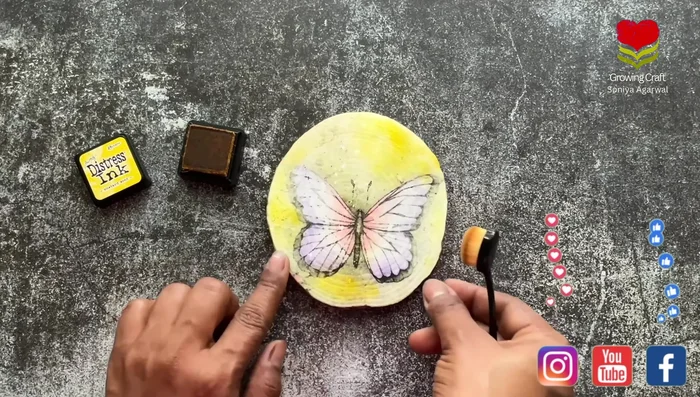
Burn & Trim the Edges Add Color and Depth
- Blend shades using Ranger and permanent ink pads to add color and drama.
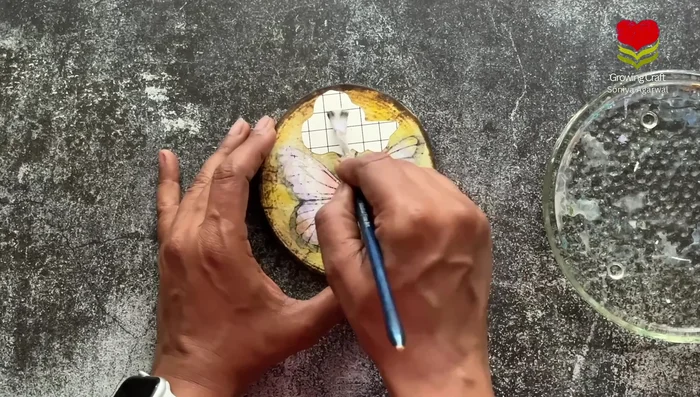
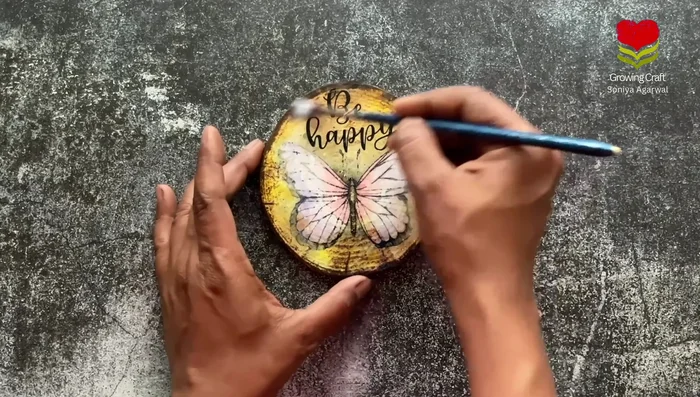
Add Color and Depth Apply Transfer Sheet
- Apply a transfer sheet (e.g., with a 'be happy' design) using water to add another decorative layer.
Apply Transfer Sheet Seal and Finish
- Seal the project with varnish.
Seal and Finish
Read more: Crafting a Biodegradable Woodsman's Whistle: A Step-by-Step Guide
Tips
- Use a thick coat of gesso for a smooth base.
- Sponge daubers or paintbrushes can be used for applying gesso.
- When using a lighter or candle for burning the edges, do so in an open, well-ventilated area for safety.
- For decoupage napkins, seal before applying transfer sheets. Rice paper works well directly with transfer sheets.