Are you a fan of the adorable Australian Blue Heeler siblings, Bluey and Bingo? Do you love crafting and expressing your creativity through unique jewelry? Then you're in for a treat! This tutorial will guide you through the process of creating your very own charming Bluey and Bingo pendants, perfect for adding a touch of playful personality to your everyday style or gifting to a fellow Bluey fan. These sweet little pendants are surprisingly simple to make, even for beginners, using readily available materials.
Forget expensive, mass-produced merchandise; let's unleash your inner artist and craft personalized Bluey and Bingo keepsakes. Whether you prefer a minimalist design or something more intricate, this step-by-step guide will help you bring your vision to life, providing detailed instructions and helpful tips along the way. Ready to get started and create your own unique Bluey and Bingo pendant jewelry? Let's dive into the detailed instructions below!
Preparation and Safety Guidelines
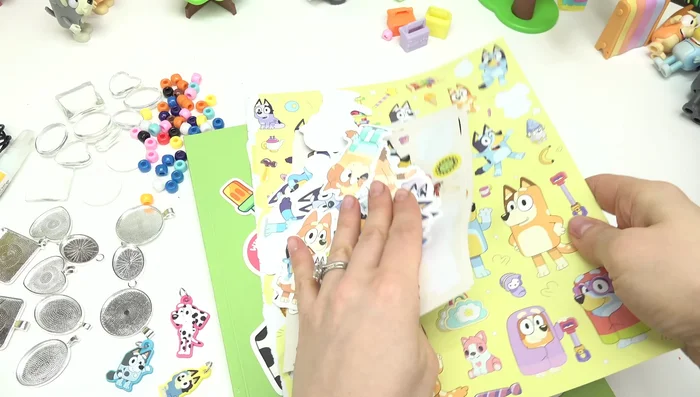
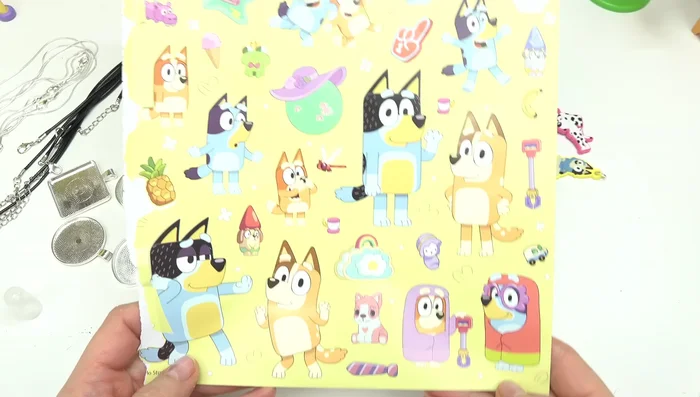
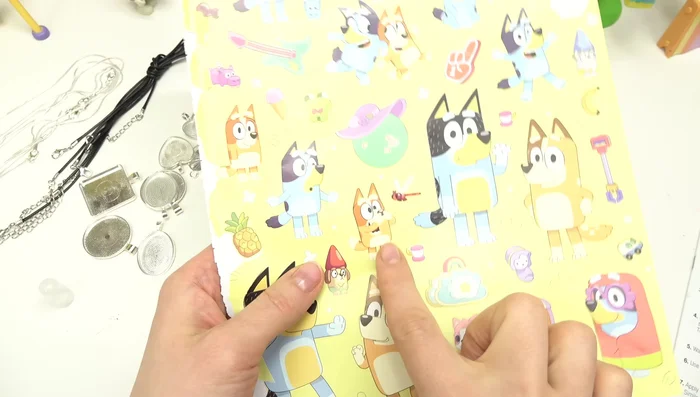
- Bluey stickers
- Coloring sheets
- Pendant trays (circle, square, heart, oval)
- Cabochon glass pieces
- Glue
- Beads
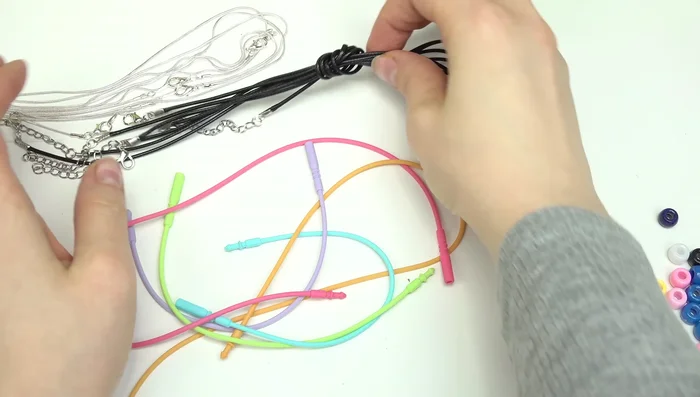
- Necklace and bracelet cords
- Scissors
- Towel
- Adult supervision is required at all times, especially when working with small parts and potentially sharp tools like scissors or jewelry pliers.
- Avoid using materials that are a choking hazard for young children. Ensure all pendants are securely fastened to prevent accidental detachment and ingestion.
- Always wash your hands before and after handling crafting materials to maintain hygiene and prevent the spread of germs.
Step-by-Step Instructions
Image Selection and Preparation
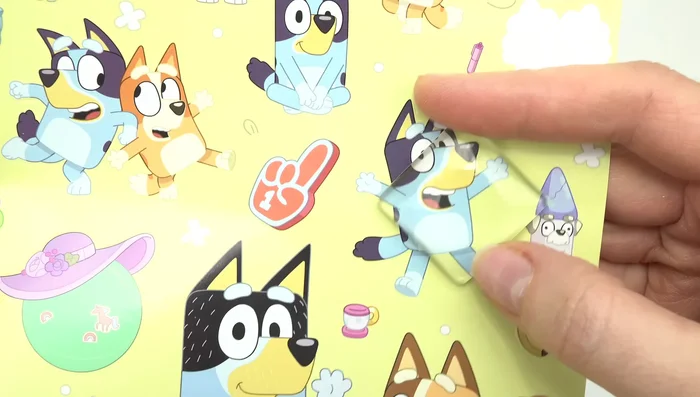
- Find and cut out desired Bluey images from coloring sheets or stickers.
- Select a pendant tray and test-fit the image to ensure proper sizing. Adjust image size as needed.

Image Selection and Preparation Pendant Assembly (Bluey)
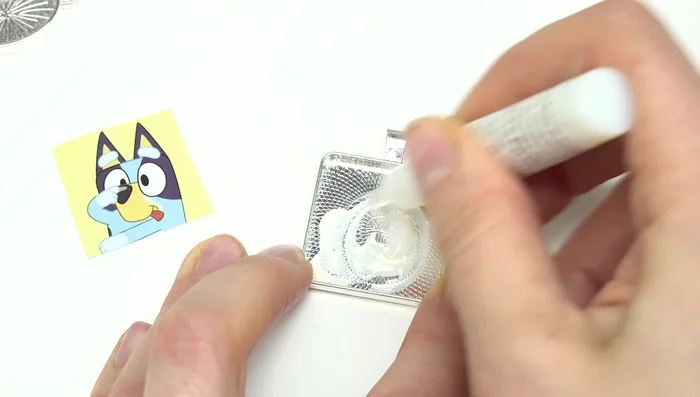
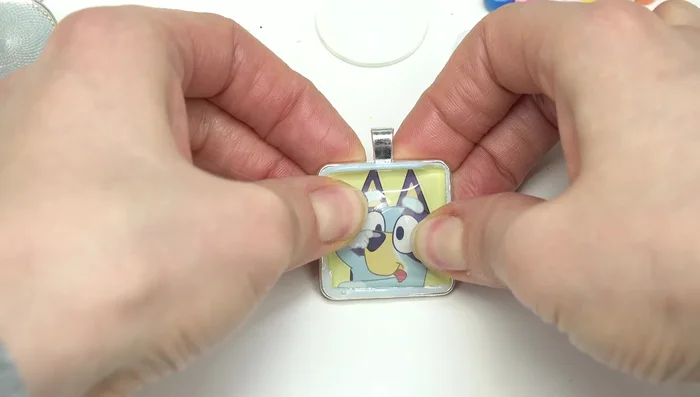
- Apply a small amount of glue to the bottom of the pendant tray.
- Carefully place the cut-out image onto the glue within the tray, pressing firmly to adhere.
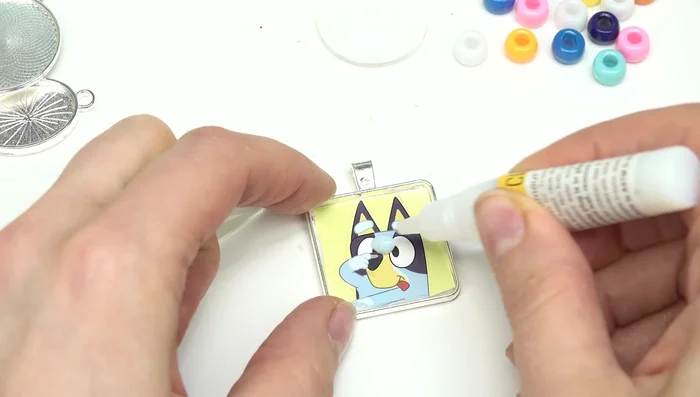
- Apply a small amount of glue on top of the image inside the tray.
- Place the cabochon glass piece over the image, pressing gently to ensure adhesion and remove excess glue with a towel.
Pendant Assembly (Bluey) Pendant Assembly (Other Characters)
- Repeat steps 2-6 for other characters (Bingo, Coco, etc.), choosing different pendant tray shapes as desired.
Pendant Assembly (Other Characters) Glue Drying
- Allow the glue to dry completely.
Glue Drying Cord and Bead Selection
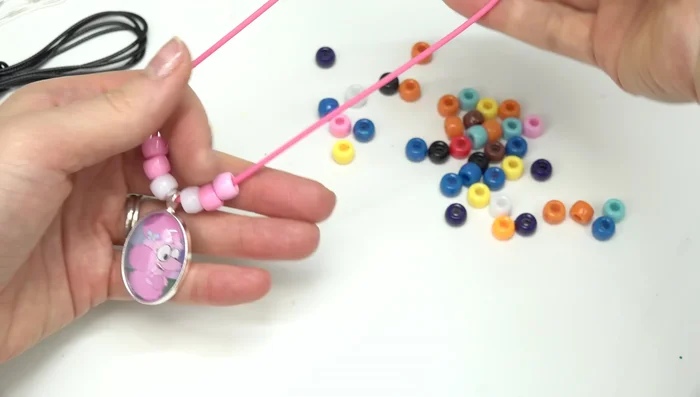
- Select cords and beads for necklaces/bracelets.
Cord and Bead Selection Jewelry Assembly
- Attach pendants to cords, adding beads as desired.
- Secure the cords/elastic to complete the necklaces and bracelets.
Jewelry Assembly


Read more: DIY Witch's Brew Resin Craft: A Step-by-Step Guide
Tips
- Don't use too much glue; excess glue can be wiped away with a towel.
- Test-fit your image before gluing to ensure proper sizing and placement.
- Use a variety of pendant shapes and cord colors for a more creative look.