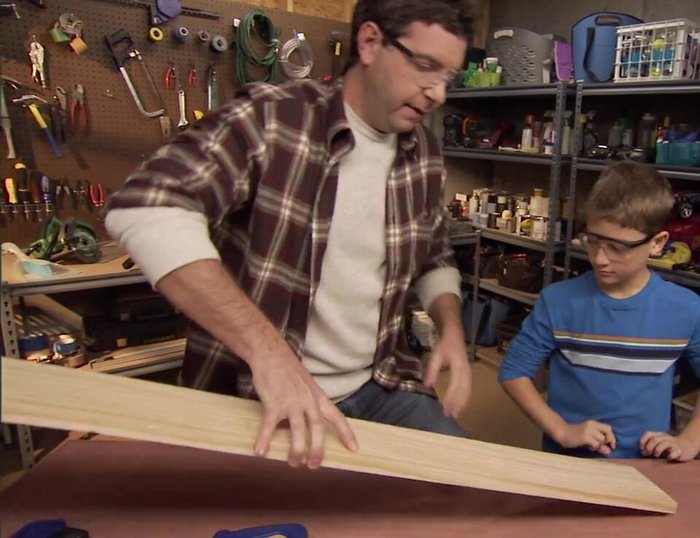
Building things is a fundamental human activity, and there's something deeply satisfying about creating something tangible with your own two hands. For kids, this sense of accomplishment is amplified tenfold, fostering creativity, problem-solving skills, and a healthy appreciation for craftsmanship. A simple wooden box is the perfect starting point for young aspiring builders, offering a manageable project with satisfying results. It's a fun and engaging way to introduce them to basic woodworking techniques, from measuring and cutting to assembling and finishing.
This project requires minimal tools and readily available materials, making it an ideal activity for a family afternoon or a school classroom project. The process is not only educational but also remarkably rewarding; seeing a plain piece of wood transform into a usable box is a genuinely exciting experience for children. Ready to get started? Let's dive into the step-by-step instructions and build your own wooden treasure chest!
Preparation and Safety Guidelines
- Tape measure
- Speed square
- Hand saw
- Safety glasses
- Wood glue
- Clamps
- Hammer
- Nails
- Nail set
- Sandpaper
- Adult supervision is required at all times. Children should not use tools without guidance from a responsible adult.
- Always use appropriate safety glasses or goggles to protect eyes from wood chips and debris.
- Be mindful of sharp tools and edges. Handle all tools with care and caution to prevent injuries.
Step-by-Step Instructions
Planning and Preparation
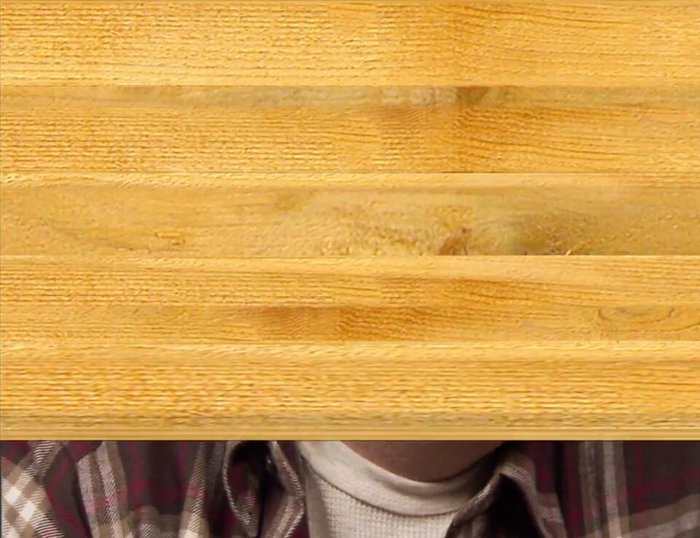
- Cut all the pieces for the box.
- Measure and mark the wood (4 inches). Mark an 'X' on the waste side.

Planning and Preparation Measuring and Marking
- Extend the line across the board using a speed square.
Safe Sawing
- Put on safety glasses and ensure a clear workspace.
- Clamp the board and begin sawing, making a starter cut at a 45-degree angle.
- Continue sawing back and forth.
- Repeat for all four pieces.
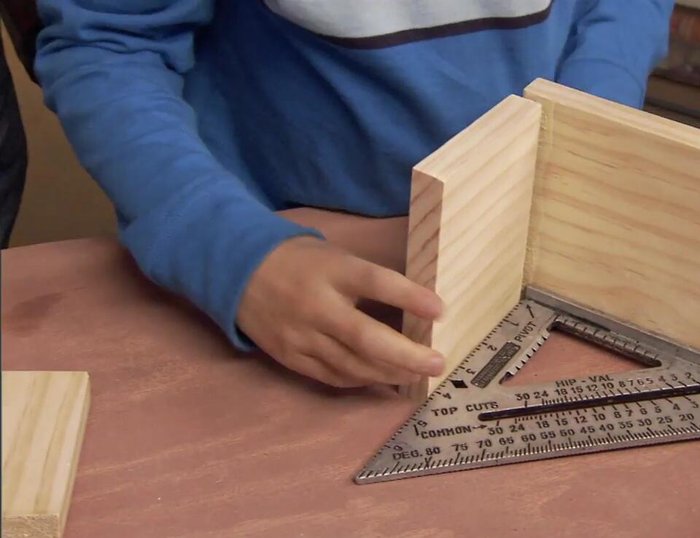
Safe Sawing Assembling the Box
- Apply glue to the long edge of two pieces and join them, checking for squareness with a speed square.
- Clamp the pieces together and let the glue dry.
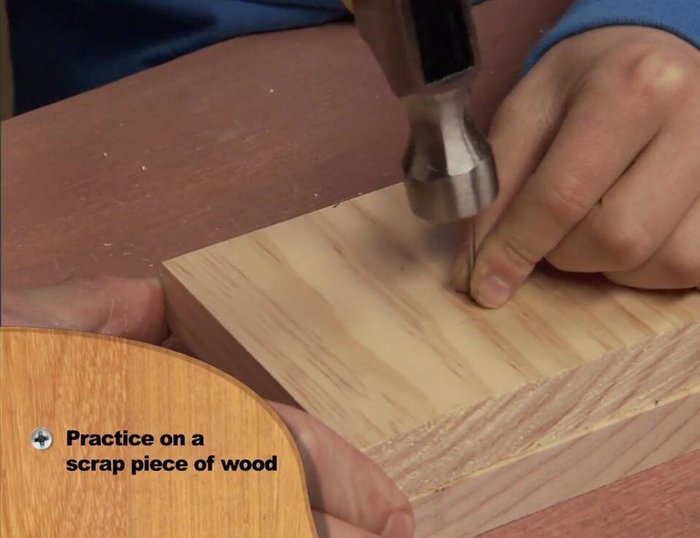
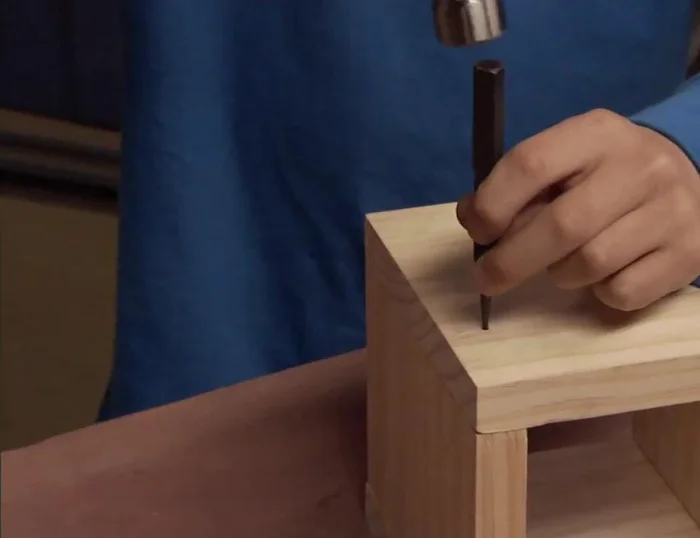
Assembling the Box Hammering and Nail Setting
- Practice hammering nails into a scrap piece of wood. Lightly tap at first, then hit more firmly.
- Hammer nails into the box, using a nail set to countersink them.
Hammering and Nail Setting Sanding and Finishing
- Sand the box using progressively finer grits of sandpaper.
Decoration
- Finish and decorate the box (paint, stain, etc.).


Read more: Crafting a Biodegradable Woodsman's Whistle: A Step-by-Step Guide
Tips
- Always prioritize safety: wear safety glasses, secure loose clothing, and keep fingers clear of the saw blade.
- Accurate measuring and marking are crucial for a successful project.
- Use a speed square to ensure straight lines and square corners.
- Start with a starter cut at a 45-degree angle when sawing.
- Use clamps to hold the wood pieces together while the glue dries.