Spending quality time with your kids while fostering creativity and practical skills can be a rewarding experience. Building a birdhouse is a fantastic way to achieve just that! This fun weekend woodworking project offers a perfect blend of learning and enjoyment, transforming a simple afternoon into a lasting family memory. Not only will you create a beautiful and functional home for feathered friends, but you'll also be teaching valuable lessons in carpentry, patience, and the importance of caring for wildlife. The process is surprisingly simple, even for beginners.
Forget expensive, pre-made toys; this hands-on project allows your children to contribute meaningfully to the creation of something unique and beautiful. From choosing the wood to painting the finished product, every step offers an opportunity for collaboration and learning. Ready to get started? Let's dive into the easy-to-follow, step-by-step instructions below and build your family's very own birdhouse!
Preparation and Safety Guidelines
- Handsaw
- Speed Square
- Cedar Wood
- Jigsaw
- Miter Saw
- Hand Drill
- Spade Bit
- Drill Driver
- Screws
- Adult supervision is required at all times. Children should not use power tools or sharp instruments without direct adult guidance.
- Wear safety glasses to protect eyes from wood chips and debris.
- Ensure the work area is well-lit and free of clutter to prevent accidents.
Step-by-Step Instructions
Preparation and Tool Introduction
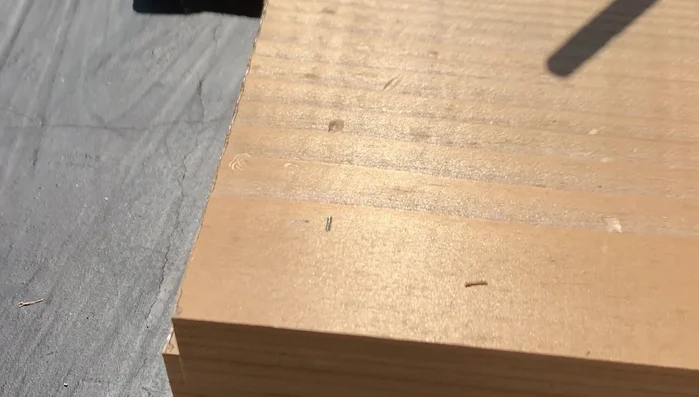
- Prepare the wood and show your children how to use basic tools safely.

Preparation and Tool Introduction Cutting the Wood Pieces
- Cut the pieces using a handsaw (for younger children) or a jigsaw/miter saw (for older children with supervision).
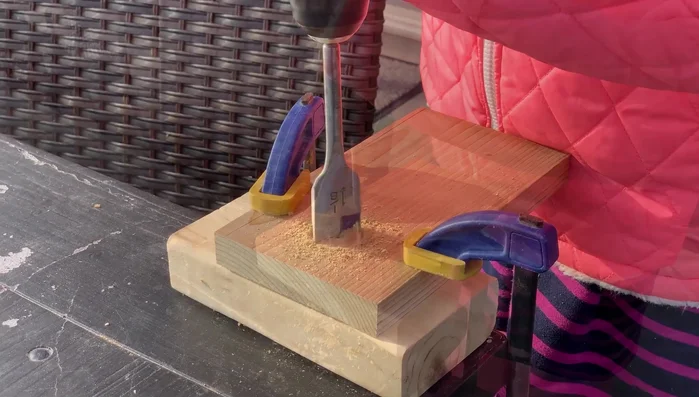
Cutting the Wood Pieces Drilling Ventilation Holes
- Mark and drill ventilation holes using a hand drill.
Drilling Ventilation Holes Drilling the Entrance Hole
- Drill the entrance hole using a spade bit.
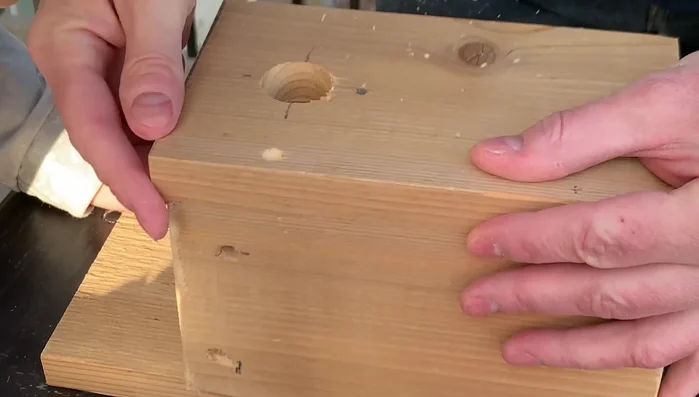
Drilling the Entrance Hole Preparing for Assembly
- Pre-drill and countersink holes for screws.
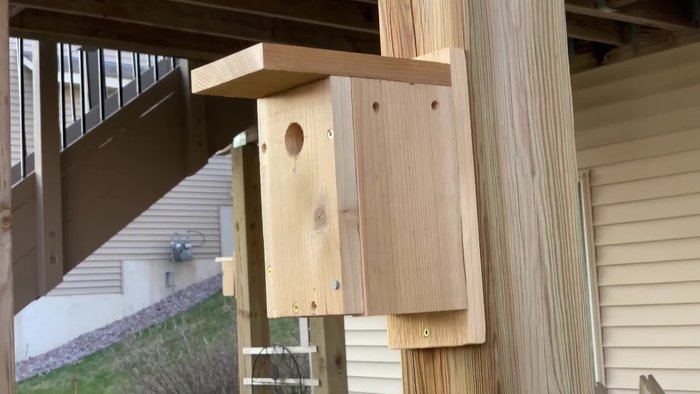
Preparing for Assembly Assembling the Birdhouse
- Assemble the birdhouse using screws and a drill driver.
Assembling the Birdhouse


Read more: Crafting a Biodegradable Woodsman's Whistle: A Step-by-Step Guide
Tips
- Use cedar wood for its natural rot resistance.
- Use free birdhouse plans from reputable sources like nestwatch.org for different bird types.
- Supervise children closely when using power tools.
- Make the process fun and don't worry about imperfections; the experience is more important than a perfect birdhouse.