Leaves: ubiquitous yet endlessly varied in their form, texture, and color. Capturing their intricate beauty in watercolor can be a challenging but incredibly rewarding experience. This guide delves into the art of realistic leaf painting, moving beyond simple shapes and exploring the subtle nuances that make each leaf unique. We’ll unlock the secrets to depicting the delicate veins, the subtle variations in tone and hue, and the overall texture that transforms a flat shape into a living, breathing representation of nature.
Forget generic leaf stencils; we're focusing on painting directly from observation. This step-by-step process will equip you with the skills and techniques to accurately render the complex details of a leaf, transforming your understanding of watercolor and your ability to capture the beauty of the natural world. Let's begin our journey into the captivating world of realistic leaf painting!
Preparation and Safety Guidelines
- 4x6 inch cotton watercolor paper (140lb)
- Pencil
- Eraser
- Watercolor brush
- Watercolor paints (Winsor Newton Cotman pan set recommended)
- Water jar
- Spray bottle
- Paper towels
- Always work in a well-ventilated area when using watercolors, as some pigments can release fumes.
- Protect your work surface with a waterproof covering like a plastic sheet or old newspaper to prevent paint spills from damaging your table or desk.
- Clean your brushes thoroughly after each use to prevent pigment build-up and maintain their quality. Use mild soap and water.
Step-by-Step Instructions
Preparation and Composition
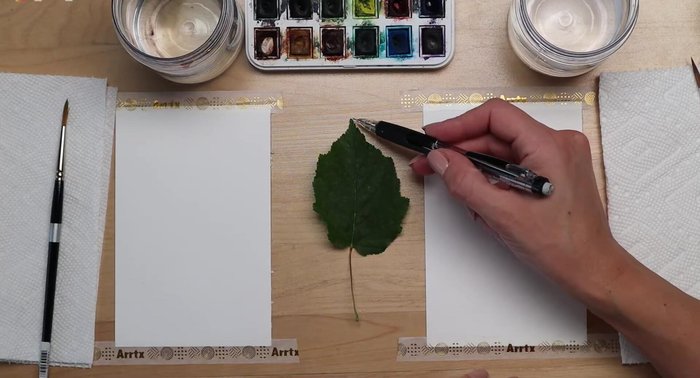
- Arrange your leaf for an interesting composition. Consider the lighting and how it affects the leaf's appearance.

Preparation and Composition Sketching the Leaf Outline
- Lightly sketch the leaf's outline, focusing on its unique shape and texture. Start with the central vein and then add the outer edges.
Sketching the Leaf Outline Sketching the Leaf Veins
- Sketch in the leaf veins, paying attention to their angles and how they branch out.
Sketching the Leaf Veins Painting the Stem
- Begin painting the stem with a red color, tracing along your pencil lines. Rinse your brush and dry it thoroughly before moving on to the leaf.
Painting the Stem Painting the Leaf - First Layer
- Mix your green paint. Paint the leaf, following the direction of the leaf veins. Leave small white streaks along the veins for a more realistic effect.
Painting the Leaf - First Layer Painting the Leaf - Adding Depth and Shadow
- Add layers of green to deepen the color and create shadows within the leaf.
Painting the Leaf - Adding Depth and Shadow Creating the Shadow - Wet-on-Wet Technique
- Wet the area where you will paint the shadow with clean water. This will create a soft, diffused shadow effect.
Creating the Shadow - Wet-on-Wet Technique Painting the Shadow and Finishing Touches
- Quickly apply Payne's Gray or a similar dark gray to the wet area, allowing it to blend softly into the surrounding area. Add subtle shadows under the stem as well.
Painting the Shadow and Finishing Touches


Read more: Reverse Silhouette Painting: Underwater Scene Masterclass
Tips
- Draw what you see, not what you think you see. Observe the leaf closely, paying attention to its unique details and imperfections.
- Don't be afraid to make mistakes. Use an eraser to correct any errors during the sketching process.
- Keep your brushstrokes in the direction of the leaf veins for better texture and realism.
- Use a wet-on-wet technique for creating soft shadows. Apply the color to a wet area to allow it to diffuse naturally.
- Hold your brush closer to the tip for better control and precision.