Gradient paintings offer a stunning visual effect, smoothly transitioning from one color to another, creating depth and a sense of movement. Often perceived as a challenging technique requiring advanced artistic skills, achieving a beautiful gradient is actually surprisingly simple. Whether you're a seasoned artist looking to refine your technique or a complete beginner eager to explore new creative avenues, this guide provides an accessible and rewarding approach to gradient painting. The soft, blended hues are perfect for a wide variety of subjects, from dreamy landscapes to vibrant abstract pieces.
Forget complicated blending methods and frustrating brushstrokes! This step-by-step guide will walk you through a straightforward and effective technique that guarantees professional-looking results, no matter your skill level. Let's dive in and discover the secrets to mastering the art of easy gradient painting, transforming your canvas into a breathtaking spectacle of color.
Preparation and Safety Guidelines
- paint
- paintbrush
- paper
- Always work in a well-ventilated area. Acrylic and other paints can release fumes that may be harmful if inhaled.
- Protect your work surface with newspaper or a drop cloth. Paint can stain surfaces easily.
- Clean your brushes thoroughly with soap and water immediately after use to prevent the paint from hardening.
Step-by-Step Instructions
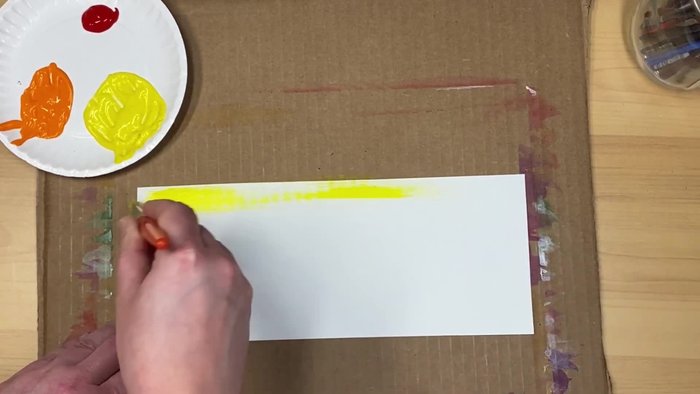
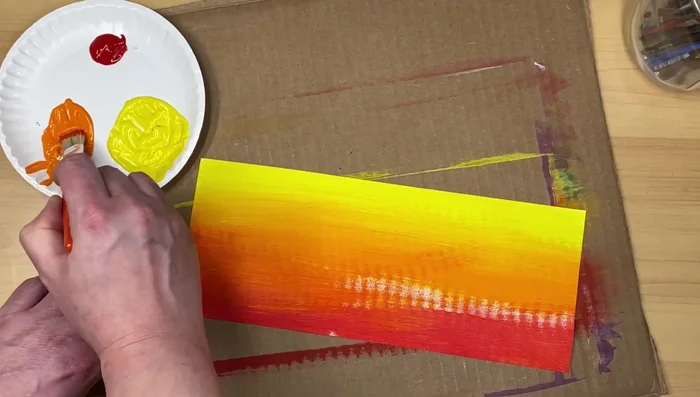
Apply the Lightest Color
- Start with the lightest color (e.g., yellow) at the top of your paper. Apply enough paint to cover the area, spreading it until you run out of paint on your brush. This should be about halfway down the paper.

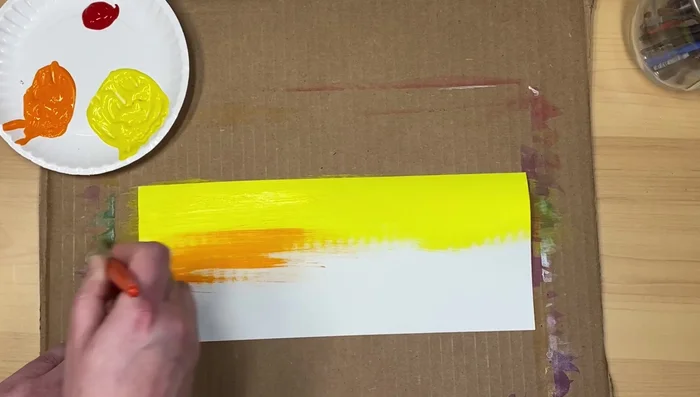
Apply the Lightest Color Apply the Medium Color
- Use your next color (e.g., orange), applying a small amount and spreading it across the paper, blending upwards lightly. Avoid using too much paint at once to make blending easier.
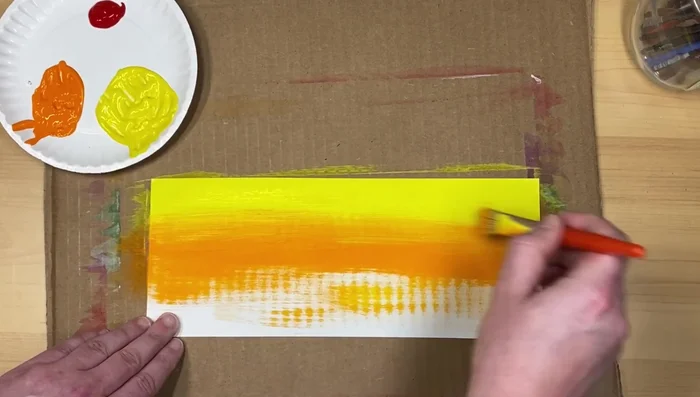
Apply the Medium Color Blend the First Transition
- Blend the edges where the colors meet to soften the transitions. Use a bit of the lighter color to blend into the darker one.
Blend the First Transition Apply the Darkest Color
- Apply the darkest color (e.g., red) at the very bottom of the paper, blending upwards. Avoid painting where the previous color ends to prevent harsh lines.
- Use the least amount of the darkest color. It's a strong color, so less is more.
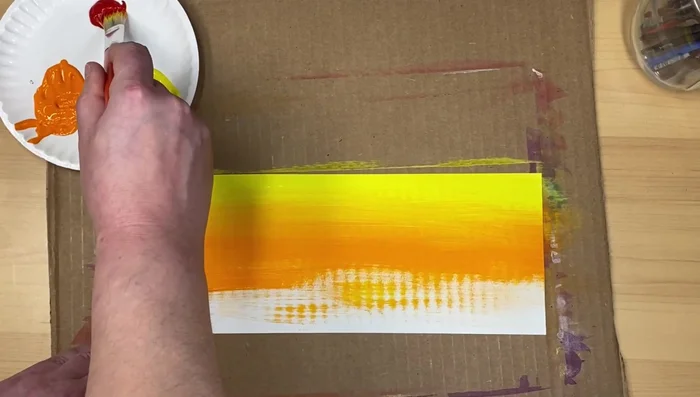
Apply the Darkest Color Blend and Finish
- Finish by adding more of the lighter/medium colors to blend the edges and cover any remaining white space. Blend the transitions between the colors until smooth.
Blend and Finish

Read more: Reverse Silhouette Painting: Underwater Scene Masterclass
Tips
- Work quickly, as tempera paint dries fast. Blending is difficult with dry paint.
- Don't overload your brush with paint. It's easier to add more paint than to remove excess.
- It's okay if you have some texture; it adds character.