Claude Monet's serene water lily paintings are iconic examples of Impressionism, capturing the fleeting beauty of light and reflection. Their delicate interplay of color and texture might seem daunting to recreate, but this isn't the case! This tutorial provides a simplified approach, perfect for both children and adults eager to explore the joys of acrylic painting and experience the magic of Monet's style. We'll break down the process into manageable steps, guiding you through techniques that emphasize loose brushstrokes and vibrant color blending, allowing you to create your own miniature masterpiece inspired by the master himself.
Forget rigid lines and perfect detail – Impressionism is all about capturing the essence of a scene. We'll focus on achieving that characteristic shimmering effect of Monet's water lilies using simple acrylic techniques and readily available materials. Ready to dip your brush into a world of color and creativity? Let's begin with the step-by-step guide below and transform a blank canvas into your own tranquil water lily pond.
Preparation and Safety Guidelines
- Thick paper
- Pencil
- Acrylic paints (red, yellow, blue, brown, white, green)
- Small flathead brush
- Optional: Tiny brush for details
- Adult supervision is required, especially when handling paints and brushes. Young children should not be left unattended.
- Work in a well-ventilated area to avoid inhaling paint fumes. Consider using a drop cloth or newspaper to protect your work surface.
- Always wash your hands thoroughly after painting and clean brushes immediately with soap and water to prevent paint from drying and hardening.
Step-by-Step Instructions
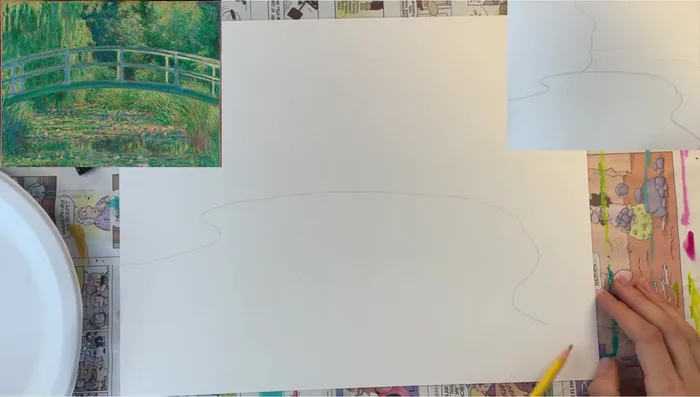
Sketching the Scene
- curving line for the pond, rough line dividing background trees and foreground grass. DO NOT draw the bridge yet.

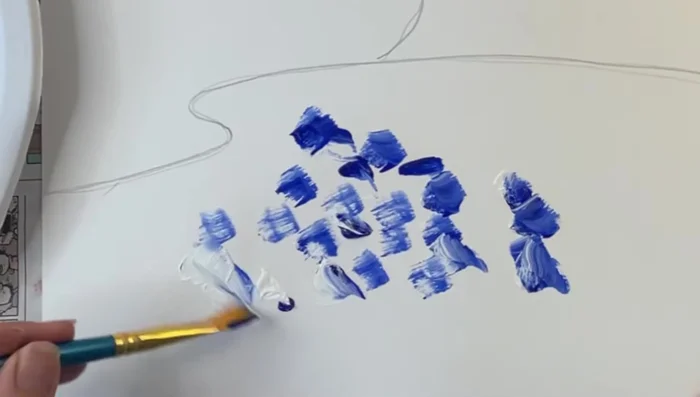
Sketching the Scene Painting the Pond
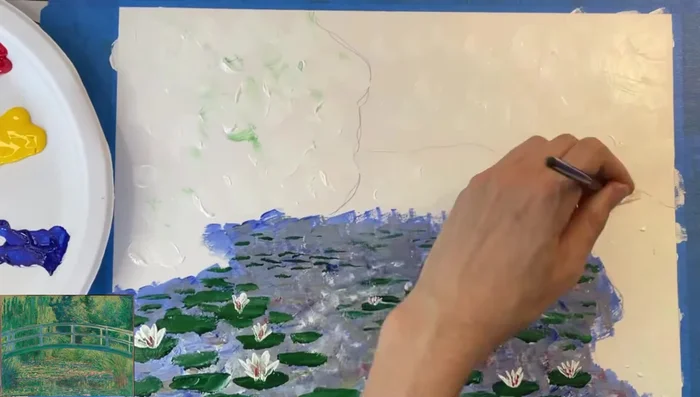
- Mix blue and white on the brush, then apply rough dabs inside the pond outline. Add red and yellow on top of the wet blue/white, allowing colors to mix naturally on the canvas.
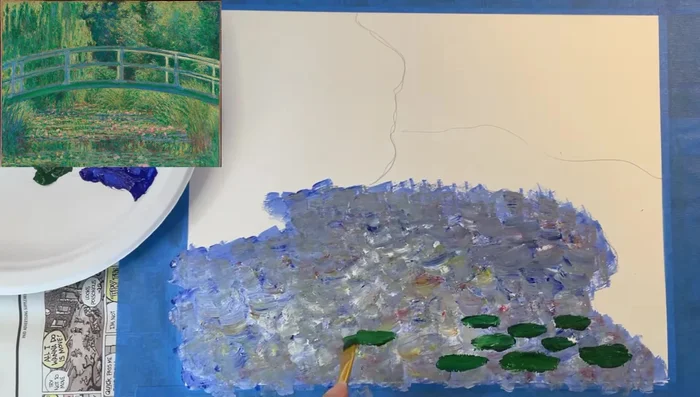
Painting the Pond Adding Lily Pads
- Use green paint to create rough dashes, varying the size to create depth (larger pads closer, smaller further away).
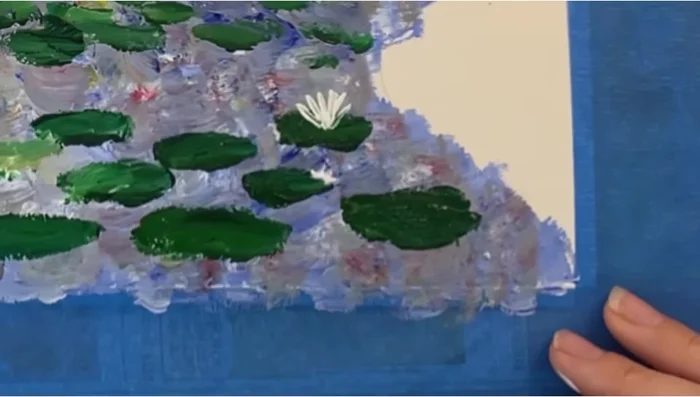
Adding Lily Pads Painting Lily Flowers
- Stamp the brush edge (five times per flower) with white paint, creating a fan shape. Add touches of red.
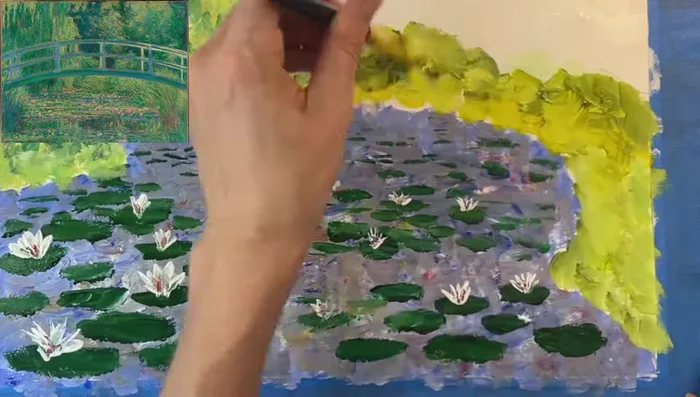
Painting Lily Flowers Painting the Background
- Layer thin brushstrokes of white, blue, and yellow to represent trees and plants, building up color gradually and varying shades to create depth.
Painting the Background Painting the Grass
- Use white and yellow, layering with blue and yellow brushstrokes, adding darker blue/white areas for shading.
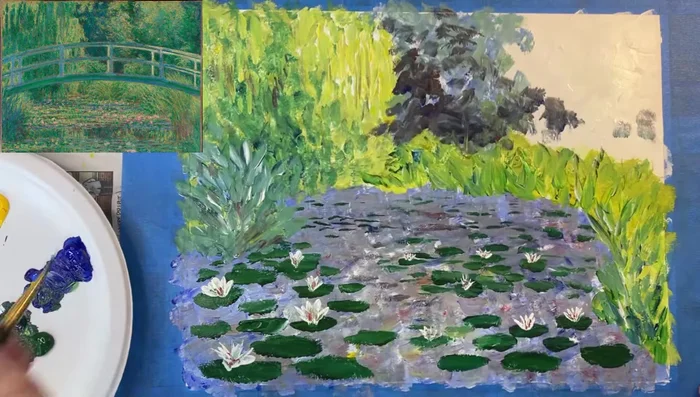
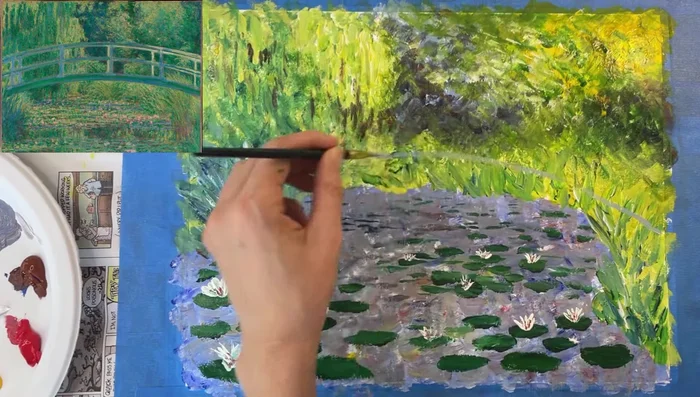
Painting the Grass Adding Depth and Highlights
- Use brown and blue to create darker areas. Add white highlights for sunlight reflections on plants and trees.
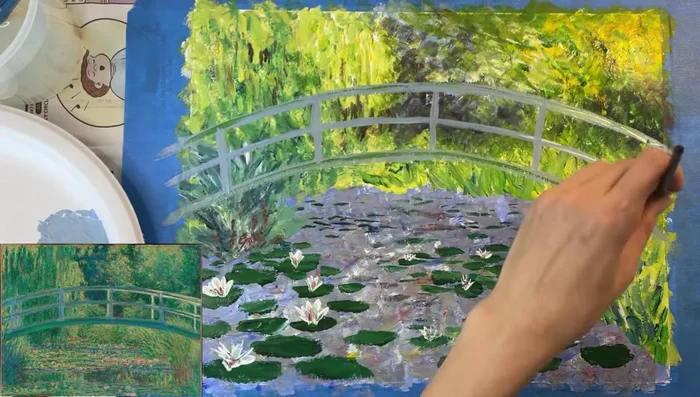
Adding Depth and Highlights Painting the Bridge
- Mix brown, blue, and white. Paint three thin arches, layering for solidity. Add thin black lines for shadows, and thin white lines for highlights using a small brush.
Painting the Bridge Adding Bridge Posts and Final Touches
- Paint five vertical posts on the bridge, then add final highlights/shadows as desired.
Adding Bridge Posts and Final Touches
Read more: Reverse Silhouette Painting: Underwater Scene Masterclass
Tips
- Use short, thick, spontaneous brush strokes.
- Let colors mix directly on the canvas.
- Vary the size of elements (lily pads, flowers) to create depth and perspective.
- Build up color in layers. Add more blue for darker areas, more yellow or white for lighter areas.
- Use a small brush for fine details like bridge highlights.