Watercolor painting can seem intimidating, conjuring images of hours spent meticulously blending colors and achieving perfect washes. But what if I told you could create a delightful little watercolor ice cream cone in just five minutes? Forget complex techniques and frustrating results; this tutorial will show you how easy it is to capture the playful charm of a summer treat with minimal effort and maximum impact. We'll use simple shapes and loose brushstrokes to achieve a vibrant and delicious-looking final piece, perfect for beginners or anyone short on time.
This quick and easy tutorial is ideal for anyone who wants to experience the joy of watercolor painting without the commitment of a lengthy project. From choosing the right colors to mastering simple washes, we’ll guide you through each step, resulting in a charming little ice cream cone you'll be proud to display. Ready to get started? Let's dive into the step-by-step process and create your own miniature watercolor masterpiece!
Preparation and Safety Guidelines
- Watercolor paints (pink, brown, honey brown, paynes grey, optional: red & yellow)
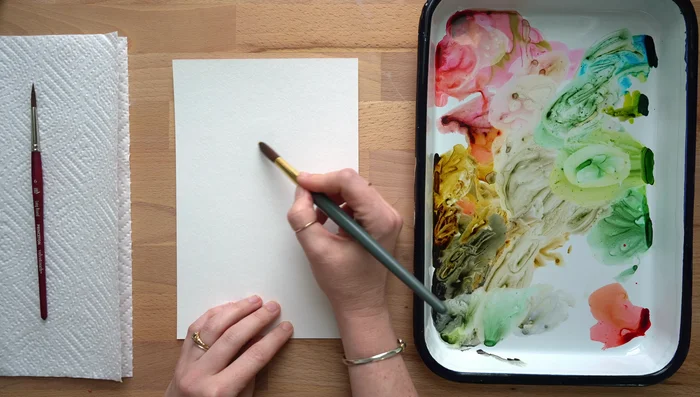
- Round brush size 12 (and optionally size 6)
- Watercolor paints can stain clothing. Wear old clothes or a smock to protect your attire.
- Always wash your hands thoroughly after handling paints and brushes.
- Keep paints and water containers away from children and pets to prevent accidental ingestion.
Step-by-Step Instructions
Paint the Ice Cream Scoop
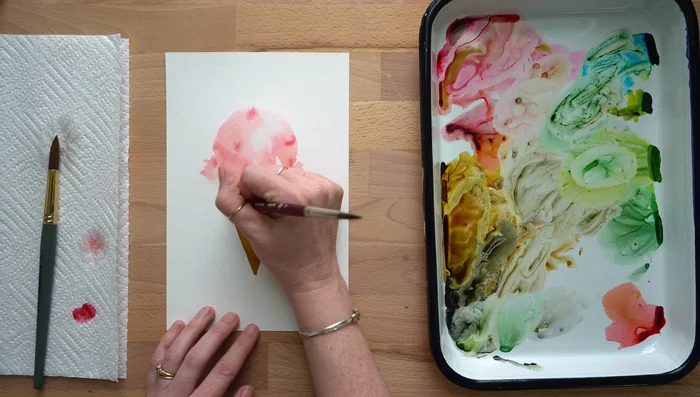
- Using a round brush size 12 and water, paint a roundish shape for the scoop. The bottom edge should be uneven.
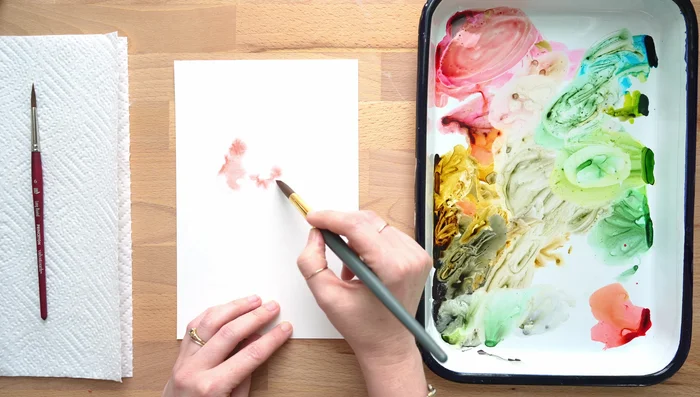
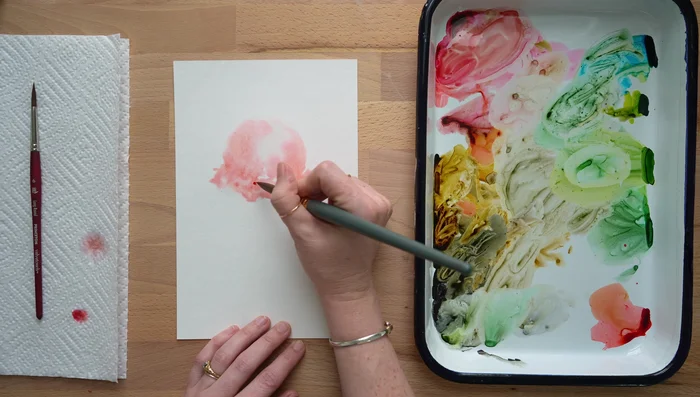
- While the water is still wet, drop in pink watercolor paint. The paint will naturally move and blend with the water.
- Add stronger hints of red for strawberry details if desired.

Paint the Ice Cream Scoop Paint the Cone
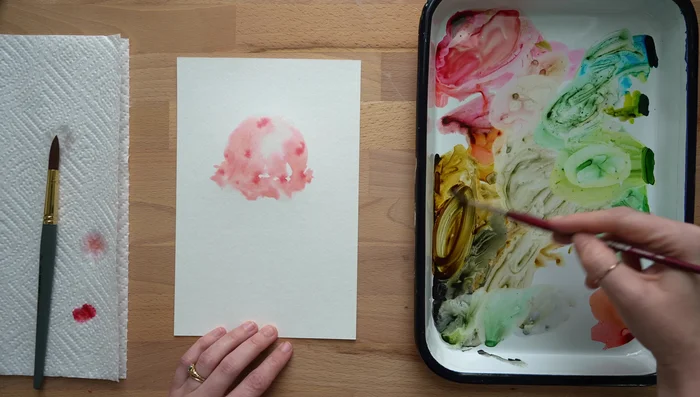
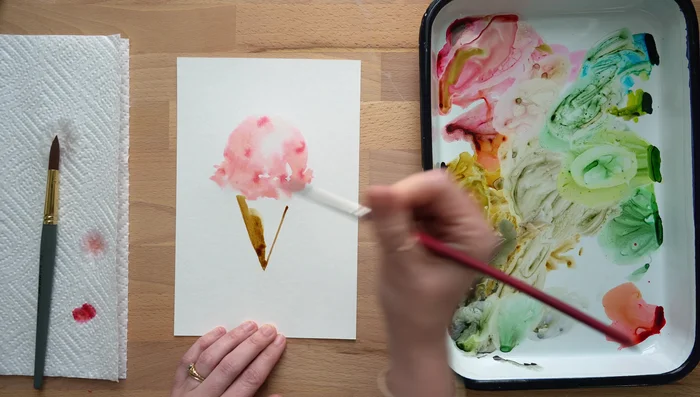
- Use a round brush (size 12 or 6) and a brown color (mix honey brown and paynes grey, add red if needed) to paint an upside-down triangle for the cone.
- Fill in the triangle shape with the brown color. Allow some bleeding between the pink and brown.
- If the cone looks too small for the scoop, adjust the size.
Paint the Cone Add Waffle Cone Texture
- Flip the brush and use the handle to create angled lines to mimic the waffle cone texture.
Add Waffle Cone Texture

Read more: Reverse Silhouette Painting: Underwater Scene Masterclass
Tips
- Let the water and paint do the work: The wet-on-wet technique allows for effortless blending and movement.
- Add layers for richness (optional): Add another layer of color along the edges to create depth and value.
- Don't be afraid of imperfections: Embrace the 'fast and loose' approach for a playful effect.
- Lower your expectations and enjoy the process: Even a quick 5-minute painting is valuable practice.