Roses, with their elegant petals and vibrant colors, are a favorite subject for artists of all ages. But tackling such a seemingly complex flower can feel daunting, especially for young artists. This needn't be the case! Painting roses can be a fun and rewarding experience, even for beginners, and this guide will prove just how easy it is. We’ll demystify the process, breaking down the creation of a beautiful rose into simple, manageable steps, perfect for little hands and budding creativity. Forget complicated techniques and frustrating results; we're focusing on a fun, accessible approach that will empower any child to paint their own stunning rose.
This step-by-step guide will walk you through the process, from preparing your materials to adding the finishing touches. Get ready to unleash your inner artist and discover how simple it is to create a vibrant, captivating rose painting with minimal effort and maximum enjoyment. Let's get started!
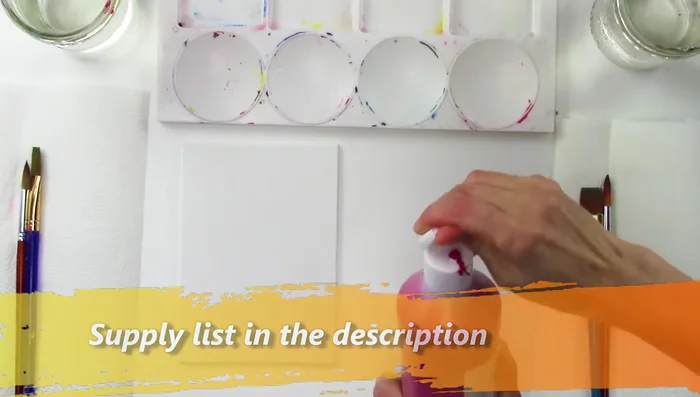
Preparation and Safety Guidelines
- Paints (red, white, green)
- Palette
- Wide brush
- Round brush
- Flat brush
- Always supervise young children closely while they are using paints and brushes to prevent accidental ingestion or spills.
- Ensure the painting area is well-ventilated to minimize exposure to paint fumes.
- Cover work surfaces with newspaper or a drop cloth to protect them from paint.
Step-by-Step Instructions
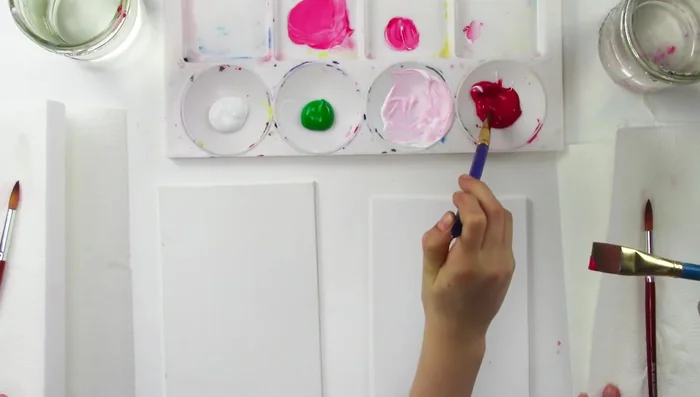
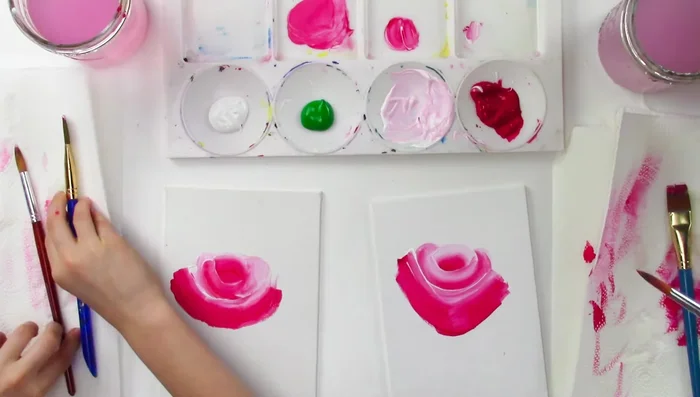
Prepare your palette
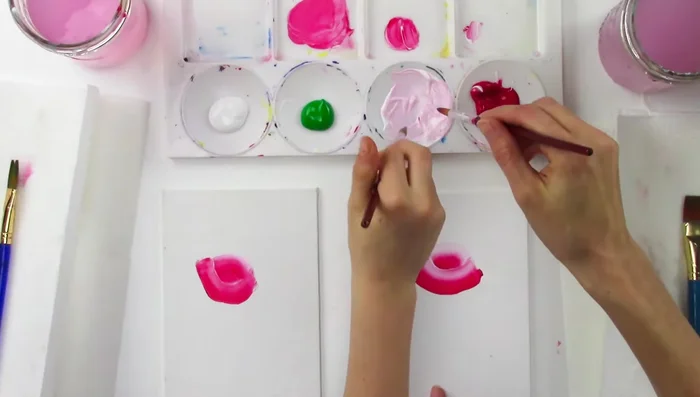
- Prepare your palette with red, white, and green paint. Mix red and white to create pink.

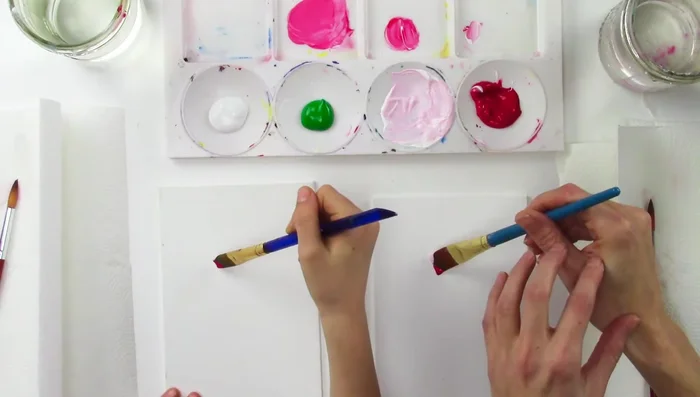
Prepare your palette Paint the rose center
- Dip half your wide brush in red and half in pink. Twist the brush to blend the colors.
- Start in the middle of your canvas, using only your fingers to twist the brush and create the rose's center. Practice this technique until you achieve a smooth, blended effect.
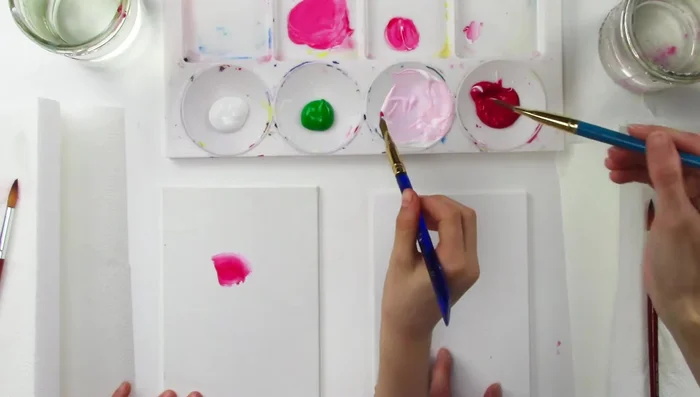
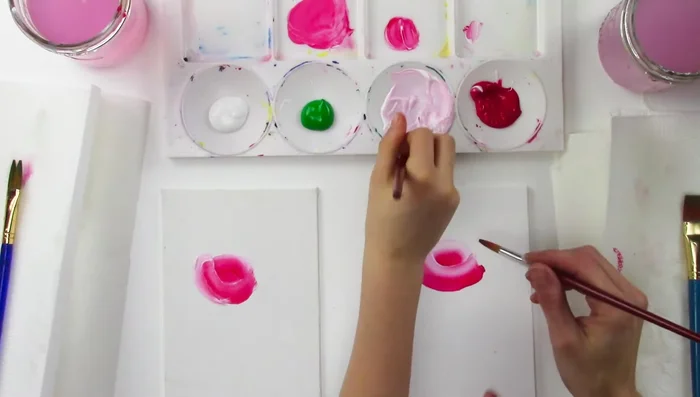
Paint the rose center Add inner petals
- Continue adding petals using the same technique, blending red and pink, following the shape of the rose.
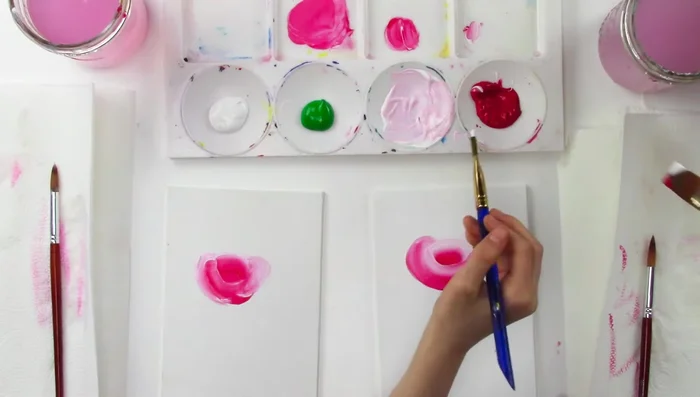
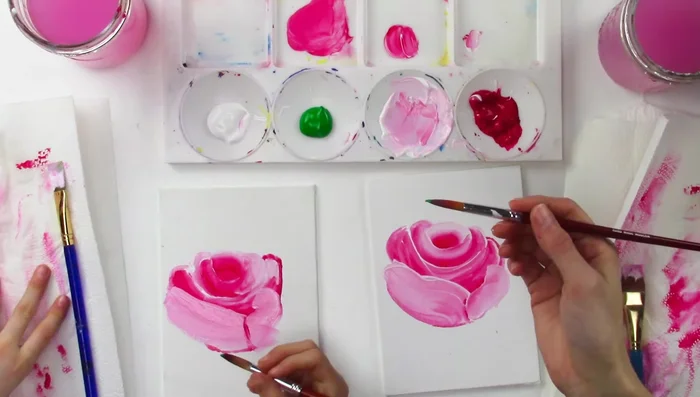
Add inner petals Shape the rose
- Wash your brush and use pink to create a smooth, round edge for the rose.
- Add more petals, carefully following the existing edges and ensuring a smooth transition between petals.
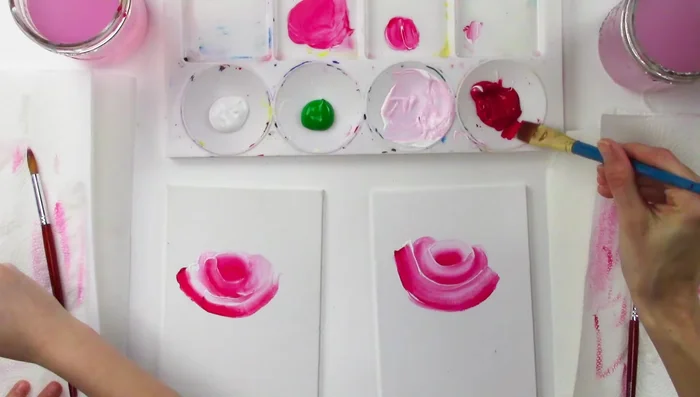
Shape the rose Define rose edges
- Dip your brush in white and red, then add petals to define the rose’s edges. Remember to blend the colors smoothly.
Define rose edges Thicken the base
- Use a flat brush with red to thicken the base of the rose.
Thicken the base Smooth and shade
- Use a round brush to smooth out any rough edges and add shading with pink and white.
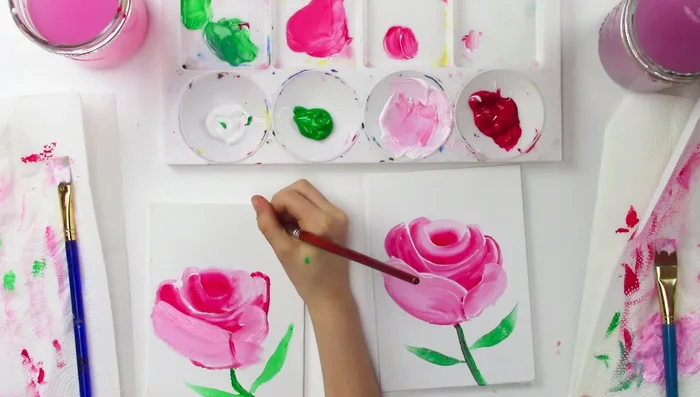
Smooth and shade Add stem and leaves
- Add the stem and leaves using green paint, mixing in red and white to create variations in color and texture.
Add stem and leaves Add signature
- Add your signature to complete your artwork.
Add signature
Read more: Reverse Silhouette Painting: Underwater Scene Masterclass
Tips
- Don't worry if your first attempt isn't perfect; practice makes perfect!
- Use your fingers to control the brush for smoother blending.
- Avoid jagged edges by using smooth, controlled strokes.
- Dry your brush to control the amount of paint used for smoother strokes and less frequent dipping into paint.
- Mix red and green to create brown shades for depth and dimension in the stem.