Butterflies, with their delicate wings and vibrant colours, have always been a source of inspiration for artists. Their intricate patterns and ethereal beauty lend themselves perfectly to a variety of mediums, and today we'll explore the joy of capturing their essence using oil pastels. This versatile medium allows for rich, bold colours and a wonderfully textured finish, making it ideal for creating stunning butterfly artwork, even for beginners. The smooth, blendable nature of oil pastels allows for easy layering and achieving a realistic, shimmering effect on your butterfly's wings.
Forget complicated techniques and expensive materials – this tutorial provides a simple, accessible method for creating vibrant butterfly art using only oil pastels and paper. Prepare to be amazed at how easily you can transform a blank sheet into a breathtaking masterpiece. Let's dive into the step-by-step process and unleash your inner artist!
Preparation and Safety Guidelines
- Oil Pastels
- Paper (Black preferred)
- Drawing tools (optional)
- Oil pastels can stain clothing and surfaces. Always wear old clothes and work on a protected surface like a newspaper-covered table.
- Oil pastels are non-toxic, but avoid ingestion. Wash hands thoroughly after use, especially before eating.
- Proper ventilation is recommended when working with oil pastels, as some may have a slight odor.
Step-by-Step Instructions
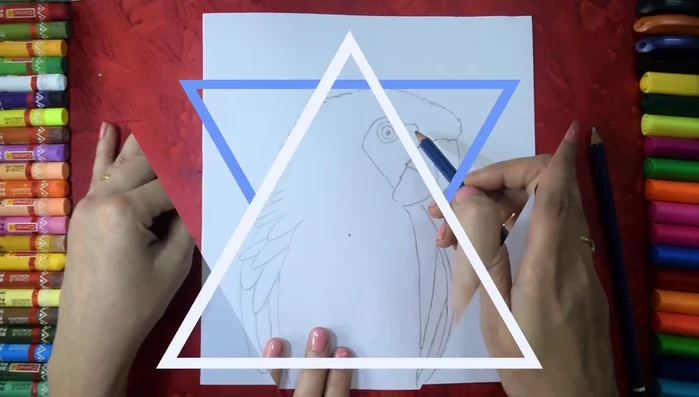
Sketch the Butterfly
- Begin by sketching the butterfly's body and wings lightly on your chosen paper. Use simple shapes as a guide.

Sketch the Butterfly Create Wing Pattern
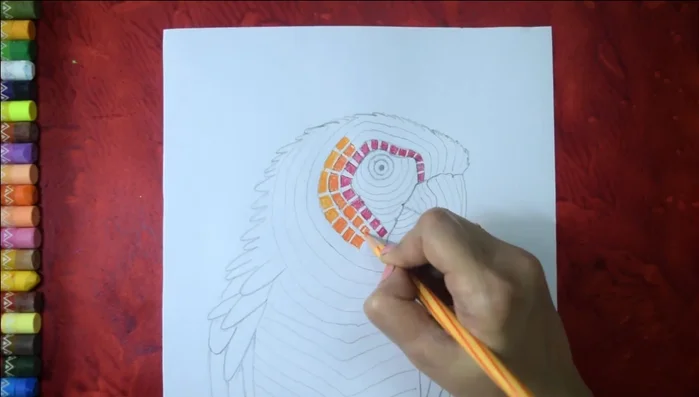
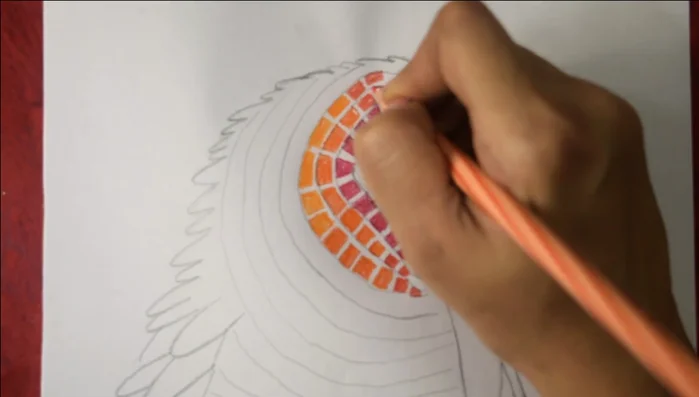
- Create a pattern on the wings. The video uses a line pattern and suggests filling in areas with color.
Create Wing Pattern Color the Body
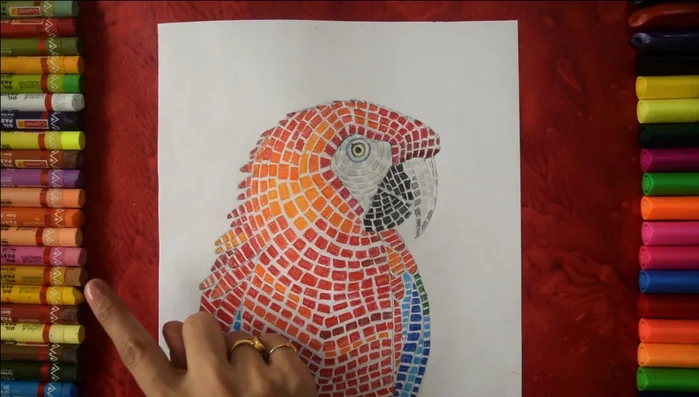
- Start coloring the butterfly's body. The video uses black.
Color the Body Color the Wings
- Fill in the wing patterns with color. The creator uses bright colors and suggests using orange for lighter areas.
Color the Wings Color the Background
- Color the background using oil pastels.
Color the Background Add Final Details
- Complete the drawing by adding any final details. The example shows carefully adding small details around the edges of the wings.

Read more: Reverse Silhouette Painting: Underwater Scene Masterclass
Tips
- Use lighter colors strategically to create highlights and depth.
- Take your time and be patient, especially with the finer details.