The serene beauty of a hot air balloon drifting across a breathtaking landscape has captivated artists for centuries. Capturing this ethereal scene on canvas, however, requires a skillful blend of perspective, color theory, and atmospheric perspective to convey the vastness and tranquility of the subject. From the delicate interplay of light and shadow on the balloon's fabric to the subtle gradations of color in the distant hills, painting a hot air balloon demands attention to detail and a keen understanding of artistic techniques. The delicate balance between the vibrant balloon and the surrounding landscape requires careful planning and execution.
This guide will walk you through the process of creating your own stunning hot air balloon landscape painting, step by step. We'll cover everything from sketching the initial composition and choosing your color palette to mastering the techniques needed to bring your vision to life on the canvas, resulting in a captivating piece that captures the magic of this beloved scene.
Preparation and Safety Guidelines
- Canvas
- Paper towel
- Paints (blue, green, orange, other colors of your choice)
- Paintbrush
- Pencil
- Water
- Always work in a well-ventilated area when using paints and solvents. Fumes can be harmful.
- Protect your work surface. Hot air balloon paintings often involve washes and drips, so use a drop cloth or palette.
- Allow ample drying time between layers to prevent smudging or unwanted color mixing.
Step-by-Step Instructions
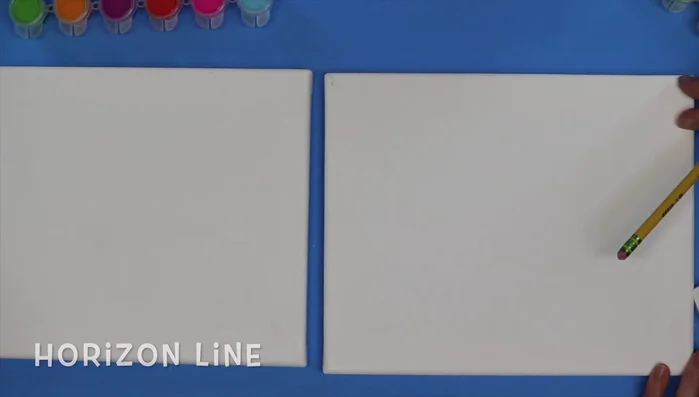
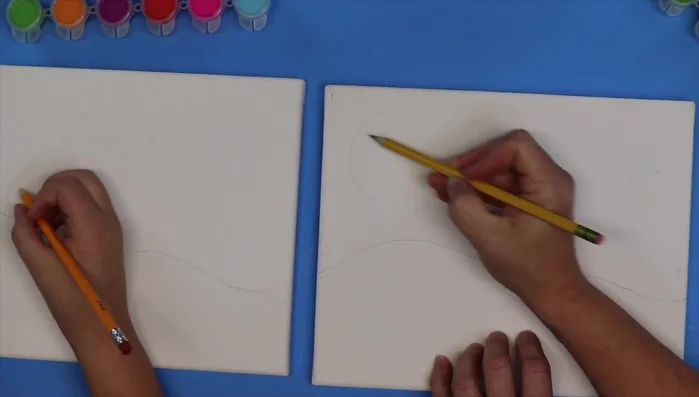
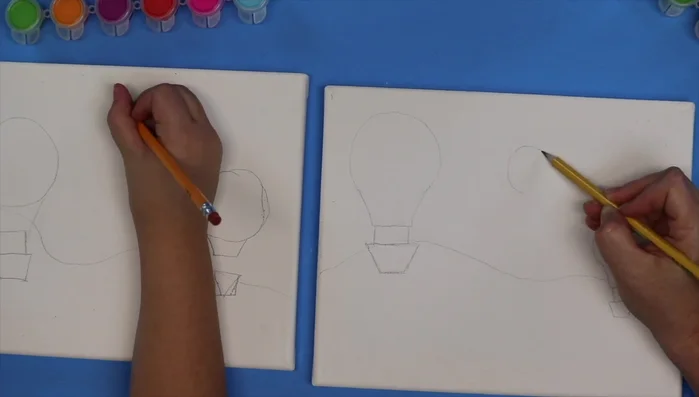
Sketching the Scene
- Draw the horizon line approximately two-thirds up the canvas. Make it wavy for a hillside effect.
- Lightly sketch the largest hot air balloon in the foreground. Add the basket shape.
- Draw a medium-sized hot air balloon in the middle ground, slightly smaller than the foreground balloon.
- Draw the smallest hot air balloon in the background, making it appear furthest away.

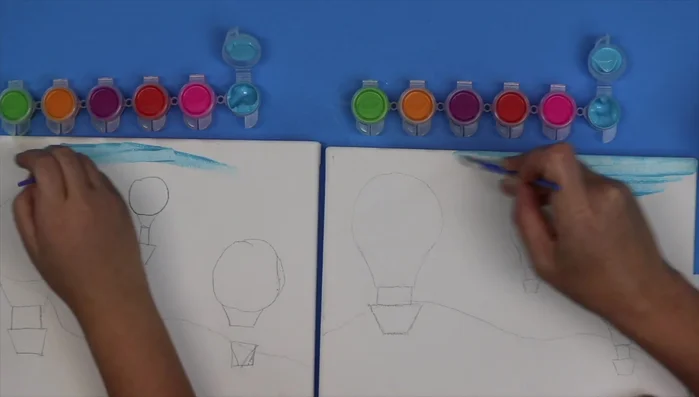
Sketching the Scene Painting the Sky and Ground
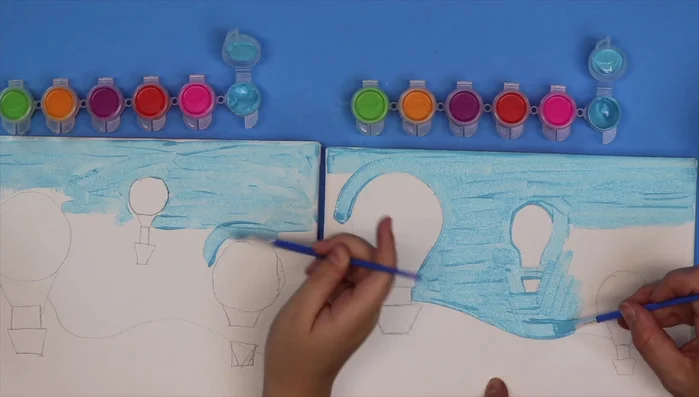
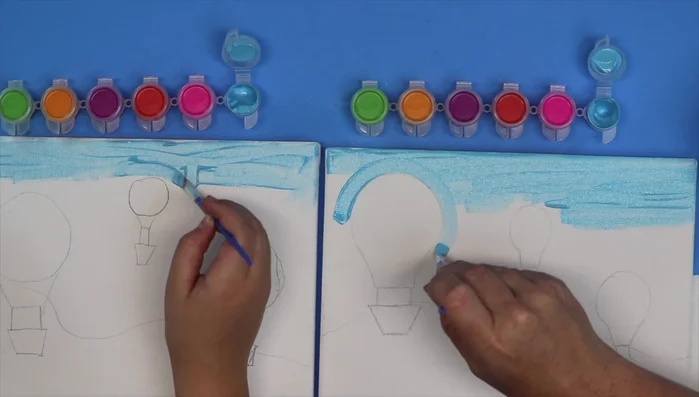
- Paint the sky blue using even brush strokes, adding clouds if desired.
- Paint the grass green, using horizontal strokes and carefully blending the green with the blue horizon line.
Painting the Sky and Ground Painting the Balloons and Baskets
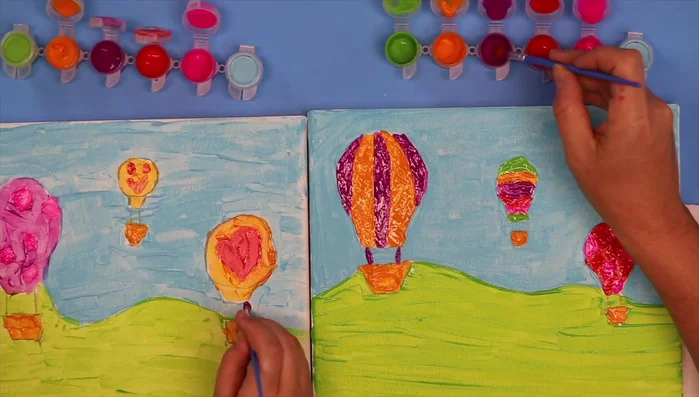
- Carefully paint around the hot air balloons, using gentle brush strokes to avoid painting inside the outlines.
- Paint the hot air balloon baskets orange, using small dots or short strokes for texture.
Painting the Balloons and Baskets Designing the Balloons
- Design your hot air balloons. Use curved lines for a round effect, or add patterns like polka dots, stripes, or zigzags.
Final Touches
- Add tethers connecting the balloons to their baskets, using any color you prefer.
Final Touches
Read more: Reverse Silhouette Painting: Underwater Scene Masterclass
Tips
- Draw lightly with your pencil to prevent lines from showing through the paint.
- Keep your water, paper towels, and paints on the same side for easy access.
- Use even brush strokes and blend colors gently to avoid visible lines.
- Work slowly and carefully to achieve clean lines and avoid mistakes.
- Don't be afraid to paint over mistakes; it's part of the process!