Dive into the wonderful world of underwater art with this easy fish drawing tutorial, perfectly designed for kids of all ages! Learning to draw can be a fantastic way to express creativity and boost confidence, and what's more fun than drawing playful fish swimming in vibrant coral reefs or sparkling ocean depths? Forget complicated shapes and frustrating lines; this guide simplifies the process, making it accessible and enjoyable even for the youngest artists. You'll be surprised how quickly you can transform a few simple strokes into a charming, colourful fish.
This tutorial will guide you through each step, using clear instructions and easy-to-follow illustrations. Get ready to unleash your inner artist and create your own underwater masterpiece! Let's begin with the first step and discover how easy it is to bring your fishy friend to life on paper.
Preparation and Safety Guidelines
- paper
- pencils
- crayons or colored pencils
- Always have an adult supervise young children while using art supplies. Pencils, crayons, and paints can be choking hazards, and some paints may contain toxins.
- Ensure the drawing area is clean and well-lit to prevent accidents and eye strain. Cover your work surface to avoid messes.
- Wash hands thoroughly before and after drawing to maintain hygiene.
Step-by-Step Instructions
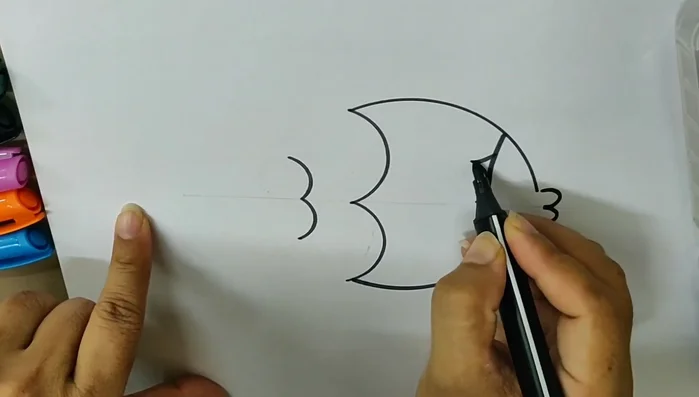
Draw the Fish's Body
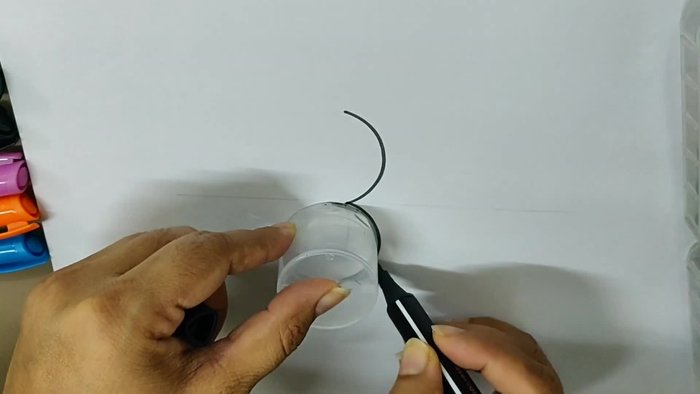
- Draw two slightly overlapping circles, one larger than the other.
- Draw a small triangle inside the smaller circle.
- Draw another triangle inside the larger circle, slightly overlapping the smaller triangle.

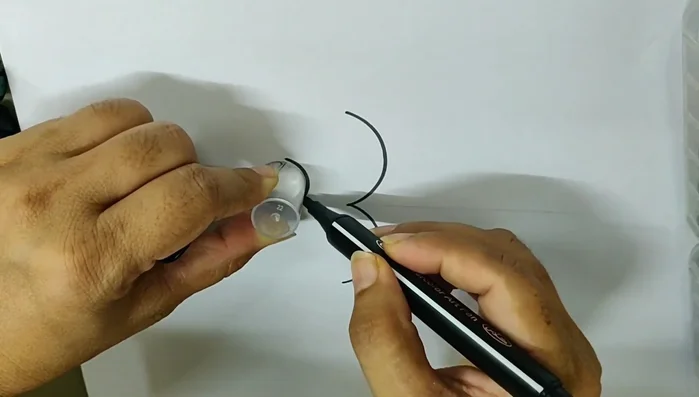
Draw the Fish's Body Create the Fish's Outline
- Draw a line connecting the points where the triangles meet the circles, creating a 'D' shape.
- Repeat step 4 on the opposite side of the larger circle.
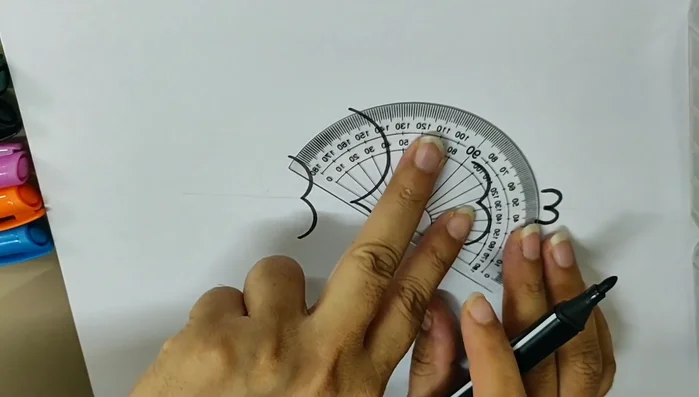
- Draw a curved line connecting the bottom points of the 'D' shapes.
- Connect the top points of the 'D' shapes with a curved line to form the fish's body.
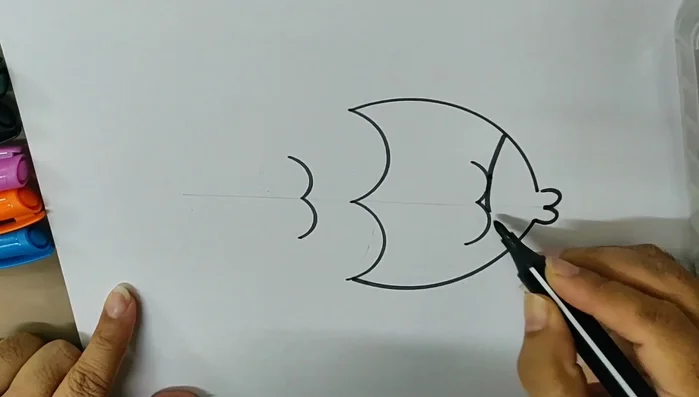
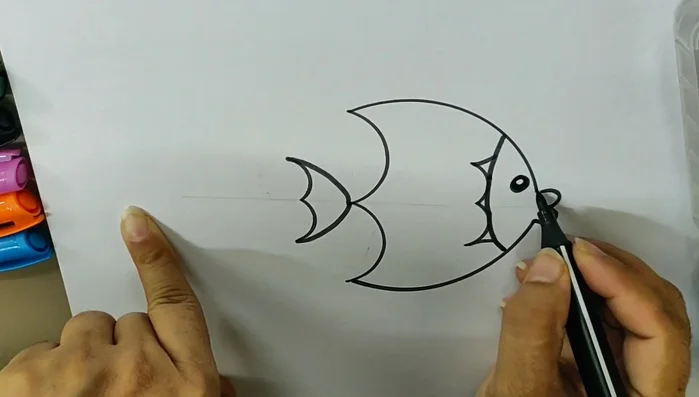
Create the Fish's Outline Add Details
- Add a small circle for the eye.
Add Details Color Your Fish
- Color the fish using your preferred colors.
Color Your Fish


Read more: Reverse Silhouette Painting: Underwater Scene Masterclass
Tips
- Draw a light line first to ensure all triangles align.
- Be careful to keep the colors within the lines.
- Use any colors you like to make the fish unique!