Do you want to create fun and lasting memories with your children, while also fostering their creativity? Then grab your crayons, pencils, or markers and get ready for some family fun! Drawing together is a fantastic way to bond, relax, and explore the joys of artistic expression. This easy family drawing tutorial offers a simple step-by-step guide, perfect for kids of all ages and skill levels, even if you consider yourself artistically challenged. No prior experience is necessary; the focus is on having fun and creating something together.
Forget complicated techniques and frustrating results. This guide breaks down the process into manageable, child-friendly steps, allowing everyone to participate and feel a sense of accomplishment. Whether you're aiming for a whimsical cartoon character or a charming landscape, we'll guide you through each stage, ensuring a stress-free and enjoyable drawing experience for the entire family. Let's dive into our step-by-step process and unleash your inner artists!
Preparation and Safety Guidelines
- pencils
- colored pencils
- black marker
- Always supervise young children while they are using art supplies. Some materials, like crayons or markers, can be ingested accidentally.
- Ensure the drawing area is well-ventilated, especially when using paints or markers with strong fumes.
- Wash hands thoroughly after drawing, especially if using paints or messy materials.
Step-by-Step Instructions
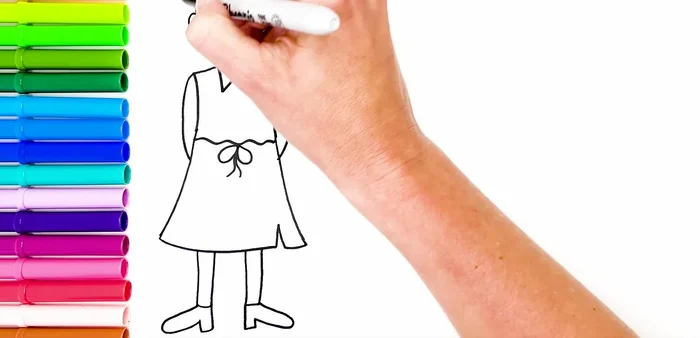
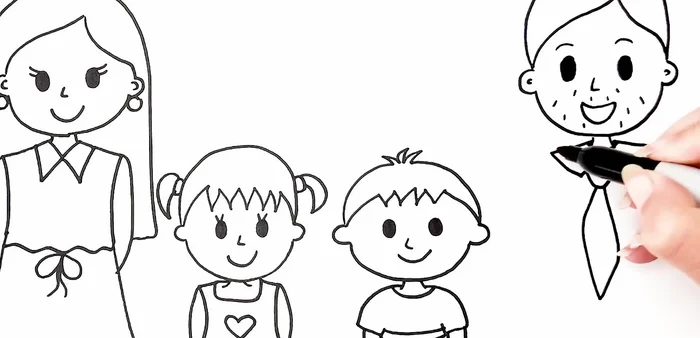
Draw Mom
- eyes, nose, mouth.
- Draw Mom's body and dress.
- Draw Mom's legs and shoes.
- Draw Mom's hair.

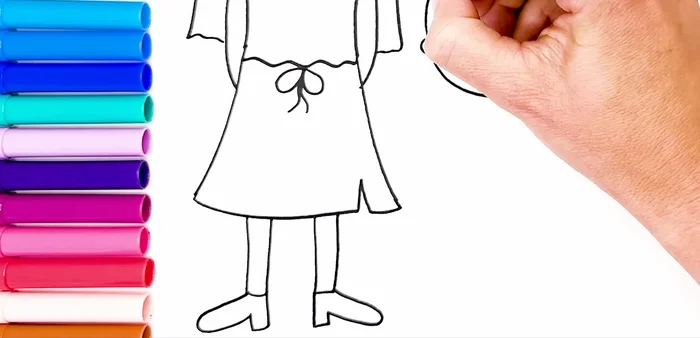
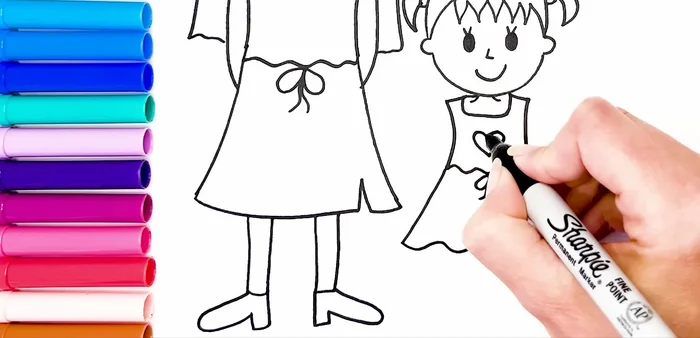
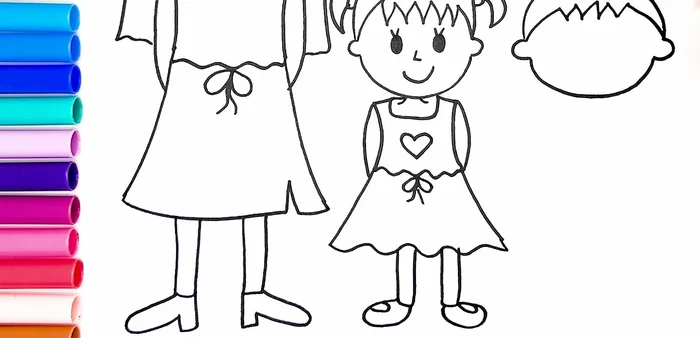
Draw Mom Draw the Girl
- Draw the girl's face, hair (two braids).
- Draw the girl's body and dress.
- Draw the girl's legs and shoes.
Draw the Girl Draw the Boy
- Draw the boy's face and short hair.
- Draw the boy's body (shirt).
- Draw the boy's legs and shoes.
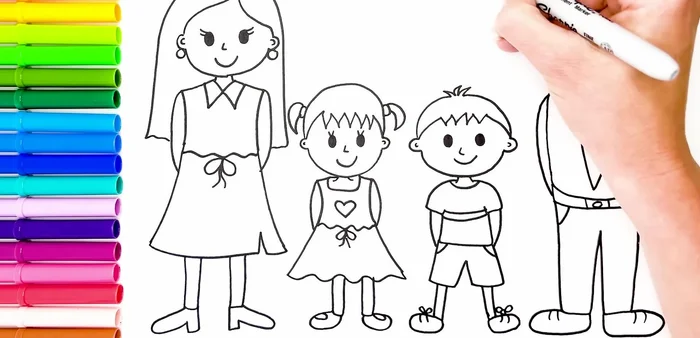
Draw the Boy Draw Dad
- Draw Dad's face, hair, beard.
- Draw Dad's body (shirt).
- Draw Dad's legs and shoes.
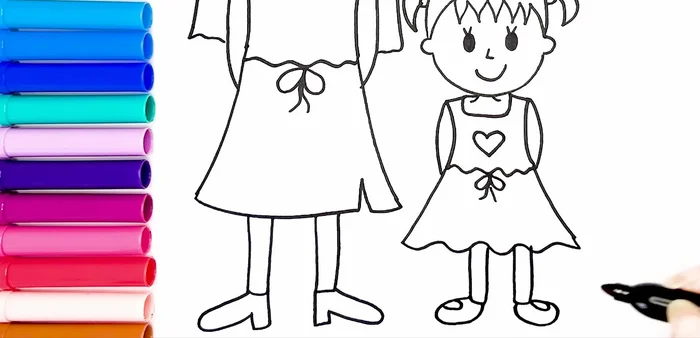
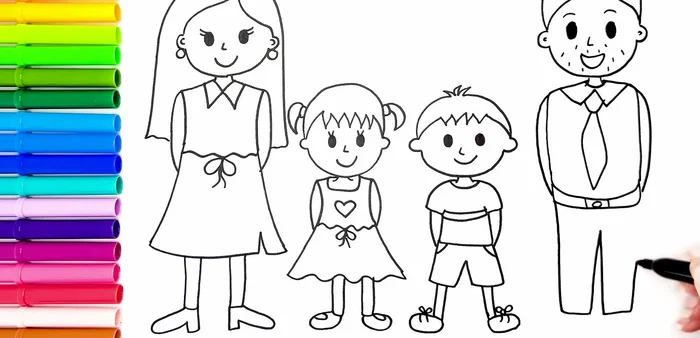
Draw Dad Add a Heart
- Draw a heart in the middle.
Add a Heart Outline and Color
- Outline the drawing with a black marker.
- Color the family members (skin, hair, clothes).
Outline and Color


Read more: Reverse Silhouette Painting: Underwater Scene Masterclass
Tips
- Use light, basic shapes to start each figure.
- Don't worry about perfect lines; focus on having fun!
- Add details like hair, clothes, and shoes to make your characters unique.