Ahoy, mateys! Ever dreamed of discovering buried treasure? While a real pirate's bounty might be a bit hard to come by, creating your own realistic treasure map is a thrilling adventure all its own! This kid-friendly guide will walk you through the process of crafting a detailed, authentic-looking map that will spark imaginations and fuel hours of playful exploration. Forget flimsy, drawn maps; we're talking aged parchment, cryptic clues, and even a personalized pirate seal – the works! You'll learn techniques to achieve that truly weathered, time-worn look, making your treasure map feel as though it's been unearthed from a long-lost shipwreck.
Get ready to embark on this exciting crafting journey as we transform ordinary materials into an extraordinary treasure map. From sourcing the perfect "ancient" paper to mastering the art of realistic aging techniques, this guide provides clear, simple steps to bring your buccaneer fantasies to life. Let's dive into the detailed, step-by-step instructions below and begin creating your very own pirate's treasure map!
Preparation and Safety Guidelines
- Big piece of paper
- Water
- Brown paint
- Cookie sheet
- Oven
- Sharpie
- Hair conditioner/Lotion
- White modeling clay
- Quarter (or other stamp)
- Red paint
- 6-inch piece of ribbon
- Glue
- Adult supervision is required at all times, especially when using sharp objects like scissors or knives for cutting and shaping the map.
- Avoid using materials that could be toxic or harmful if ingested. Opt for non-toxic paints, crayons, and paper.
- Clearly communicate that the treasure is not real money or valuable items to avoid disappointment or misunderstandings.
Step-by-Step Instructions
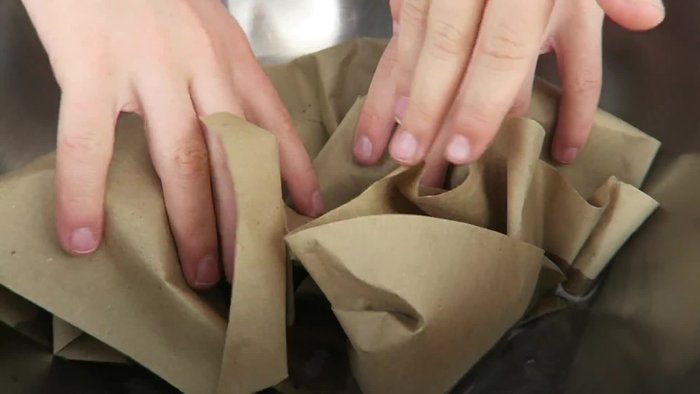
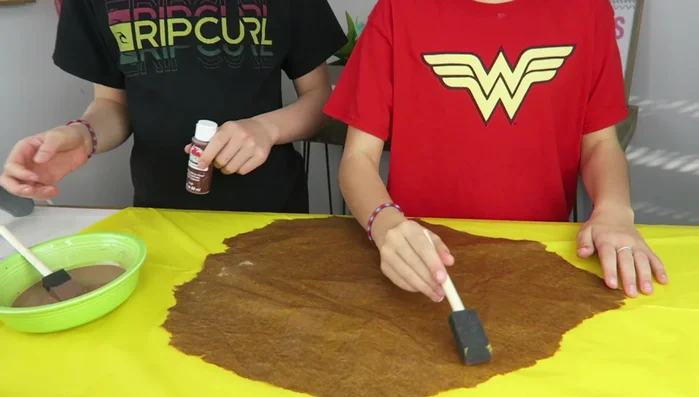
Prepare the Paper
- Wet the paper and rip the edges to give it an aged look.
- Paint the edges with watered-down brown paint, applying it thickly on the outside and blending inwards.
- Bake the paper on a cookie sheet in a low oven to dry it.
- Apply hair conditioner or lotion to soften the paper and prevent crumbling.

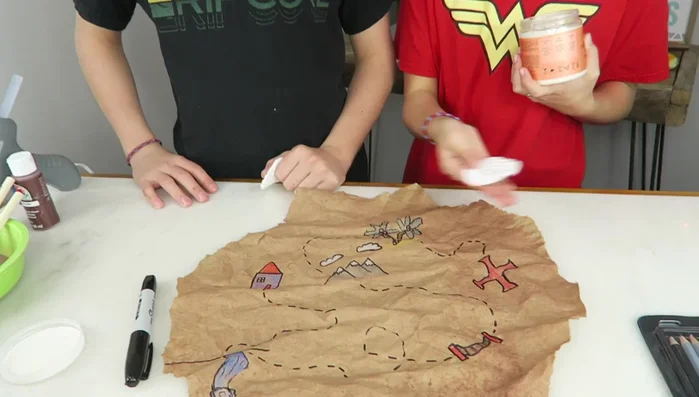
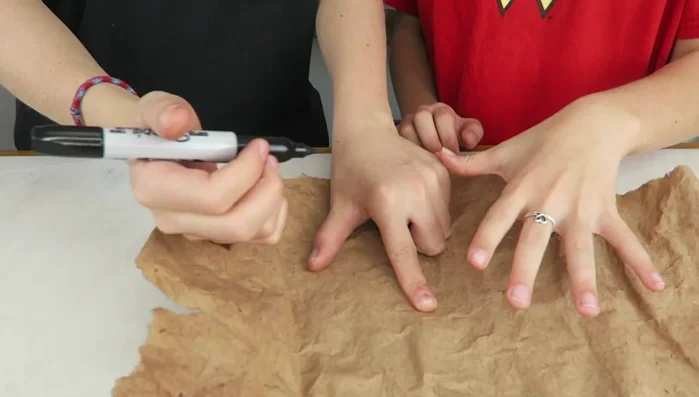
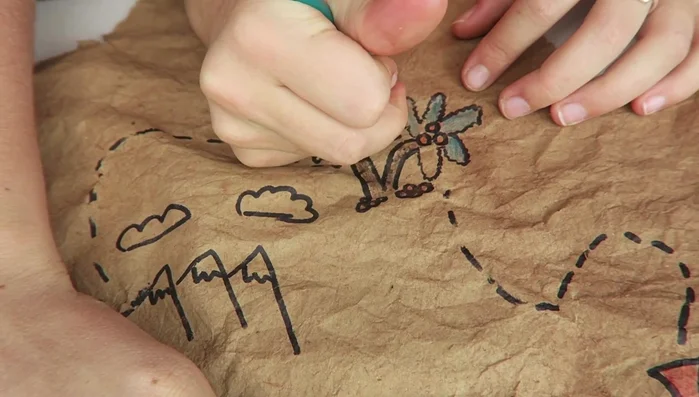
Prepare the Paper Draw the Map
- Draw landmarks (houses, waterfalls, bridges, trees, mountains, etc.) and a path of dots leading to an 'X' marking the treasure spot.
- Color the map.
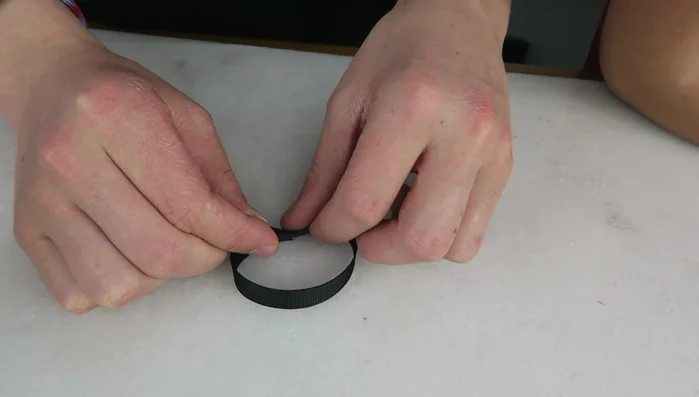
Draw the Map Create and Attach the Seal
- Create a seal using modeling clay, stamp it, and bake until hard.
- Paint the seal red.
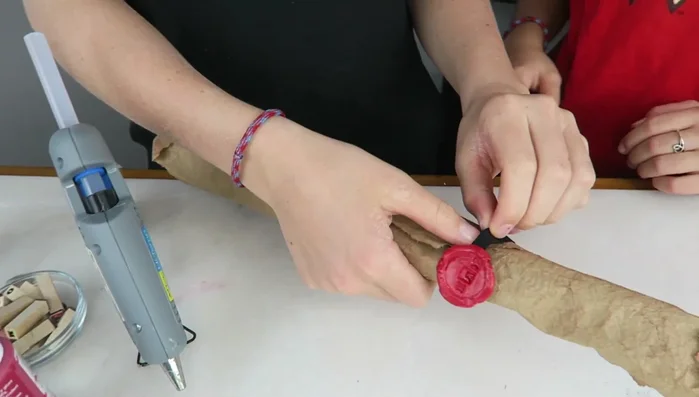
- Attach the seal to a ribbon.
- Roll up the map and secure it with the ribbon and seal.
Create and Attach the Seal
Read more: Reverse Silhouette Painting: Underwater Scene Masterclass
Tips
- Use landmarks that won't move, like bridges or trees.
- Get creative with your landmarks—they don't have to be the ones in the video.
- Lotion can be used instead of hair conditioner to soften the map.