Christmas is a time for crafting, creating memories, and embracing festive cheer, and what better way to celebrate than with a fun and simple DIY project the whole family can enjoy? This year, let's ditch the store-bought decorations and get crafty with terracotta pots! Transforming these humble clay vessels into charming Christmas decorations is easier than you think, creating unique and personalized ornaments perfect for your home or as delightful gifts. These adorable miniature planters can be filled with festive succulents, sprigs of holly, or even miniature Christmas trees, adding a touch of rustic charm to your holiday display.
This kid-friendly craft requires minimal supplies, making it a perfect activity for a family Christmas gathering or a fun weekend project. From painting and gluing to adding sparkly embellishments, there's something for everyone to participate in. Ready to get started on turning ordinary terracotta pots into extraordinary Christmas decorations? Let's dive into the step-by-step instructions!
Preparation and Safety Guidelines
- Terracotta pots
- Kid-friendly acrylic paint
- Clear sealant
- Pieces of wood
- Masking tape
- Gloves
- Newspaper
- Plants
- Adult supervision is required at all times. Young children should not handle sharp tools or hot glue guns.
- Use non-toxic paints and sealants specifically designed for use around children and pets.
- Ensure the workspace is well-ventilated to avoid inhaling paint fumes.
Step-by-Step Instructions
Prepare Work Area and Pots
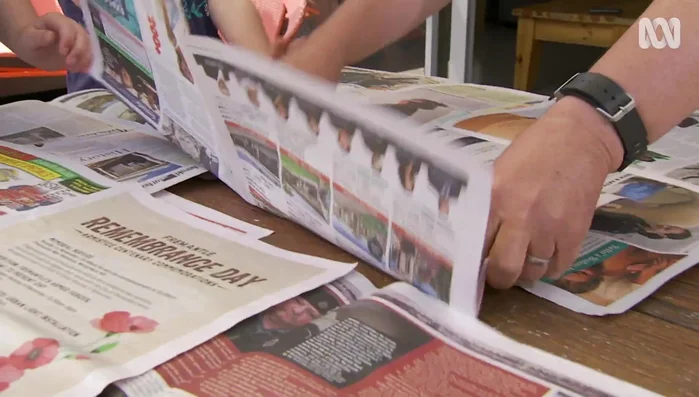
- Lay out newspaper to protect your work area.
- Position pots on pieces of wood to allow excess paint to drain and create a neat edge.
- Apply masking tape to cover the drainage holes.

Prepare Work Area and Pots Paint the Pots
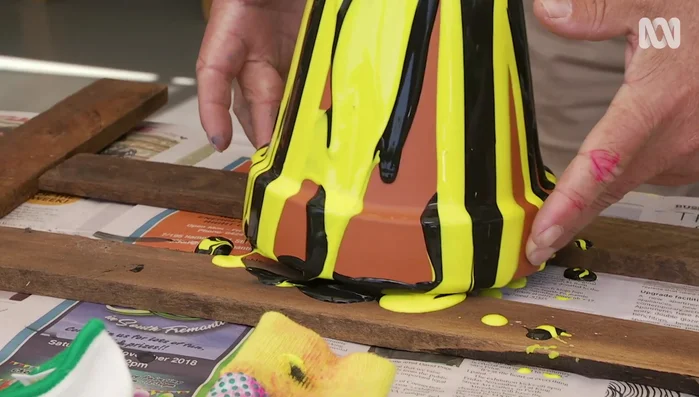
- Pour runny acrylic paint onto the pots, letting it flow and cover most of the surface, leaving some terracotta patches visible.
- Apply different colors for a cool layered effect.
- Shift the pots out of paint puddles before it dries.
Paint the Pots Seal the Pots
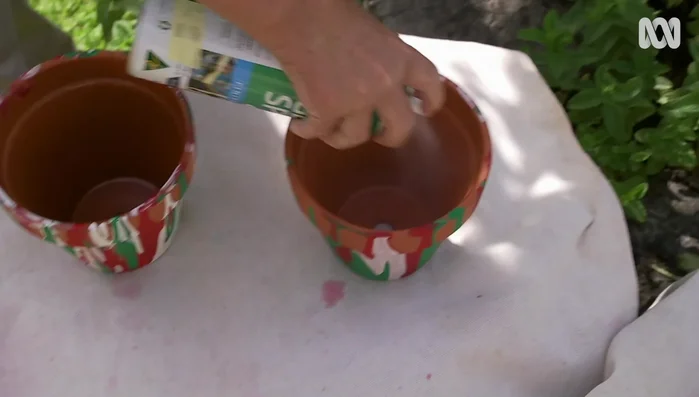
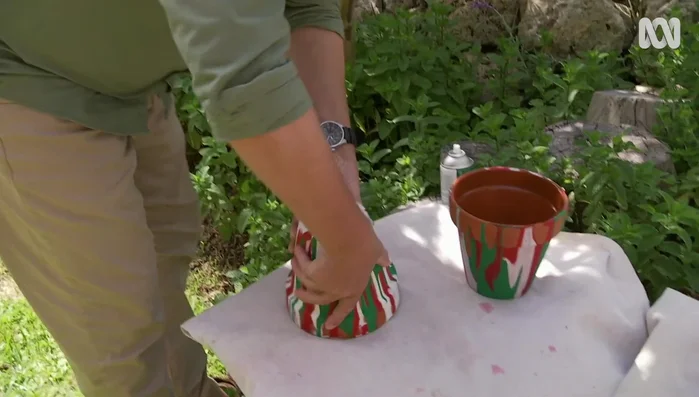
- Spray pots inside and out with clear sealant.
- Allow the sealant to dry.
Seal the Pots Plant and Enjoy
- Plant your chosen plants (outdoor ornamentals, herbs, or indoor plants).

Read more: Reverse Silhouette Painting: Underwater Scene Masterclass
Tips
- Choose a spot for painting where paint splashes won't be a disaster.
- Using wood under the pots prevents them from sticking to the paper and provides a clean edge.