Dive into a vibrant underwater world and discover the magic of coral reefs! This tutorial is designed for young artists eager to learn how to draw their own stunning underwater scenes, filled with colourful coral and fascinating sea creatures. No prior drawing experience is necessary; we'll guide you through each step with simple shapes and easy-to-follow instructions. Imagine bringing the beauty of the ocean to life on paper – from the swaying kelp forests to the playful dolphins that call the reef home. Creating a captivating coral reef is easier than you think!
Get ready to unleash your creativity and learn how to depict this breathtaking ecosystem. We’ll be focusing on building your drawing step by step, starting with the foundational elements and progressing to adding intricate details. Prepare your pencils, crayons, or markers and let's embark on this fun and educational art adventure together! Let's begin with the first step in our easy, step-by-step process.
Preparation and Safety Guidelines
- Gray lead pencil
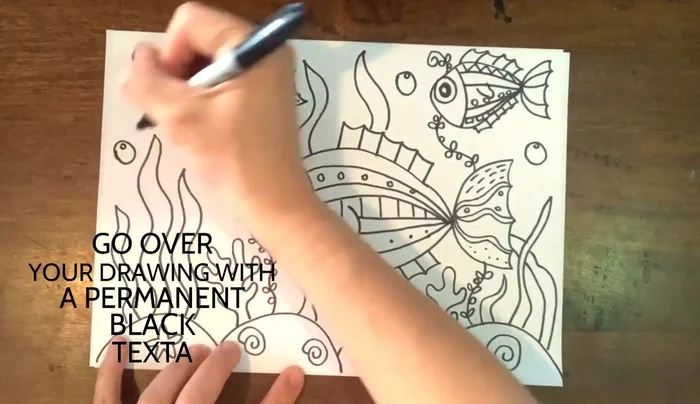
- Black permanent marker
- Colored markers
- Watercolor paints
- Paintbrush
- Water
- Always have an adult supervise you while using art supplies like crayons, markers, or paints. Some materials can be harmful if ingested.
- Be careful not to poke your eyes or face with pencils or sharp objects when drawing.
- Wash your hands thoroughly after you finish your drawing and clean up your art supplies.
Step-by-Step Instructions
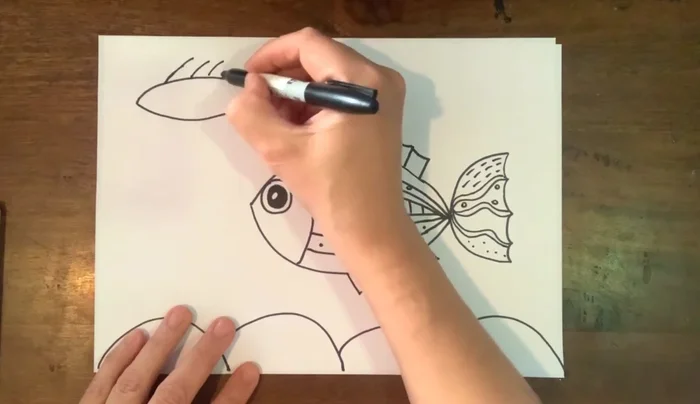
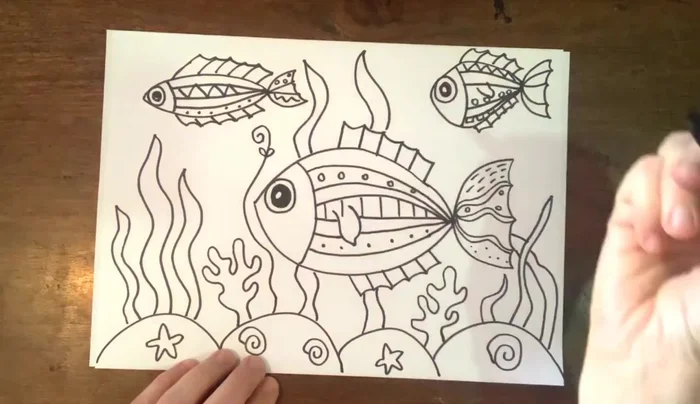
Sketching the Ocean Floor and Main Fish
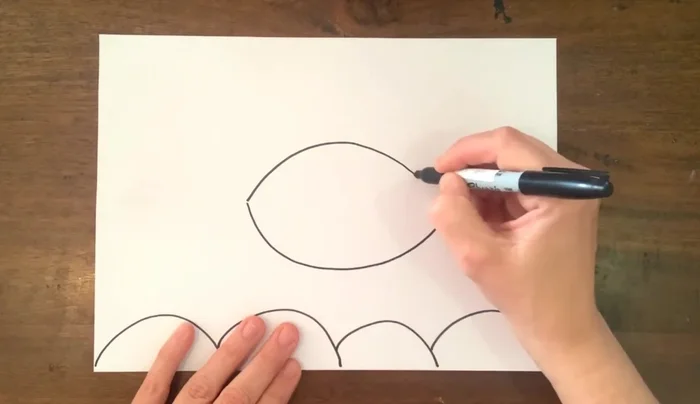
- Start with the ocean floor by drawing a wavy line along the bottom of the page.
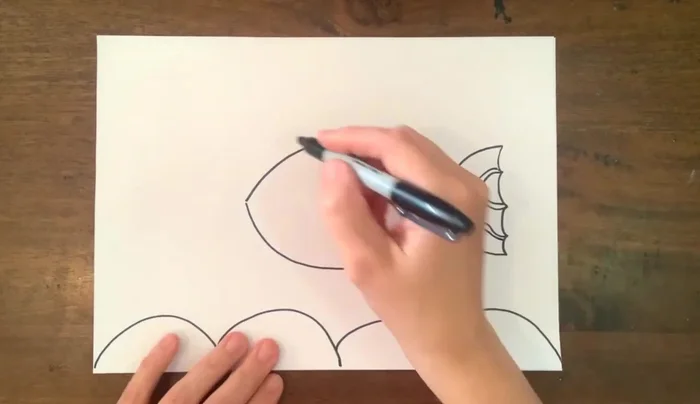
- an egg shape for the body, a half-circle for the tail, and wavy lines for fins.

Sketching the Ocean Floor and Main Fish Adding Fish Details
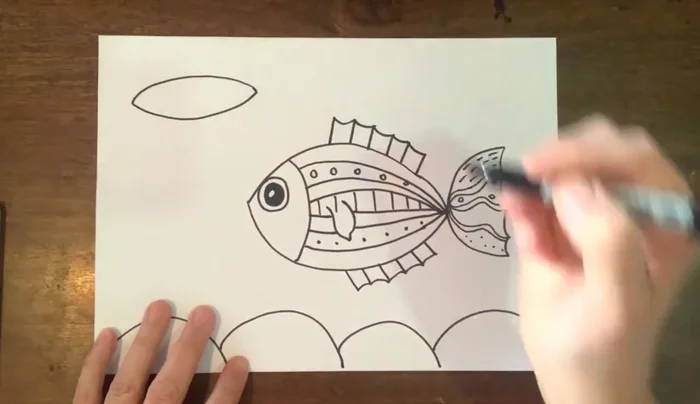
- draw the face, eye, and additional wavy lines on the body and tail.
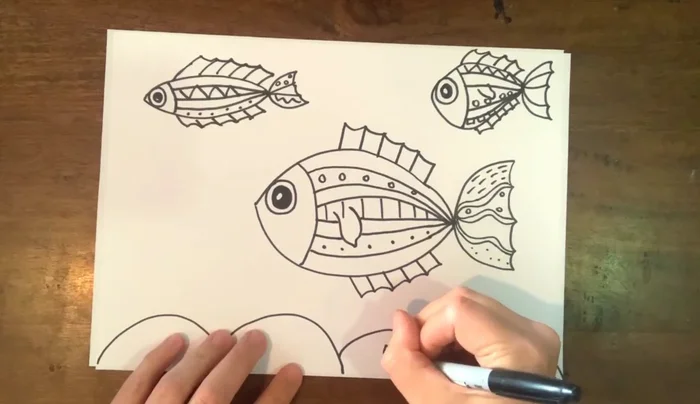
Adding Fish Details Sketching Additional Fish
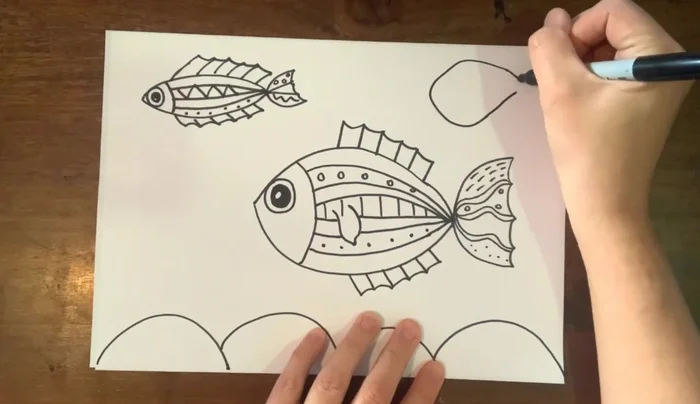
- a long, skinny shape with a similar tail and fin structure.
- a different shape, adding variety to the scene.
Sketching Additional Fish Adding Second Fish Details
- face, eye, and patterns on the body and tail.
Adding Second Fish Details Adding Ocean Floor Elements
- Add shells and starfish to the ocean floor.
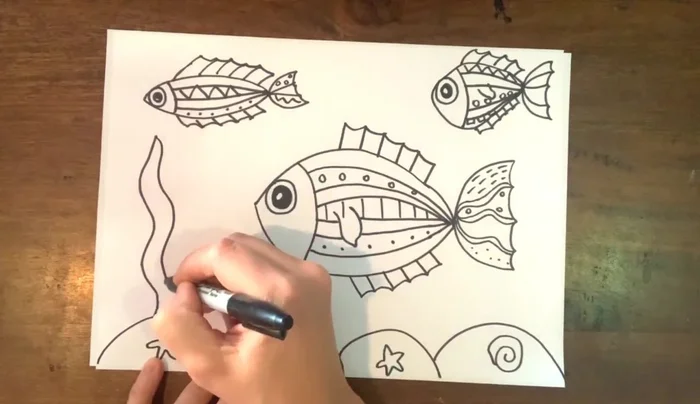
Adding Ocean Floor Elements Sketching Seaweed
- wavy lines extending from the ocean floor to the surface.
Sketching Seaweed Sketching Coral
- up and around, creating organic shapes.
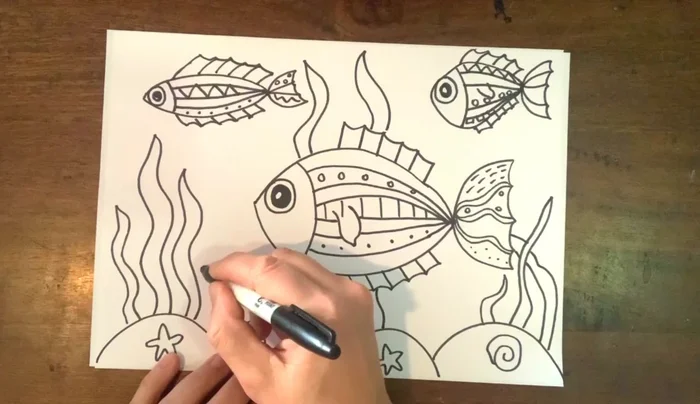
Sketching Coral Sketching More Seaweed
- lines with small leaves and buds.
Sketching More Seaweed Adding Bubbles
- draw a larger circle and a smaller circle inside.
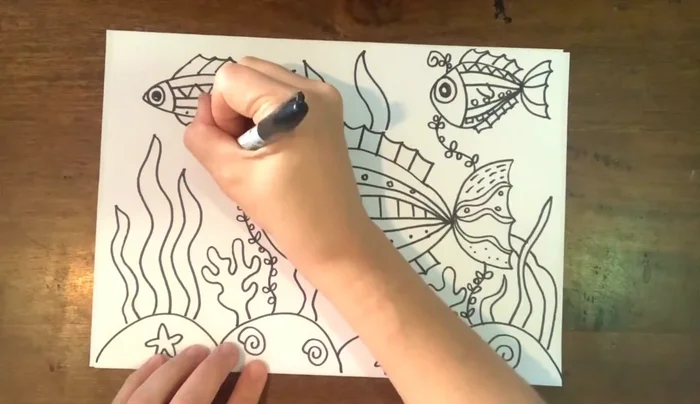
Adding Bubbles Inking the Drawing
- Outline all the drawings with a black marker.
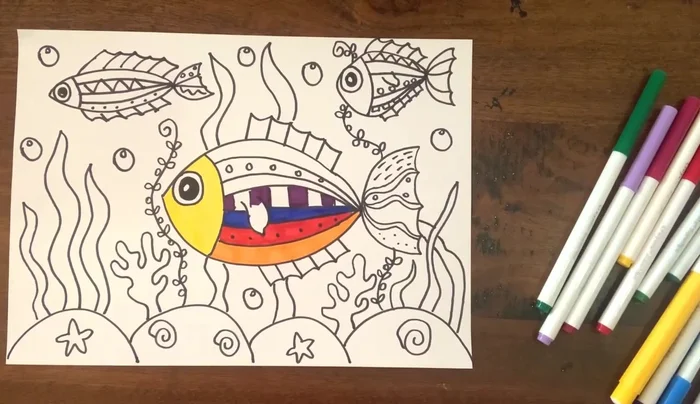
Inking the Drawing Coloring with Markers
- Color in all drawings using colored markers, filling white spaces and keeping strokes in the same direction.
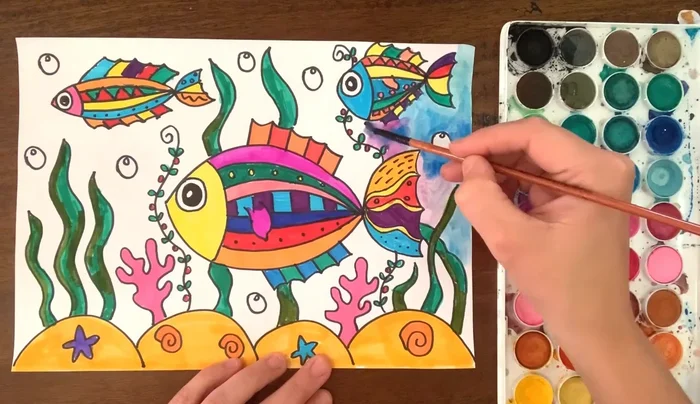
Coloring with Markers Adding Watercolor Background
- Add watercolor background using cool colors (blues, greens, purples), keeping the paint watery and away from the marker lines.
Adding Watercolor Background

Read more: Reverse Silhouette Painting: Underwater Scene Masterclass
Tips
- Pause the video if you need more time.
- Don't be afraid to go outside the lines while coloring.
- Use odd numbers of fish for a balanced composition.
- Practice drawing coral on a separate piece of paper.
- Be careful with watercolors to avoid smudging marker lines.