Christmas is just around the corner, and what better way to get into the festive spirit than by creating your own beautiful Christmas wreath? This easy Christmas wreath painting tutorial is perfect for kids of all ages, requiring minimal supplies and offering maximum creative fun! Forget expensive store-bought decorations; let your little ones unleash their inner artists and design a unique, personalized wreath to hang proudly on your door or anywhere in your home. You'll be amazed at the festive masterpieces they can produce with a little guidance and a whole lot of holiday cheer.
This simple step-by-step tutorial will guide you and your children through the process, from preparing the base to adding the finishing touches. Get ready to gather your supplies, put on some festive music, and dive into the delightful world of Christmas crafting; let's get started!
Preparation and Safety Guidelines
- mop brush
- sea sponge
- medium round brush
- detail brush
- white paint
- tan paint
- burnt umber paint
- Christmas green paint
- darker green paint
- bright red paint
- dark red paint
- dark yellow paint
- blue paint
- glitter paint
- Adult supervision is required at all times. Young children should not handle paints or sharp objects unsupervised.
- Use non-toxic paints designed for children. Ensure good ventilation to minimize exposure to paint fumes.
- Protect your work surface with newspaper or a drop cloth to avoid spills and stains.
Step-by-Step Instructions
Prepare the Wreath Base
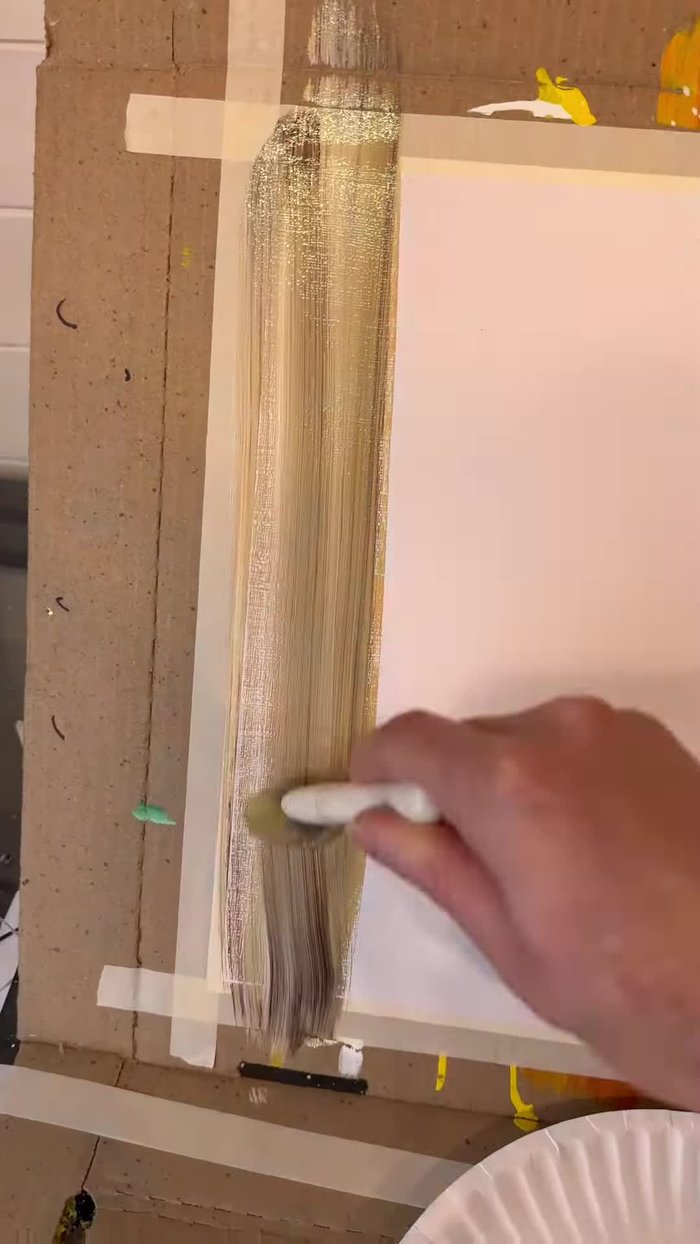
- Paint the wreath base using a mop brush with white, tan, and burnt umber paints. Use up and down strokes without mixing the paints to create a wood grain effect.
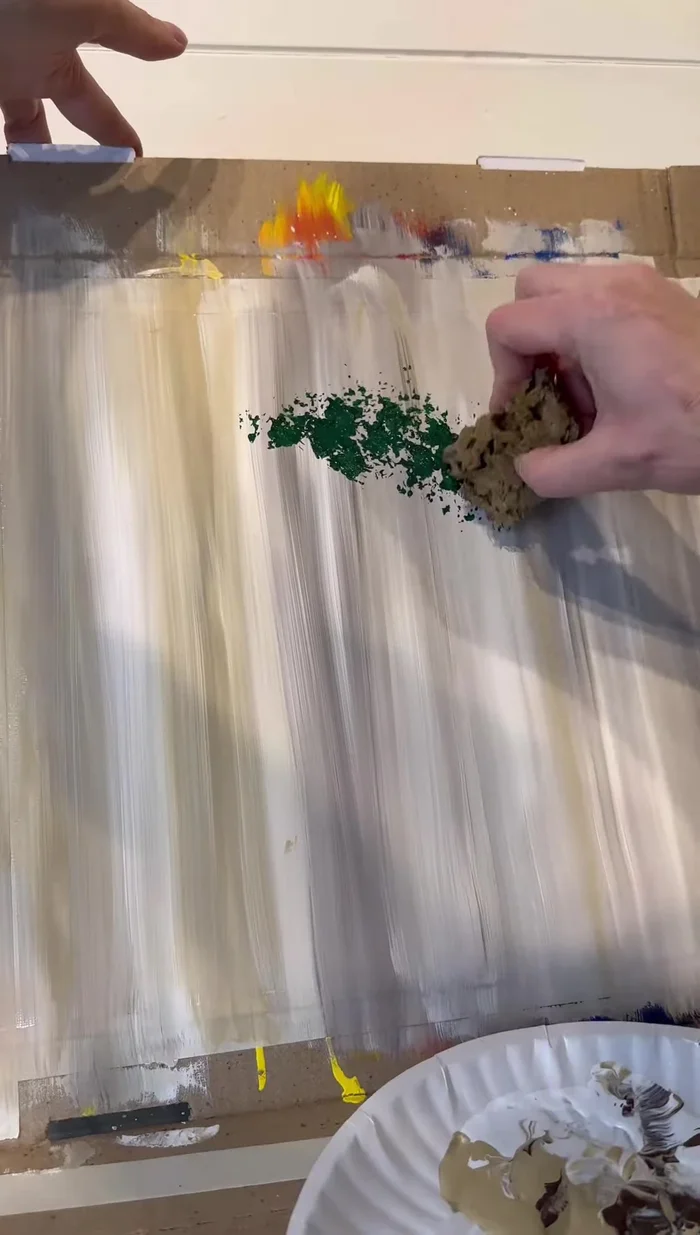
- Dry the base. Then, use a sea sponge with Christmas green and darker green paints to create the wreath shape by bouncing the sponge in a circular motion.

Prepare the Wreath Base Create the Wreath
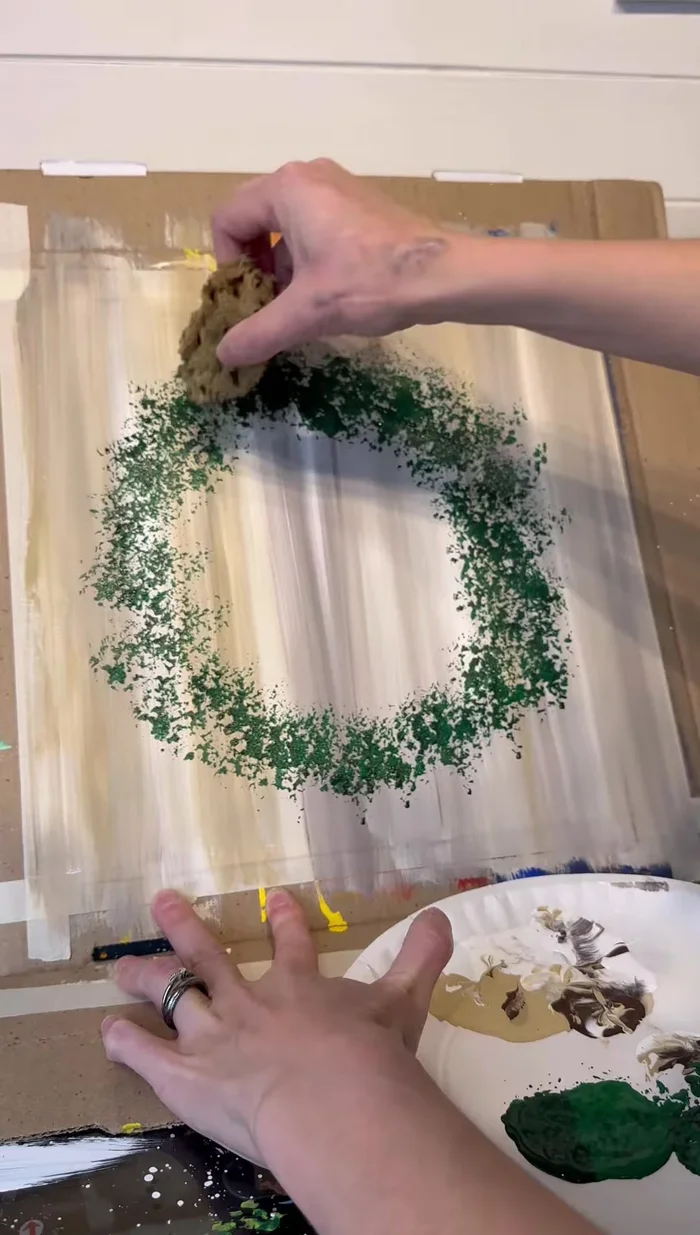
- Fluff and fill in the wreath with the sponge until it reaches the desired thickness and is not see-through.
Create the Wreath Make the Bow
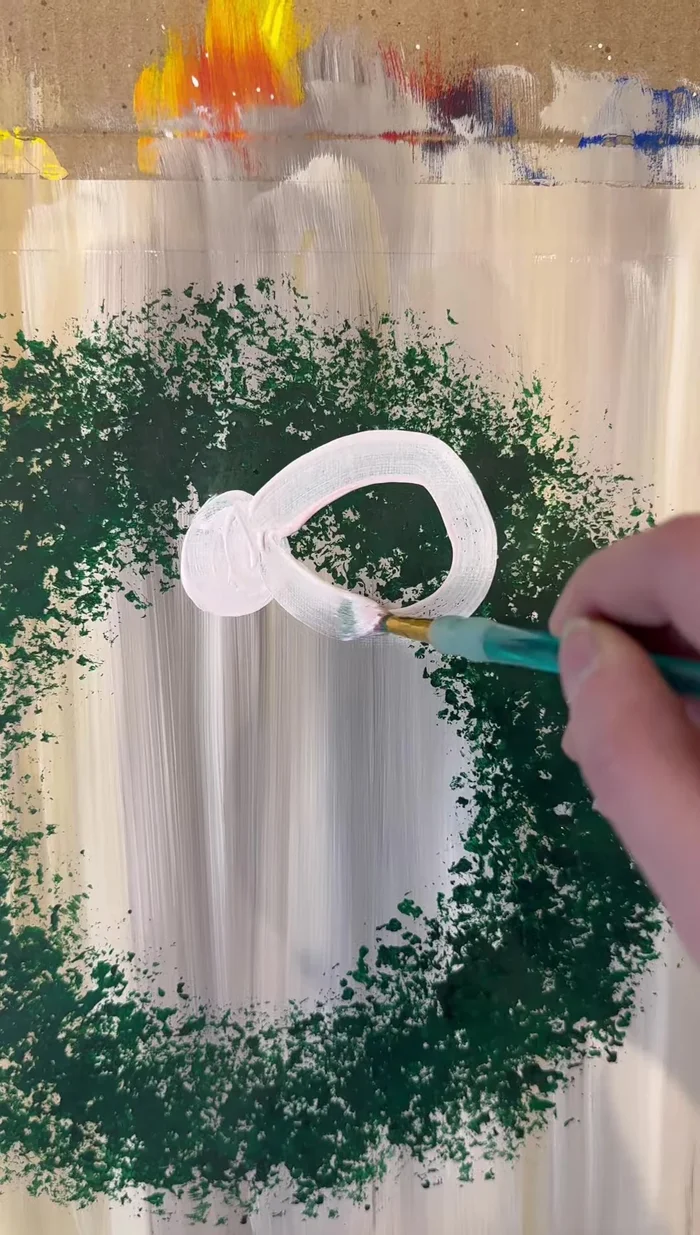
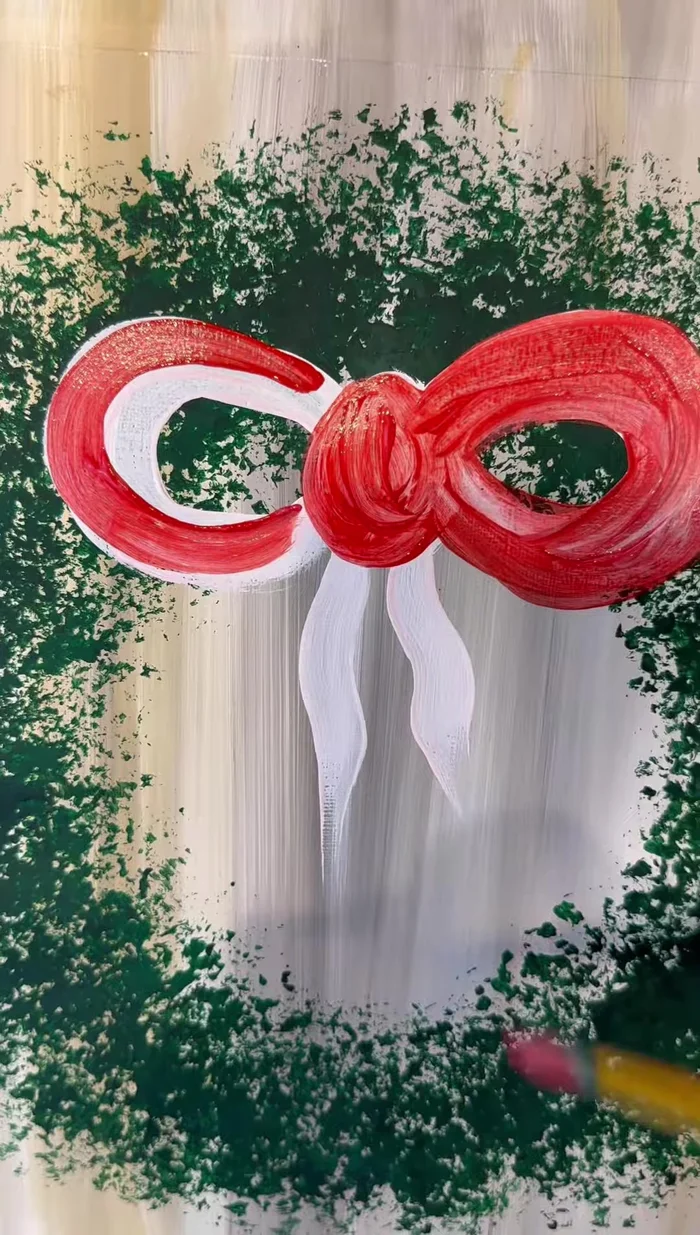
- Dry the wreath. Create a bow using a medium round brush and white paint. Make a circle at the top, two bunny ears, and two tails.
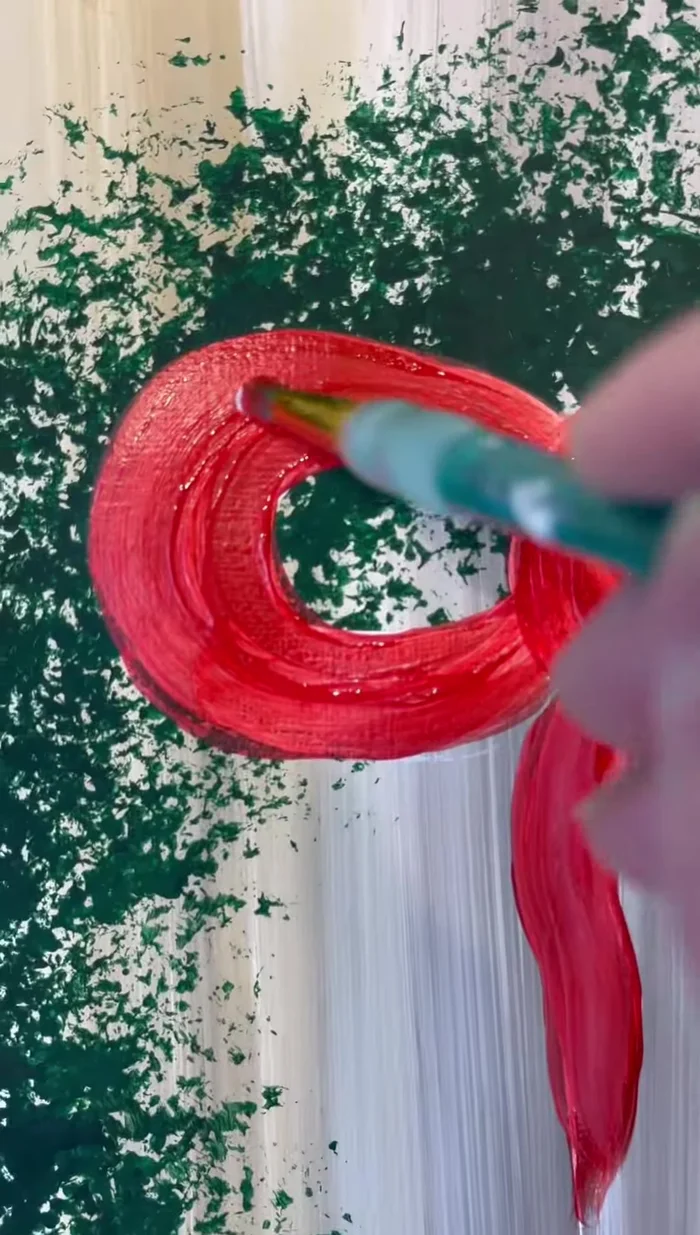
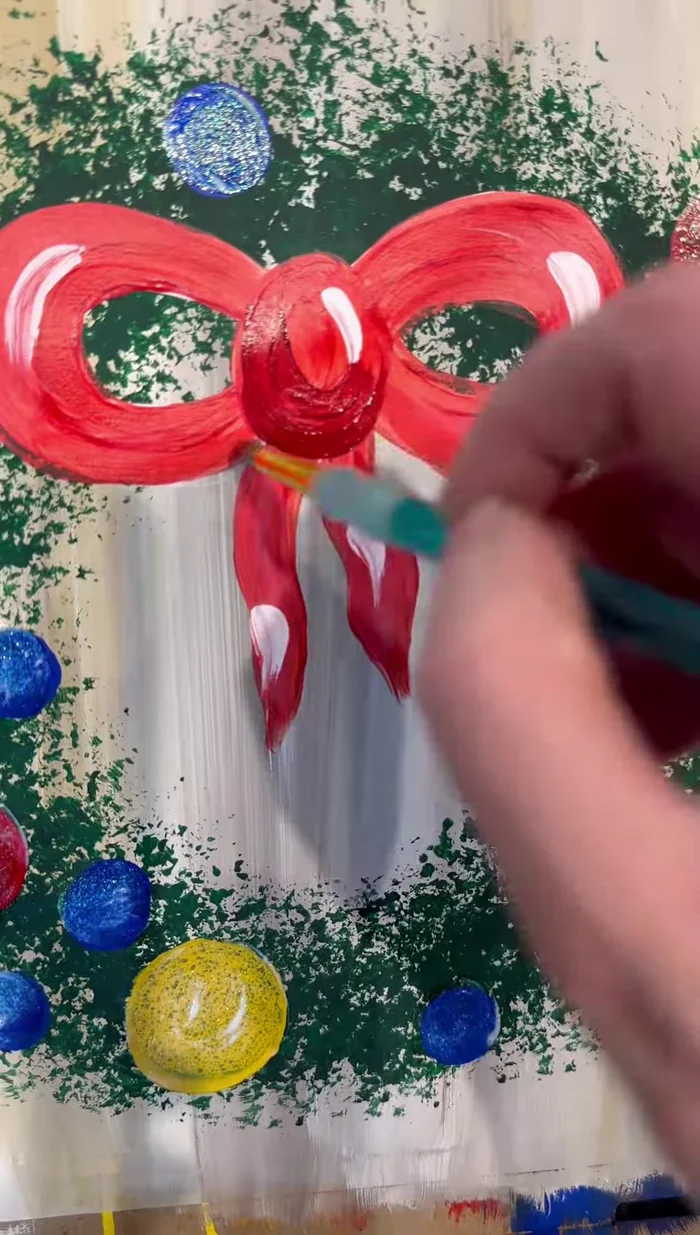
- Once dry, paint the bow your desired color (bright red in this example). Add more coats if needed for opacity.
- Add highlights to the bow with white paint.
Make the Bow Add Ornaments
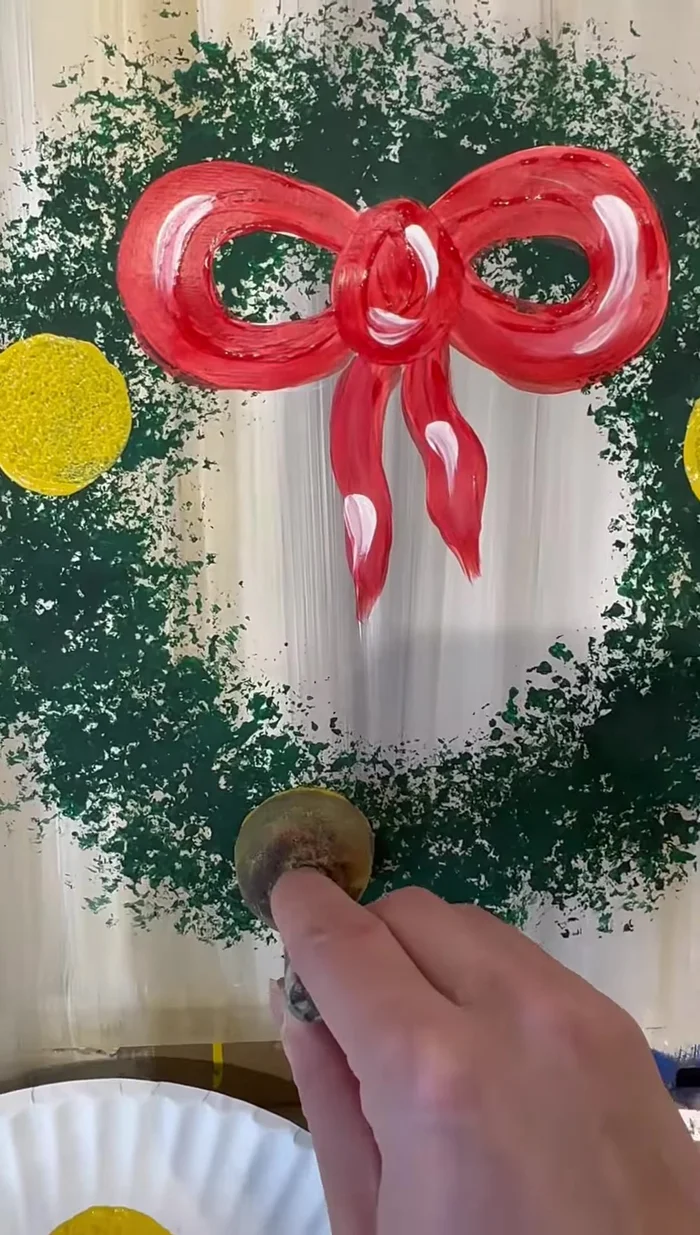
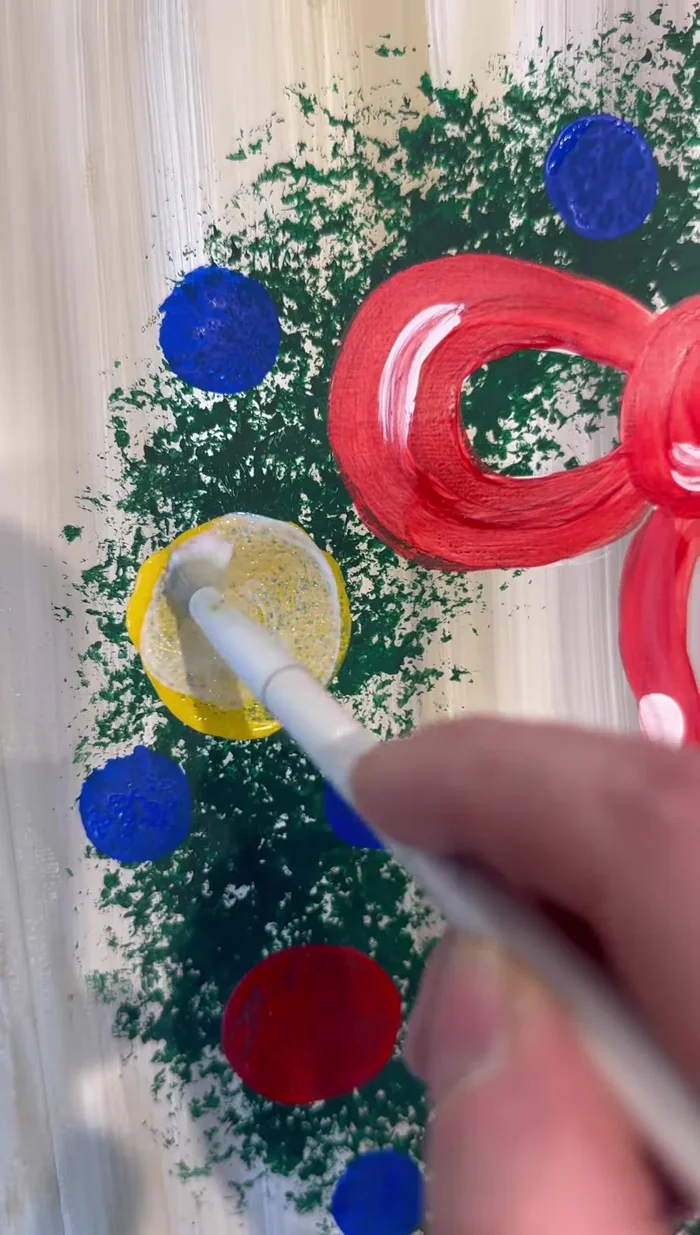
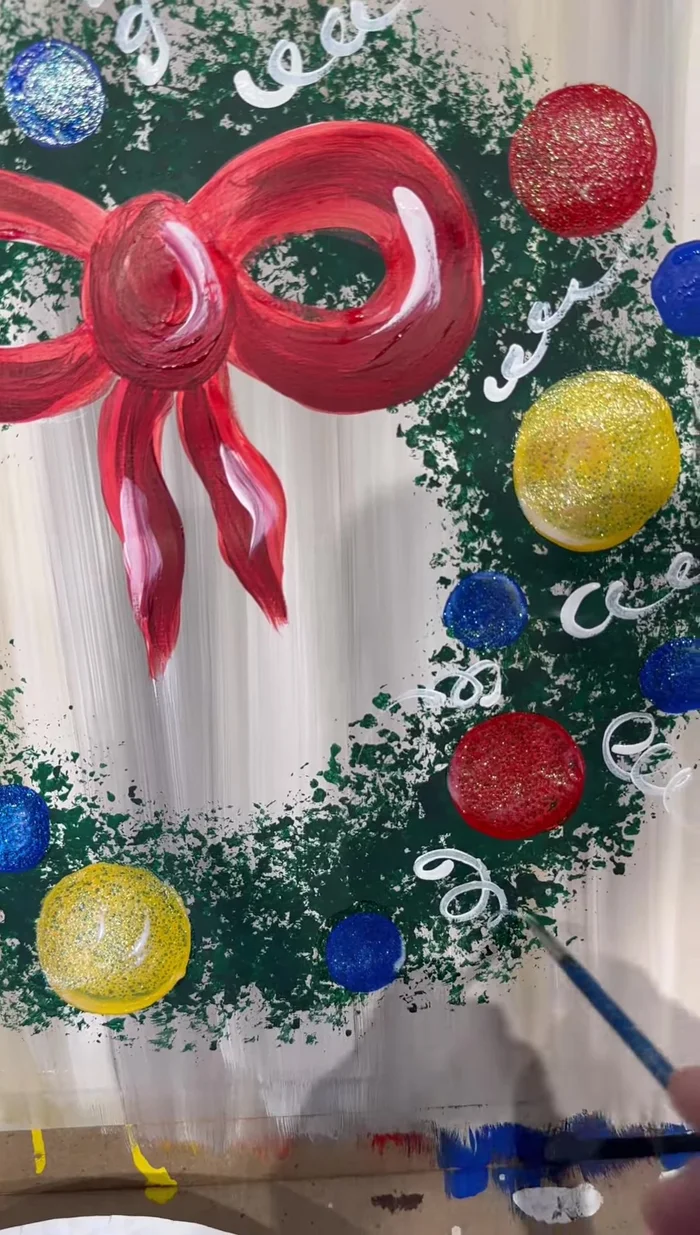
- Use round spouncers with various colors (dark yellow and blue in this example) to create ornaments, varying sizes for a more natural look.
- Add glitter paint to the ornaments for a sparkly effect. It may appear milky initially but dries clear.
Add Ornaments Refine and Decorate
- Add shading to the bow using dark red paint and highlights with white paint.
- Use a detail brush and white paint to add squiggly lines resembling tinsel or streamers for extra festiveness. Add half-C shapes to the ornaments for shine.
Refine and Decorate
Read more: Reverse Silhouette Painting: Underwater Scene Masterclass
Tips
- Don't mix the paints when creating the wood grain effect on the wreath base.
- Fluff the wreath to achieve the desired thickness and prevent see-through areas.
- Bows can be designed in various shapes; experiment with different styles.
- Use different sizes of ornaments for a more realistic look.
- Glitter paint will appear milky when wet but will dry clear.