Christmas is just around the corner, and what better way to get into the festive spirit than by creating your own cheerful Christmas stockings? These adorable decorations aren't just for hanging on the mantelpiece; the process of making them is a fun and creative activity the whole family can enjoy! Whether you’re a seasoned artist or just starting out with crayons and paper, this tutorial will guide you through the simple steps of drawing a perfect Christmas stocking, ready to be filled with festive cheer. Imagine the pride of creating your own unique stocking to hang proudly this year!
This step-by-step guide will show you how to draw a charming Christmas stocking, complete with all the delightful details like the fluffy cuff and the festive hanging loop. Get ready to unleash your inner artist, gather your art supplies, and let's dive into the fun! We'll be covering everything from basic shapes to adding those extra special touches that will make your stocking truly one-of-a-kind.
Preparation and Safety Guidelines
- marker
- paper
- optional: oil pastels, colored pencils, paint
- Always ask a grown-up for help with scissors and other sharp objects. Adult supervision is needed when using art supplies.
- Use crayons, colored pencils, or markers that are non-toxic and safe for children.
- Be mindful of the surface you are drawing on. Protect your table with paper or a placemat.
Step-by-Step Instructions
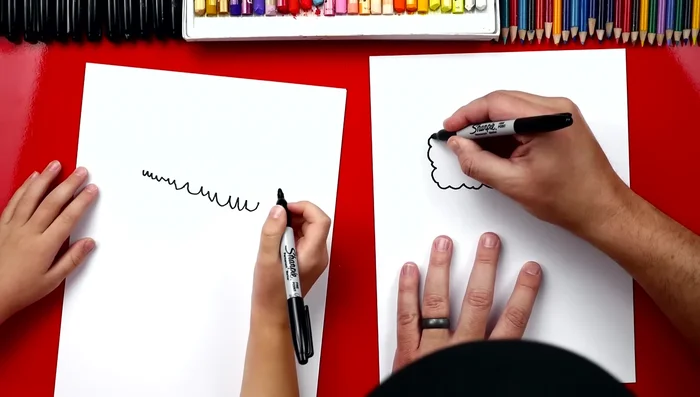
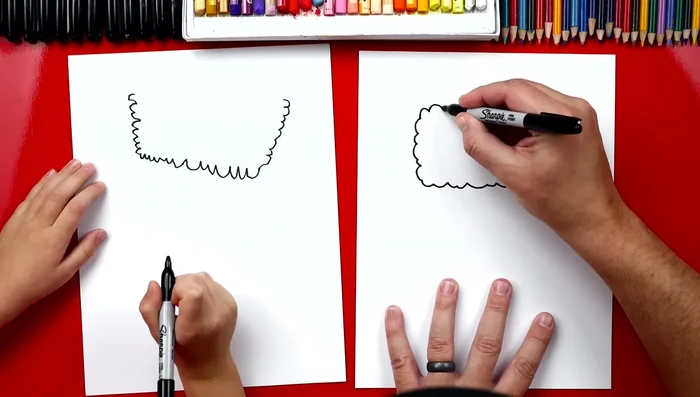
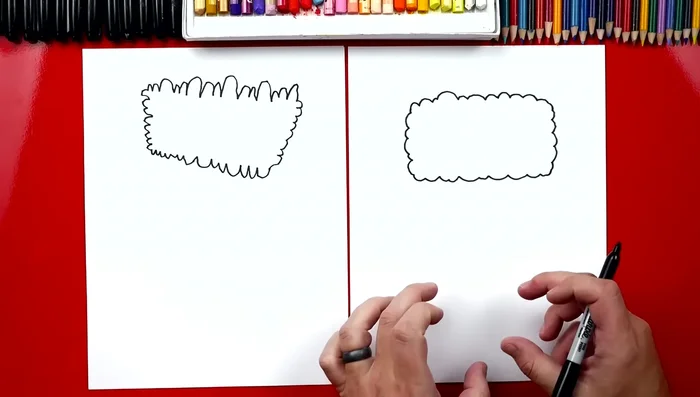
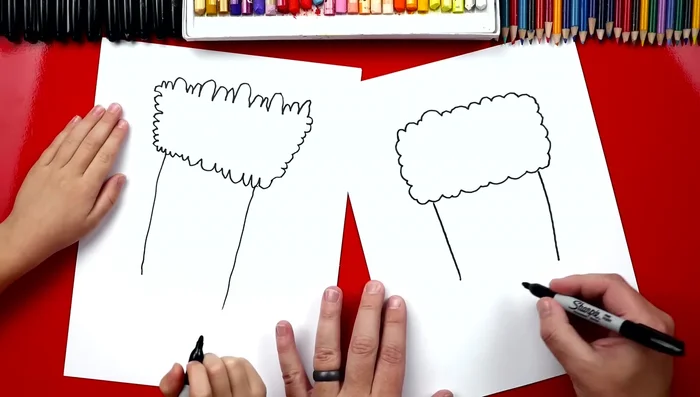
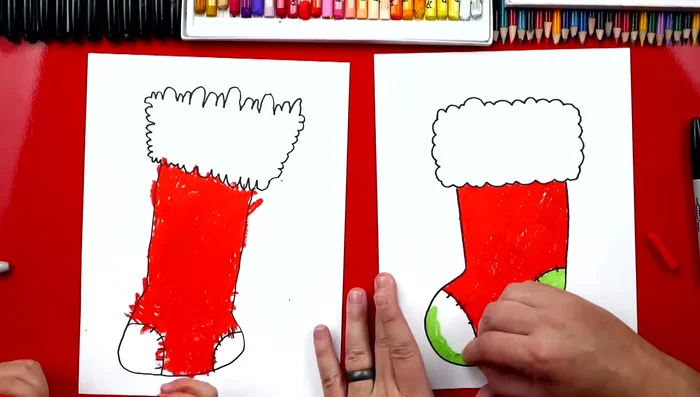
Draw the Fluffy Top
- Draw the fluffy top of the stocking using a bumpy cloud-like line across the paper. Vary the size of the bumps.
- Draw similar bumpy lines extending upwards on each side of the initial line.
- Connect the top of the upward lines with another bumpy line, this time with bumps facing the opposite direction.

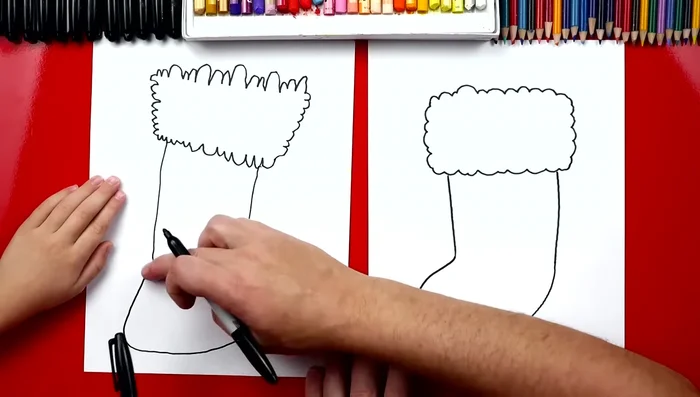
Draw the Fluffy Top Draw the Stocking Body
- Draw two vertical lines downwards from each side of the fluffy top to form the sides of the stocking.
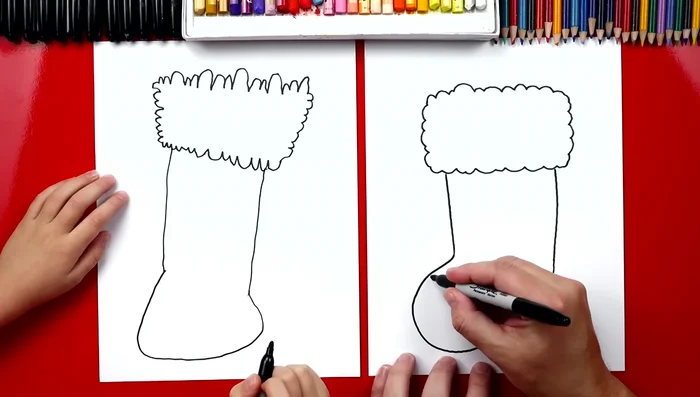
- On one side, draw a large sideways ‘U’ shape to create the bottom curve of the stocking. Connect it to the vertical line.
- Repeat step 5 on the other side to complete the stocking shape.
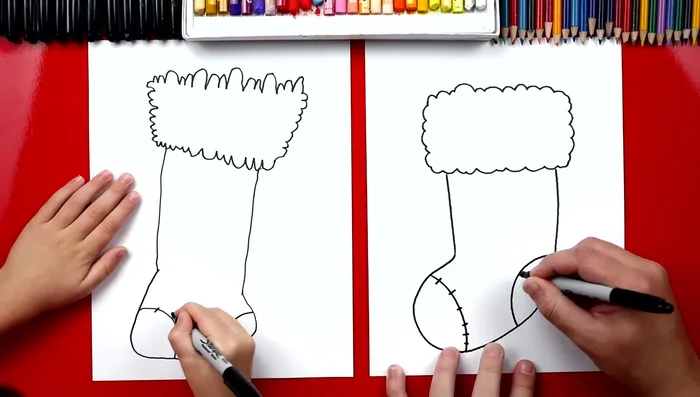
Draw the Stocking Body Add Details
- Draw small patches on the front and back of the stocking to represent the toe and heel.
- Add stitch lines across the lines of the stocking for added detail.
Add Details Color and Decorate
- Color your stocking. (Video shows oil pastels being used, but other options are suggested.)
Color and Decorate
Read more: Reverse Silhouette Painting: Underwater Scene Masterclass
Tips
- Don't worry about making your drawing exactly like the video's. Have fun and be creative!
- After completing the stocking, add decorative elements like presents, candy canes, or reindeer.
- Add shading to give your stocking a 3D effect.
- Consider using oil pastels, colored pencils, paint, or even cutting out the stocking and using it as a decoration.