Affinity Designer on iPad offers a powerful suite of tools for digital artists, and one often overlooked gem is its custom brush creation capabilities. Unlocking the potential of personalized brushes opens up a world of creative possibilities, allowing you to tailor your workflow to perfectly match your artistic vision. Imagine effortlessly creating textured strokes, unique line weights, or even intricate patterns – all with brushes you've designed yourself. This level of control significantly enhances your creative expression and allows you to develop a signature style.
This level of customization might seem daunting, but it's surprisingly straightforward. Forget fumbling with complicated settings; this guide provides a clear, step-by-step process to create your own custom brushes within Affinity Designer on your iPad. Ready to transform your digital art? Let's dive into the exciting world of custom brush creation!
Preparation and Safety Guidelines
- iPad
- Affinity Designer
- Always save your custom brush frequently. Unexpected app closures can lead to lost work.
- Experiment with different brush settings to achieve your desired results. Don't be afraid to tweak and refine!
- Consider organizing your custom brushes into folders for easier management as your collection grows.
Step-by-Step Instructions
Setup
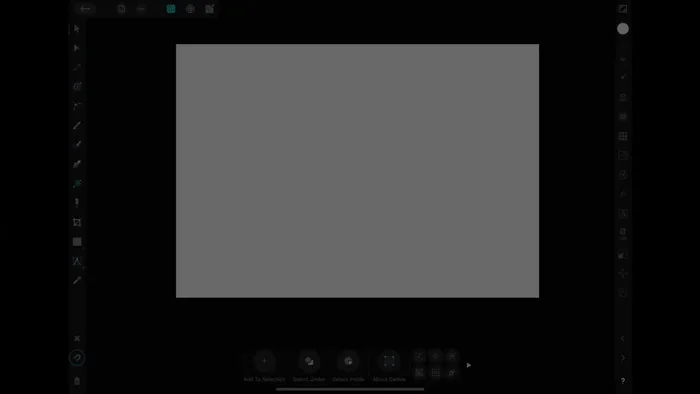
- Start with a new document and create a black background using a rectangle.

Setup Design the Brush Element
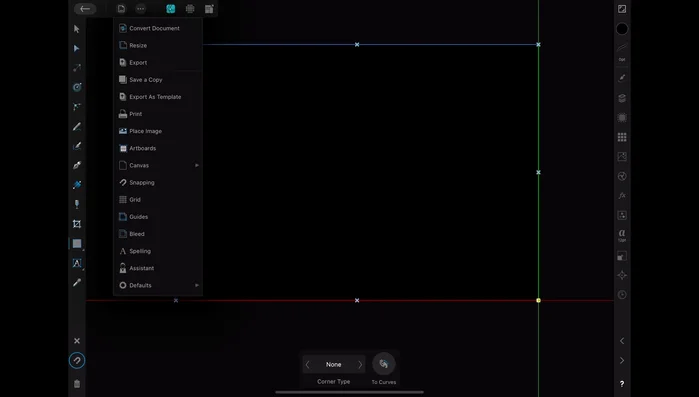
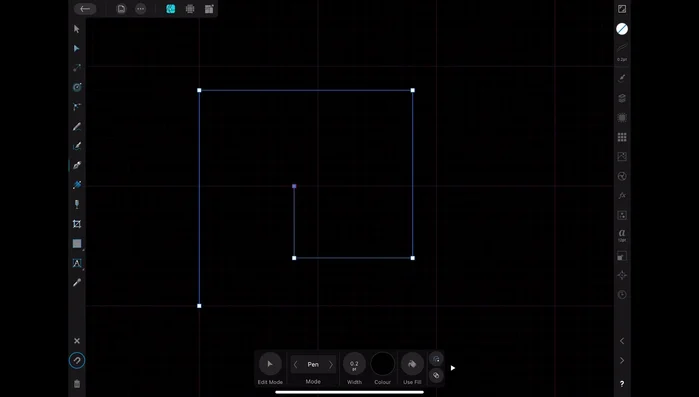
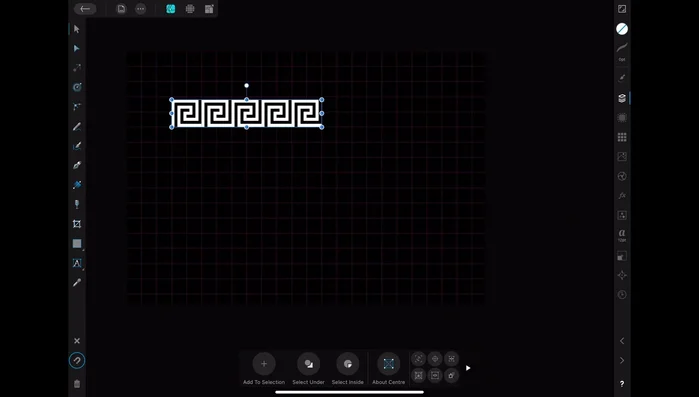
- Design your brush element. Use a grid for geometric patterns (optional).
- Create the outline of your brush element. If needed, use a reference image.
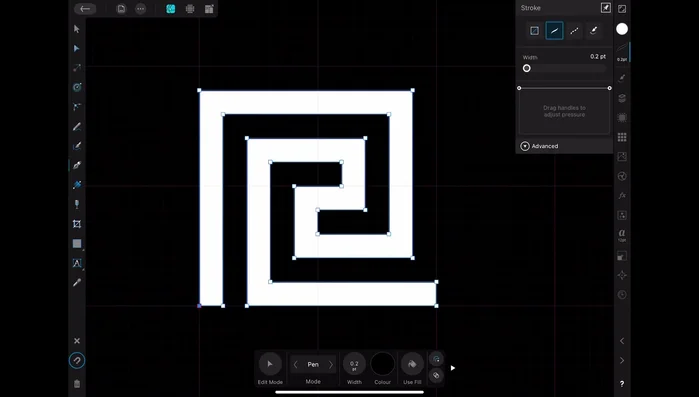
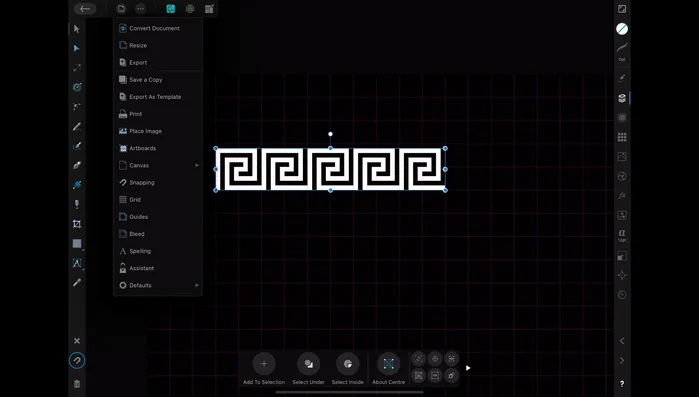
- Fill the element with white, remove the outline, and duplicate it to create a repeating pattern.
Design the Brush Element Export as PNG
- Group the pattern elements and export as a PNG file. Increase the image height (e.g., to 1000 pixels) to prevent pixelation when scaling.
Export as PNG Create the Brush in Affinity Designer
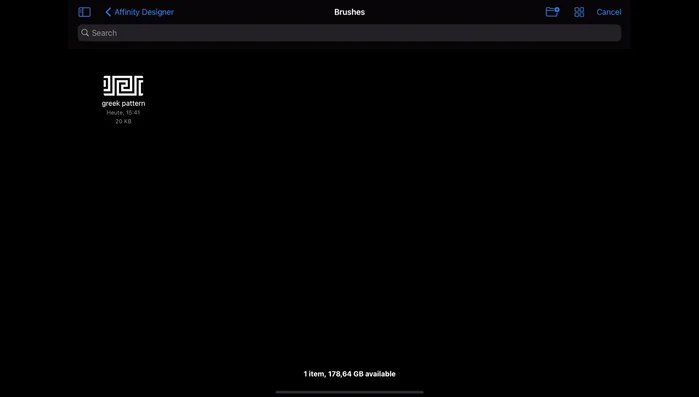
- In Affinity Designer, go to the brushes menu, add a new category, and create a new texture/intensity brush.
- Import the PNG you just created as the brush texture. Adjust settings like repeat mode (repeat instead of stretch).
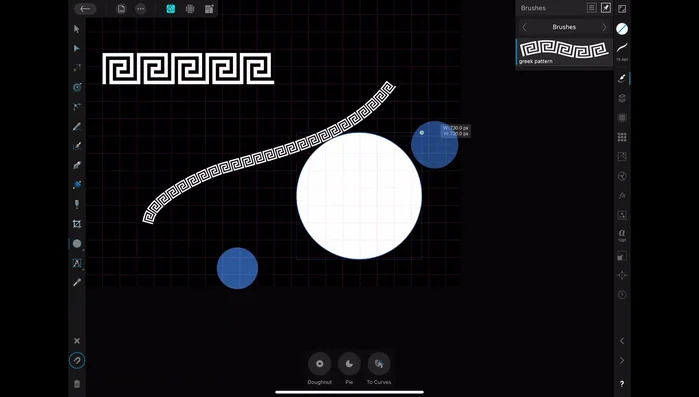
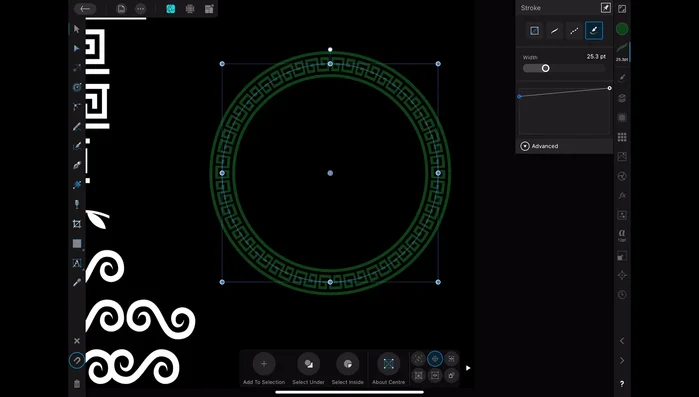
Create the Brush in Affinity Designer Test and Refine
- Test your new brush. It can be used for both fills and outlines.
- To create brushes with variable sizes based on pressure, create a copy of your brush, go to its settings, and adjust the size variant.
Test and Refine
Read more: Reverse Silhouette Painting: Underwater Scene Masterclass
Tips
- Use a grid for easier geometric pattern creation.
- Increase the height of your exported PNG to avoid pixelation when scaling the brush.
- Experiment with different brush settings like repeat mode and pressure sensitivity.