Unleash your inner artist with this easy acrylic tree painting tutorial, perfect for absolute beginners! No prior experience is needed to create a beautiful and vibrant tree landscape. We'll guide you through simple techniques, using readily available materials, to achieve professional-looking results. Forget the intimidation factor – painting trees can be surprisingly relaxing and rewarding, a fantastic creative outlet for all skill levels. You’ll be amazed at how quickly you can transform a blank canvas into a captivating piece of art.
This tutorial breaks down the process into manageable steps, focusing on fundamental techniques that build confidence and skill. Forget complex brushstrokes and frustrating details; we'll focus on creating a stylized yet realistic tree, emphasizing color blending and simple shapes. Ready to get started and bring your artistic vision to life? Let's dive into the step-by-step instructions below!
Preparation and Safety Guidelines
- Acrylic paints (SAP blue, green, olive, Granny Smith, cream, titanium white, burnt umber)
- Paintbrushes (number 12, sailboat brush)
- Q-tips
- Acrylic paints are water-based but can still irritate skin or eyes. Always work in a well-ventilated area and wear a protective apron or old clothes. Wash hands thoroughly after painting.
- Use a drop cloth or newspaper to protect your work surface. Acrylic paint is difficult to remove once dried.
- Clean your brushes immediately after use with soap and water. Dried acrylic paint can permanently damage brushes.
Step-by-Step Instructions
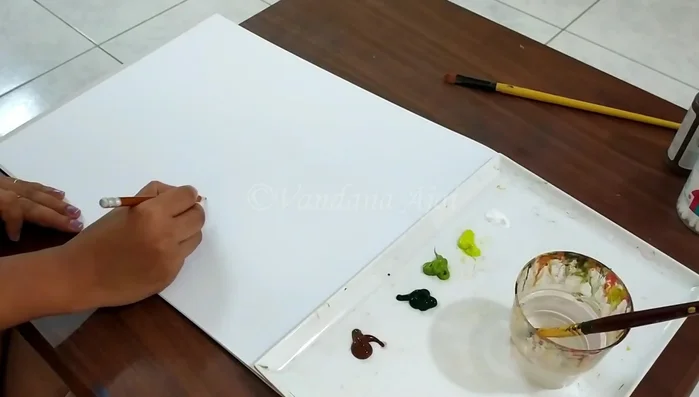
Sketching
- Rough sketch of tree branches and leaves.

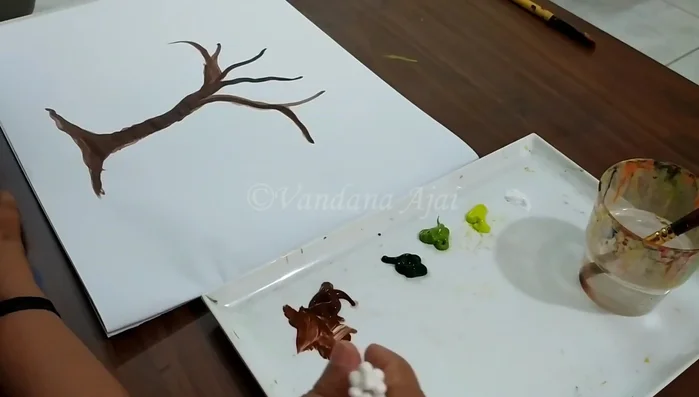
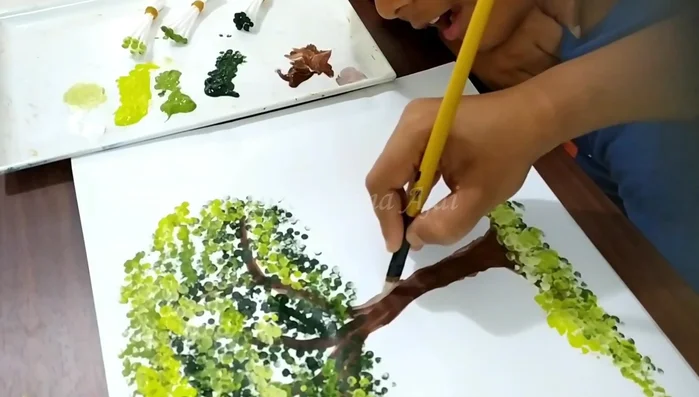
Sketching Painting Trunk and Branches
- Paint the tree trunk and branches.
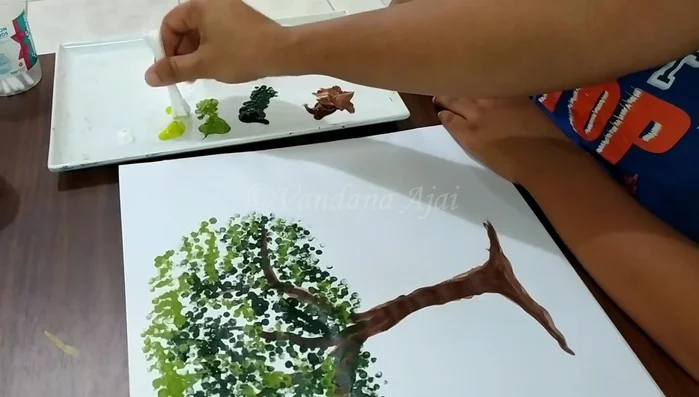
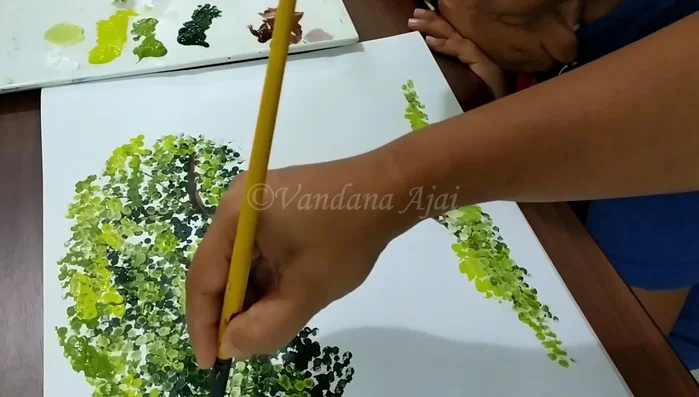
Painting Trunk and Branches Painting Leaves - Darkest Green
- Paint leaves with darkest green using Q-tips, applying roughly.
Painting Leaves - Darkest Green Painting Leaves - Medium Green
- Add lighter green leaves using Q-tips, avoiding overcrowding.
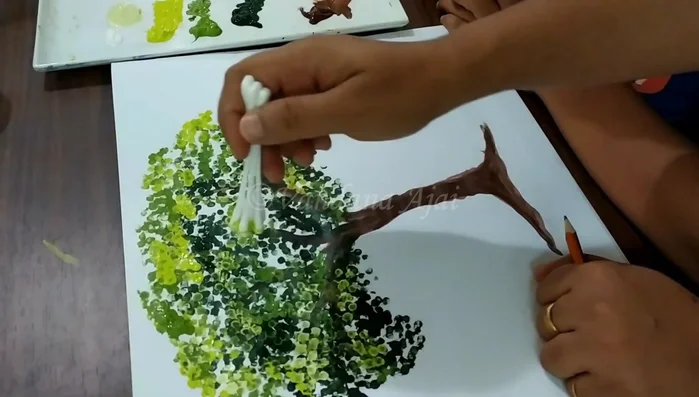
Painting Leaves - Medium Green Painting Leaves - Lightest Green
- Add lightest green leaves using Q-tips, ensuring leaves are not overcrowded.
Painting Leaves - Lightest Green Adding Highlights
- Mix white for natural highlights.
Adding Highlights Detailing the Trunk
- Paint tree trunk details using a brush with a mix of white and burnt umber.
Detailing the Trunk Adding Final Branches
- Draw additional branches.
Adding Final Branches


Read more: Reverse Silhouette Painting: Underwater Scene Masterclass
Tips
- Don't overcrowd the painting to maintain a beautiful look.
- Use a mix of dark and light greens for depth and realism.