Ever wanted to create your own self-portrait but felt intimidated by the idea? Don't worry, capturing your likeness on paper doesn't have to be a daunting task! This easy self-portrait drawing tutorial is designed specifically for kids and beginners, breaking down the process into simple, manageable steps. We'll ditch the complex techniques and focus on fun, accessible methods that will have you creating a recognizable and expressive self-portrait in no time. You'll learn how to simplify facial features, understand basic proportions, and develop your own unique style.
Forget those complicated art books – this tutorial uses straightforward language and clear visuals to guide you every step of the way. Whether you're a complete novice or just looking for a fun and creative activity, get ready to unleash your inner artist! Let's dive into the step-by-step process and start creating your masterpiece!
Safety Guidelines
- Always use blunt-ended pencils or crayons to avoid accidental pokes or scratches.
- Work in a well-lit area to avoid straining your eyes.
- If using paints or markers, protect your work surface with newspaper or a drop cloth.
Methods: Simplified Self-Portrait Drawing
Tools Needed
- pencil
- eraser
- paper/canvas
Step-by-Step Instructions
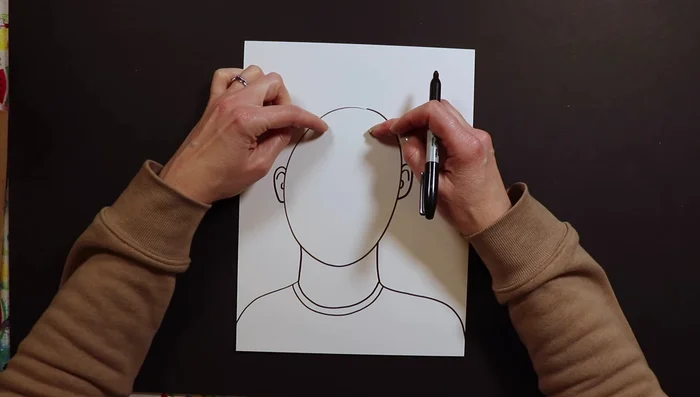
Face and Neck
- Draw an oval for the face.
- Draw two short lines inside the oval's edges for the neck.
- Add curved lines for the shoulders.

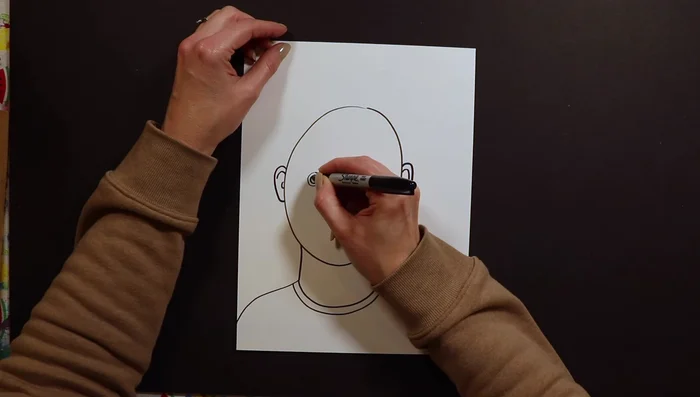
Face and Neck Ears
- Draw two curves on the sides of the oval, slightly below the middle, for the ears.
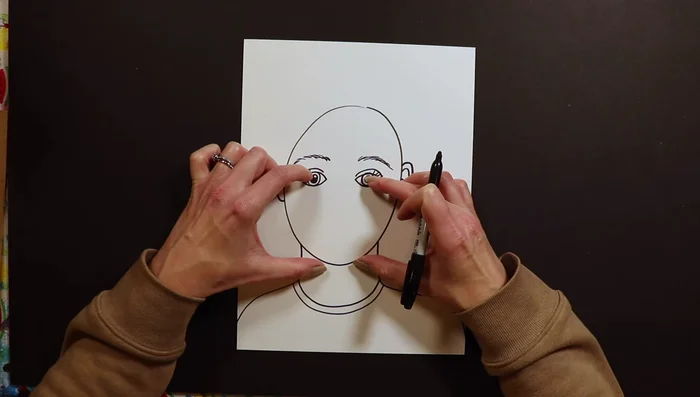
Ears Eyes and Eyebrows
- Draw two 'donuts' (circles with a smaller black circle inside) for the eyes, roughly in the middle of the face and an eye-width apart.
- Add simple curves above and below the 'donuts' to define the eyelids.
- Add short dashes above the eyes for eyebrows.
Eyes and Eyebrows Nose
- Draw the nose halfway between the eyes and the chin. A simple curved line works well.
Nose Mouth
- Draw a simple curved line halfway between the bottom of the nose and the chin for the mouth. For a more detailed mouth, create a bumpy top lip and a curved bottom lip.
Mouth Hair
- Add hair that starts at the hairline and falls down onto the head. Style as desired.
Hair


Tips
- Start with a pencil to easily erase mistakes.
- Keep the proportions in mind: eyes are about an eye-width apart and in the middle of the face; the nose is halfway between the eyes and chin; the mouth is halfway between the bottom of the nose and chin.
- Don't be afraid to simplify; even young children can create self-portraits.
Read more: DIY Fabric Crafts: Transform Cookie-Cutter Materials into Creative Masterpieces