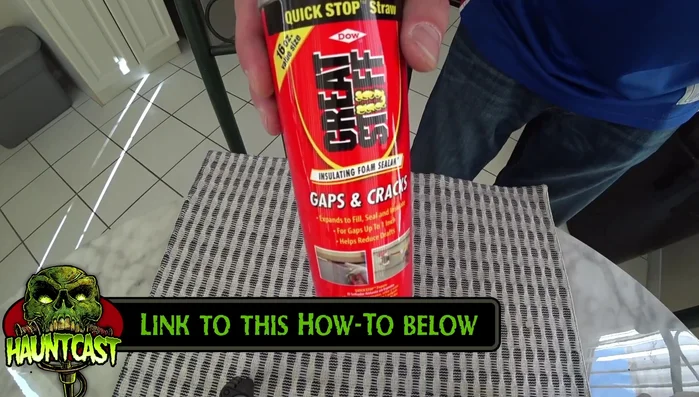
Expanding foam. The stuff of insulation and construction projects, right? Think again! This versatile, readily available material is a hidden gem for haunt enthusiasts and prop makers, offering a surprisingly malleable and surprisingly terrifying medium for creating realistic and imaginative effects. From gruesome wounds and decaying textures to bizarre creatures and eerie environments, the possibilities are as limitless as your imagination. Its ability to expand into intricate shapes and hold its form allows for unparalleled detail and creative freedom, transforming simple ideas into truly unsettling masterpieces.
This unique material, however, requires a little know-how to harness its full potential. Below, we'll explore ten ingenious ways to utilize expanding foam, providing a step-by-step guide to crafting terrifying props and horrifying set pieces that will leave your audience screaming for more. Prepare to be amazed by the gruesomely creative transformations waiting to unfold!
Safety Guidelines
- Expanding foam expands significantly. Apply in small increments to avoid overfilling and messes. Always use in a well-ventilated area.
- Wear appropriate safety gear: gloves, eye protection, and a respirator mask. The expanding foam can be irritating to skin and lungs.
- Expanding foam is flammable. Keep away from open flames and sparks during application and curing.
Methods: Casting Skulls (and other objects)
Tools Needed
- Expanding foam
- Mold (silicone or milk jug)
- Release agent (Vaseline)
Step-by-Step Instructions
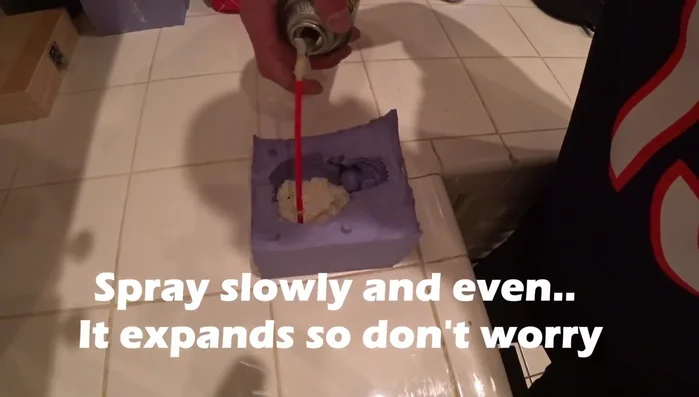
Mold Preparation
- Use a mold of a skull (or other object).
- Apply a release agent like Vaseline.

Mold Preparation Foam Application
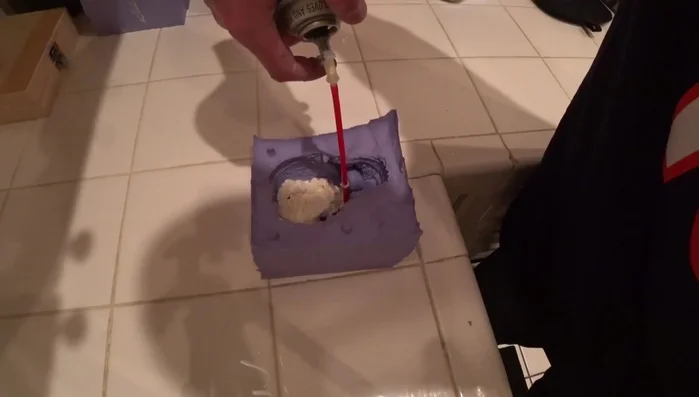
- Fill the mold with expanding foam.
Foam Application Curing
- Let it cure completely.
Curing

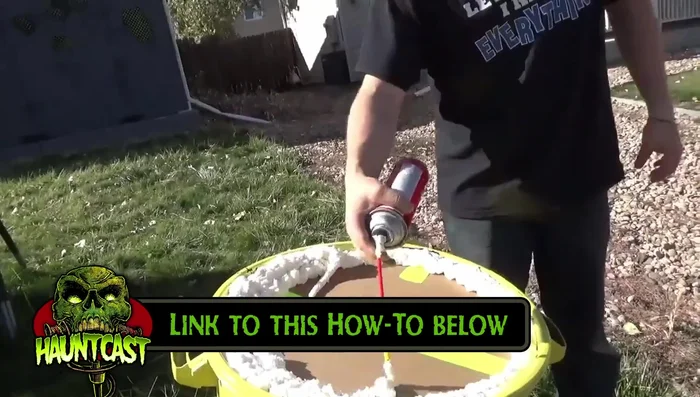
Methods: Creating Creepy Vines
Tools Needed
- Expanding foam
- Pond and Stone (for outdoor use)
Step-by-Step Instructions
Creating Creepy Vines
- Apply expanding foam to create vine shapes.
Creating Creepy Vines Ensuring Durability for Outdoor Use
- For outdoor use, use Pond and Stone for durability.

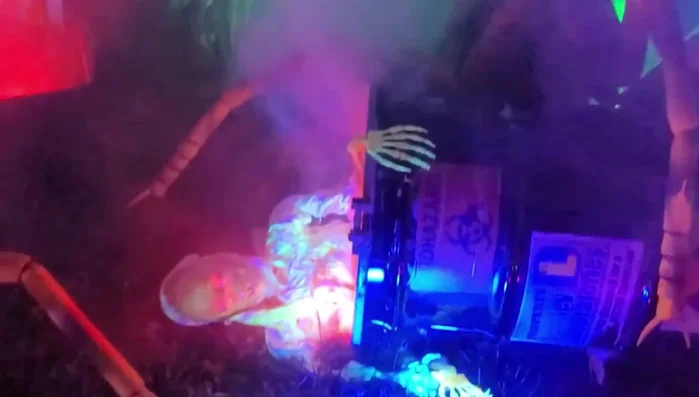
Methods: Creating Toxic/Biohazard Effects
Tools Needed
- Expanding foam
- Fluorescent green paint
Step-by-Step Instructions
Creating Toxic/Biohazard Effects
- Paint with fluorescent green paint.
Creating Toxic/Biohazard Effects Applying Expanding Foam
- Spray expanding foam onto surfaces.
Applying Expanding Foam
Methods: Using Expanding Foam as Adhesive
Tools Needed
- Expanding foam
Step-by-Step Instructions
Applying Expanding Foam as Adhesive
- Spray foam onto surfaces.
- Press pieces together, separate, then press again to prevent expansion.
Applying Expanding Foam as Adhesive

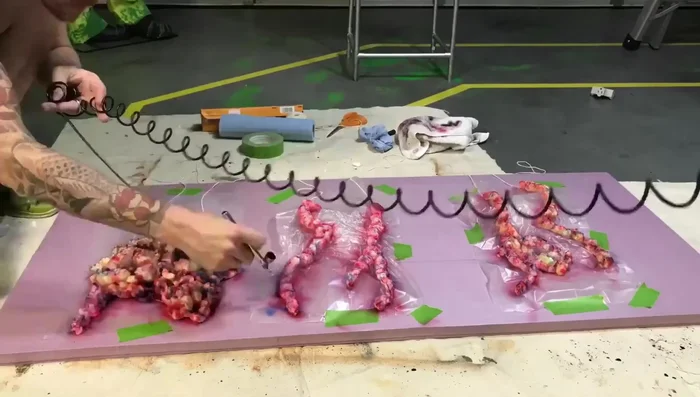
Methods: Creating Realistic Innards
Tools Needed
- Expanding foam
- Red paint
- Wax paper
Step-by-Step Instructions
Creating Innards
- Spray expanding foam onto wax paper.
- Let it cure.
- Paint red.
Creating Innards

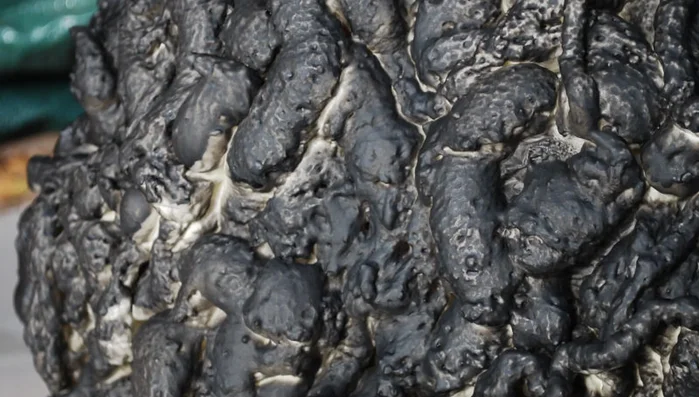
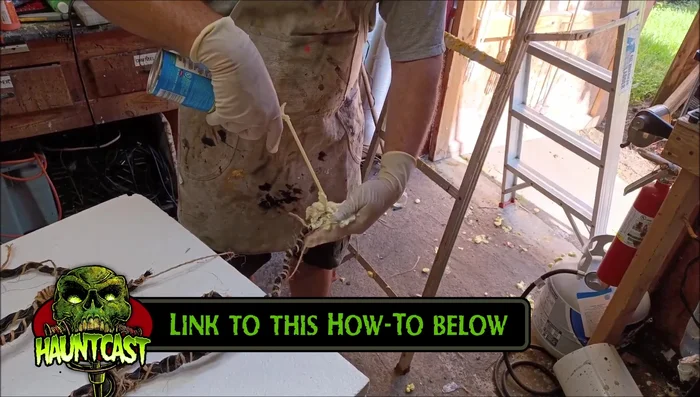
Methods: Adding Texture to Props
Tools Needed
- Expanding foam
- Gloves
Step-by-Step Instructions
Creating Texture with Expanding Foam
- Spray expanding foam into gloved hands.
- Wipe onto surface for a bumpy texture.
Creating Texture with Expanding Foam
Read more: DIY Giant Foam Heart Wall Decor: 10 Creative Ideas from Dollar Tree!